Custom Fireplace

|
Materials you need for this project:
Thin brick quick set mortar water Type S mortar sand mix in desired color (grout) |
Tools you need:
Wet saw drill mud mixer trowel grout bag 5 gallon bucket chalk line or 4′ level calculator pencil |
Disclosure: This post includes affiliate links, which means I receive a small commission if you make a purchase through my links. There is no extra cost to you. Purchasing through my affiliate links help support my website so I am able to continue posting free content.
The first step was measuring the wall finding a firebox that would fit the scale of the room. Our living room is small but we have 9 1/2′ ceilings so we opted for one that was taller. To calculate how wide I wanted, I added 30″ to the width of the firebox for 15″ of brick on each side. So my 11′ wall would have a 66″ fireplace with 2 33″ cabinets on each side. Height of the mantle is installed according to code.

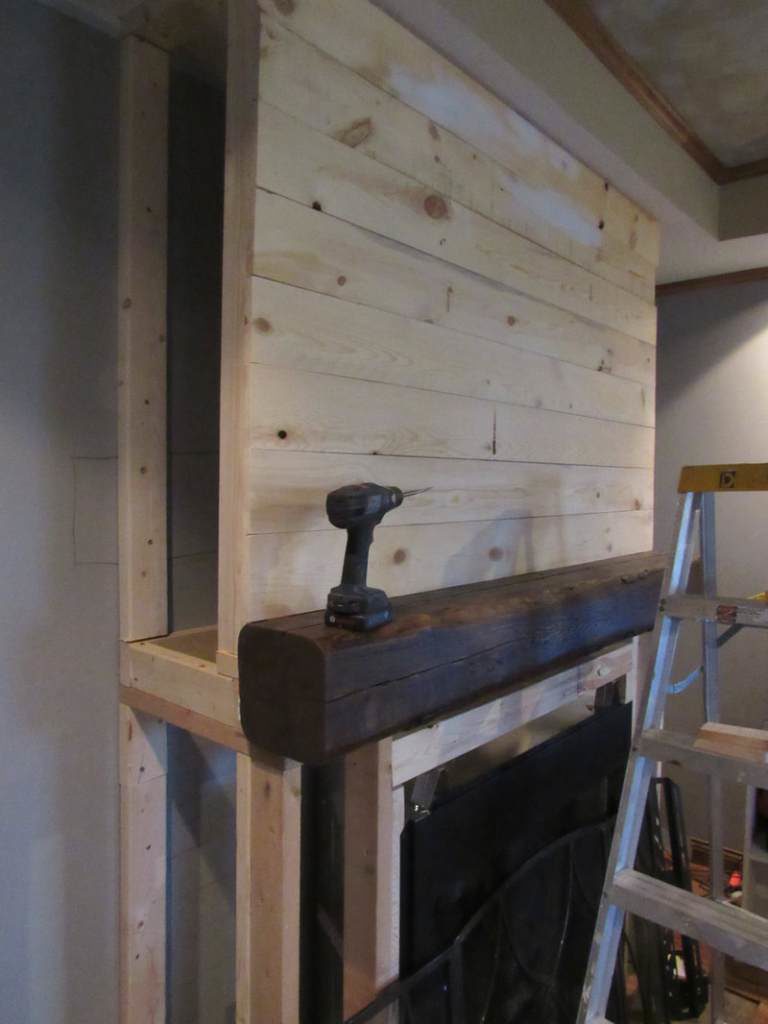
We built a frame for the firebox by following the manufactures instructions. Since we planned on using an old barn beam for our mantle, we recessed the top of the fireplace back half the width of the mantle. We used lags to mount the mantle from the bottom and the back. I chose to ship lap the top and antique brick the bottom. To keep my design as clean as possible, I built the cabinets to match the height of the fireplace mantle with no shelves above.
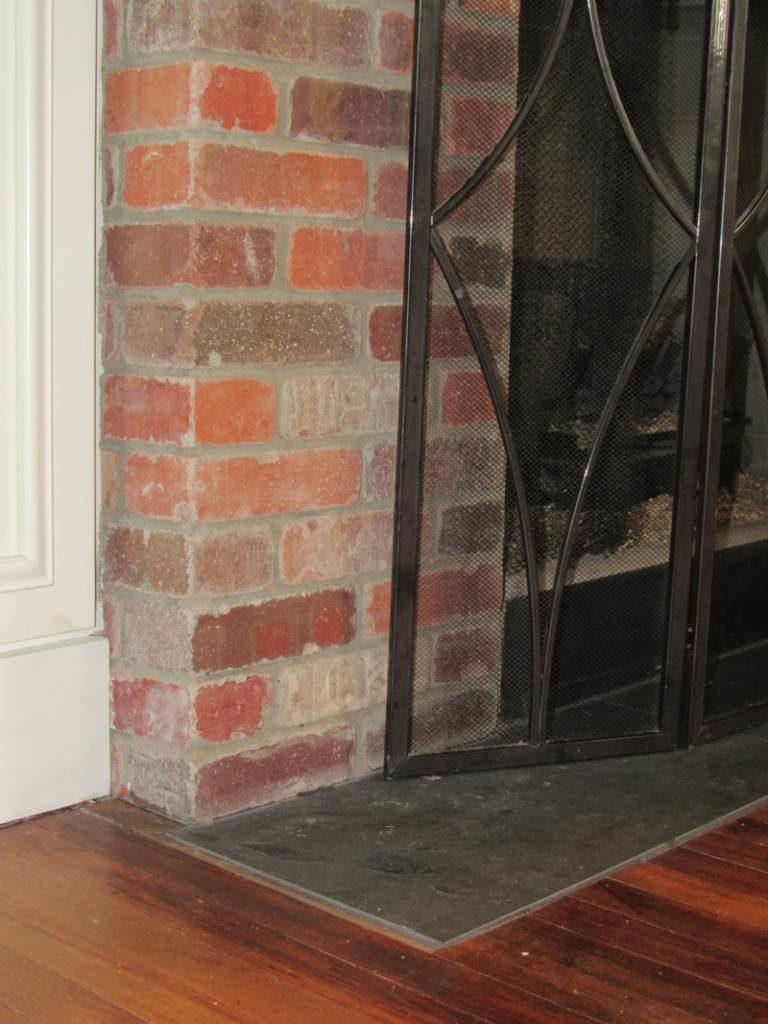
After the custom cabinets were installed, I put cement board on the fireplace and tiled the hearth. Since my living room is small, I kept the hearth the same level as the floor by using tile. We had considered installing a piece of honed black granite which would have cost around $450 but granite is 1 1/4-1 1/2 thick and we really wanted to stay as level as possible with the floor. I did find absolute black granite tile but it was shiny and I wanted something with a mat finish. The tile I installed is Montauk Blue 12×24. I put it down over mortar and grouted it with charcoal grout.
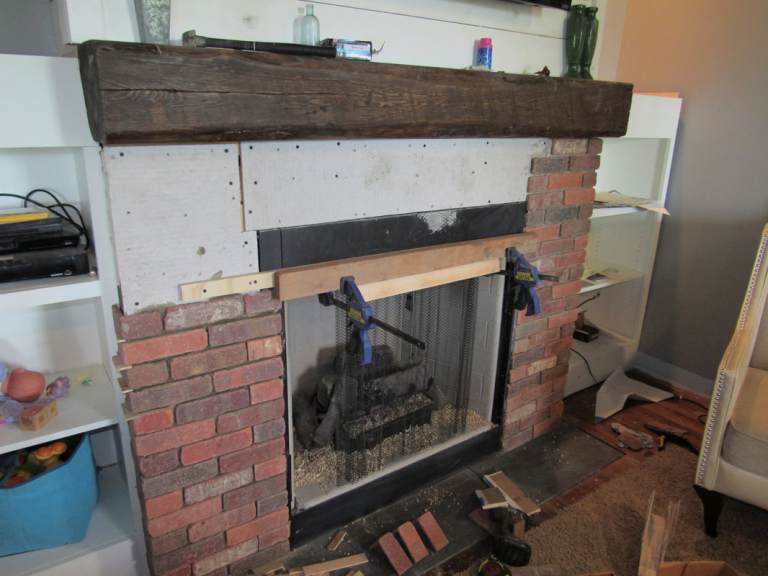
The brick I chose is called thin brick: General Shale color English Pub. They are $1.20 each for and $2.25 for the corner bricks. It’s installed the same way tile is installed although grouting is different. Thin brick is just brick that has been cut down to 1/2″ thick. I wanted to cover the entire firebox but without using mesh, I had to lay at least 1/2 of the brick on the cement board. I calculated how thick the grout line needed to be by measuring the distance between the floor and the mantle and dividing that number by the brick height + 1/2″, then 3/8″ then 1/4″ until I got an even number for the rows. Had I just assumed 1/4″ grout line, I would have had to cut down the top row of bricks.
And oh yes, I almost forgot that I needed to support the brick above the firebox. If i wouldn’t have screwed and clamped a board to hold the bricks on, they would have slid down and not dried straight.
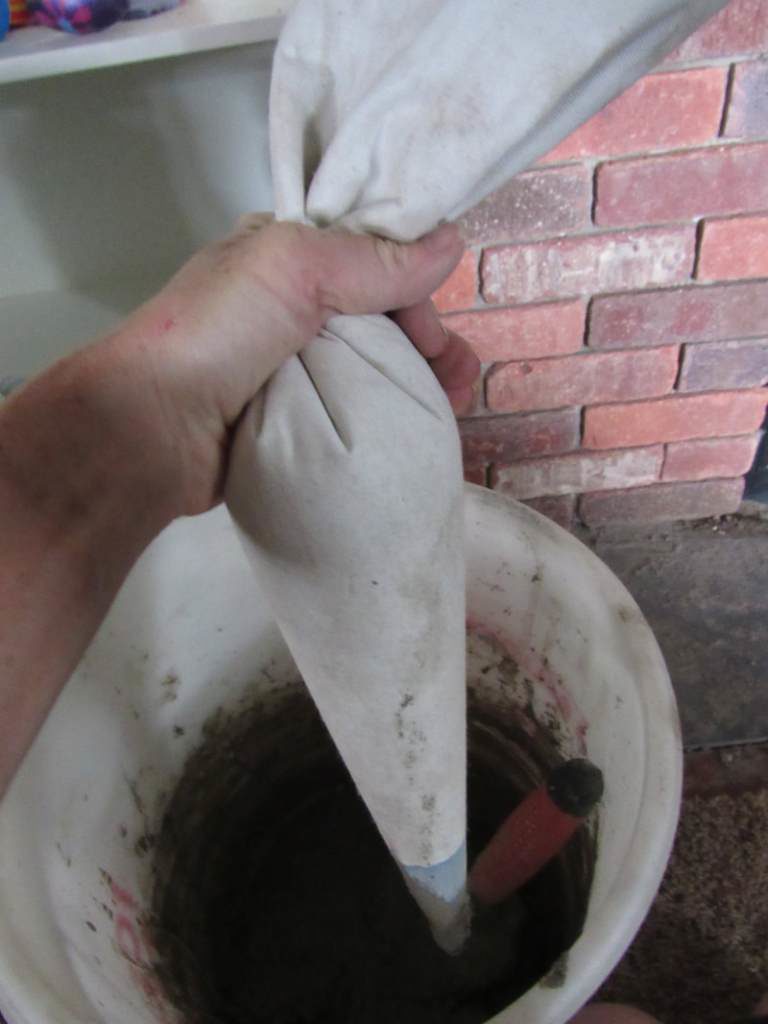
To grout the brick, I mixed the grout with water until it was the consistency of cake mix. After cutting the tip off the grout bag, I filled it about 1/3 full and squeezed and twisted gently pushing the grout out of the top and into the crack.
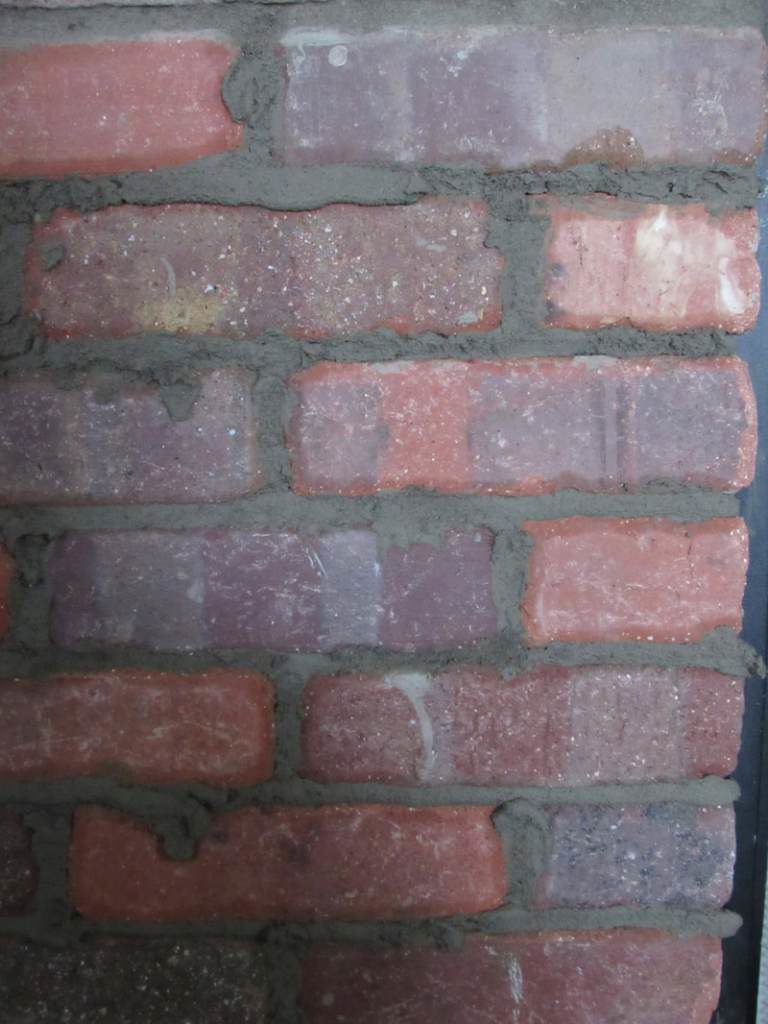
After I could touch the grout without the grout coming off onto my finger, I used a Popsicle stick to knock off the excess.