
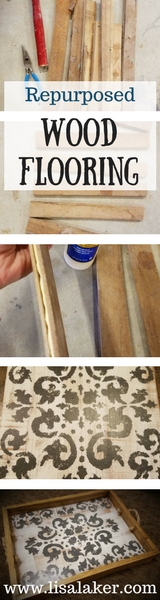
Repurpose Wood Flooring Tray
In a day when vintage anything and everything is the style, I came up with a project to repurpose wood flooring that had to be removed from my living room! When something vintage can be repurposed, it adds charm and character. This DIY farmhouse decor also tells quite a story. Enjoy these DIY wood serving tray plans! For more fun serving tray ideas, click here!
|
Tools:
Hammer Flat head screwdriver pliars clamps small heavy object like a block, bag of mortar,… Table saw or miter saw orbital sander (optional) Materials:
To see full diy serving tray plans (how to make the sides) click here.
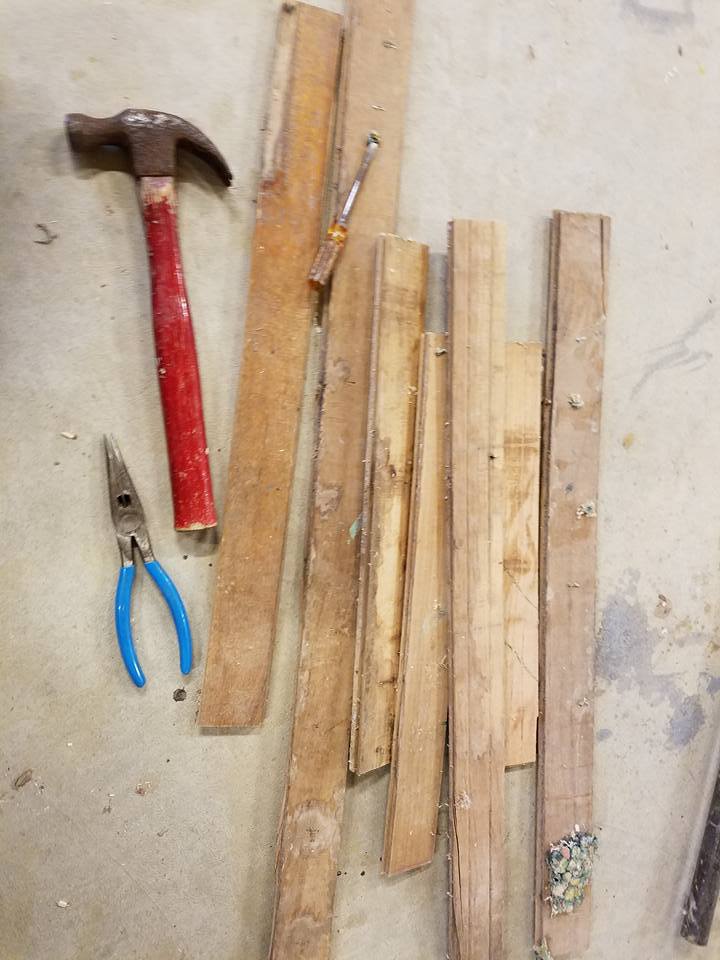 To repurpose wood flooring it will take a little bit of work. Remove staples and nails from the boards. Scrape grime from the tongue and groove with a screwdriver. To repurpose wood flooring it will take a little bit of work. Remove staples and nails from the boards. Scrape grime from the tongue and groove with a screwdriver.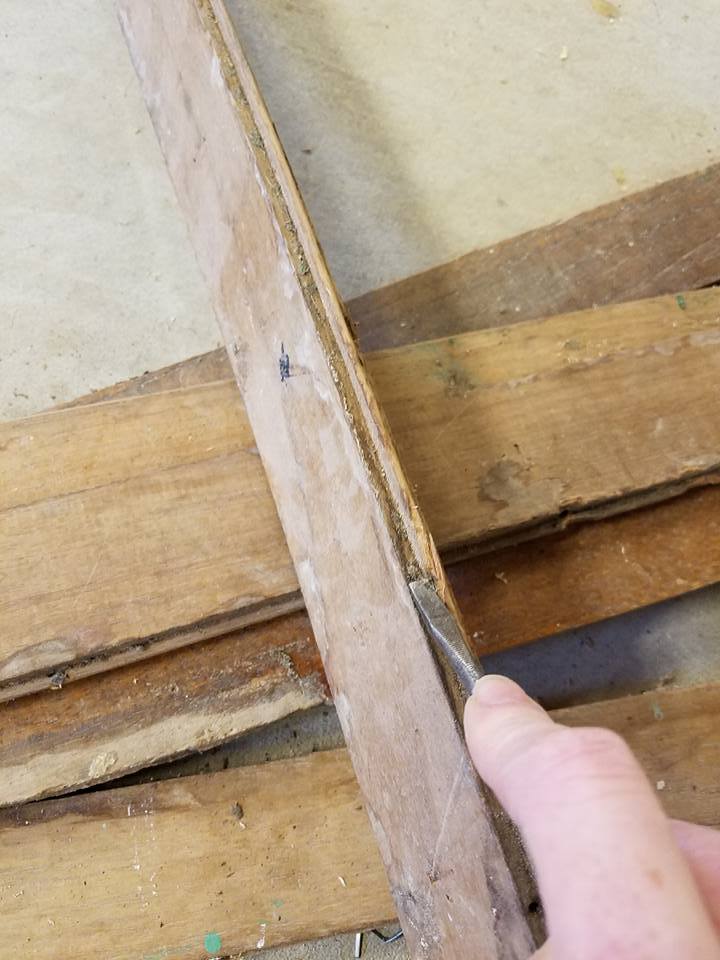 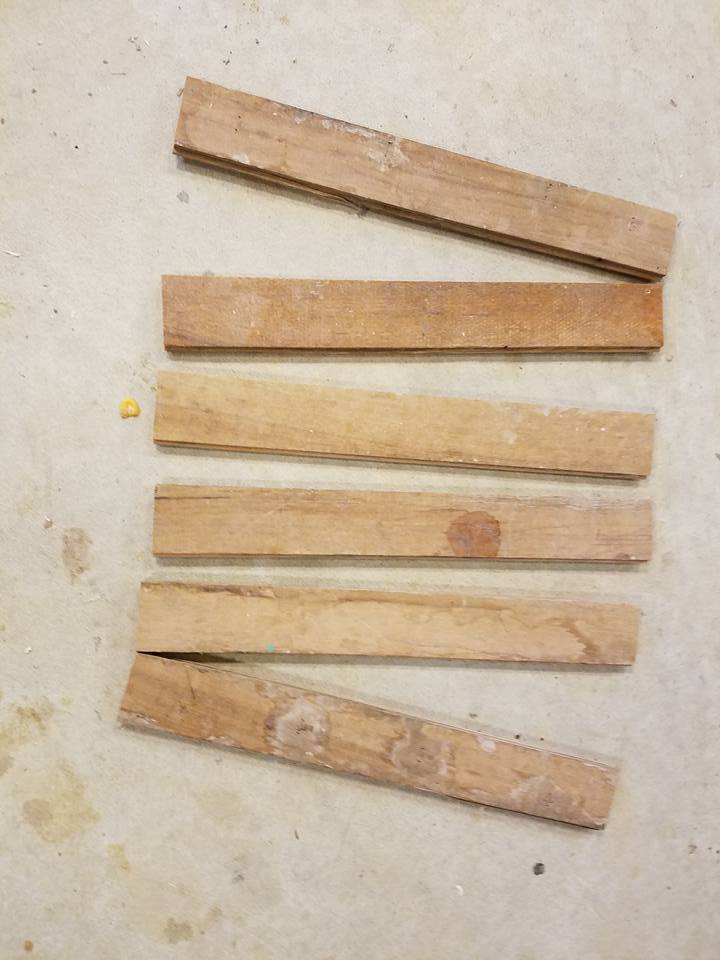 Cut all of your boards to length. Make sure all boards have a tongue and groove. If one is lacking a tongue or groove, put it on the end. Cut all of your boards to length. Make sure all boards have a tongue and groove. If one is lacking a tongue or groove, put it on the end.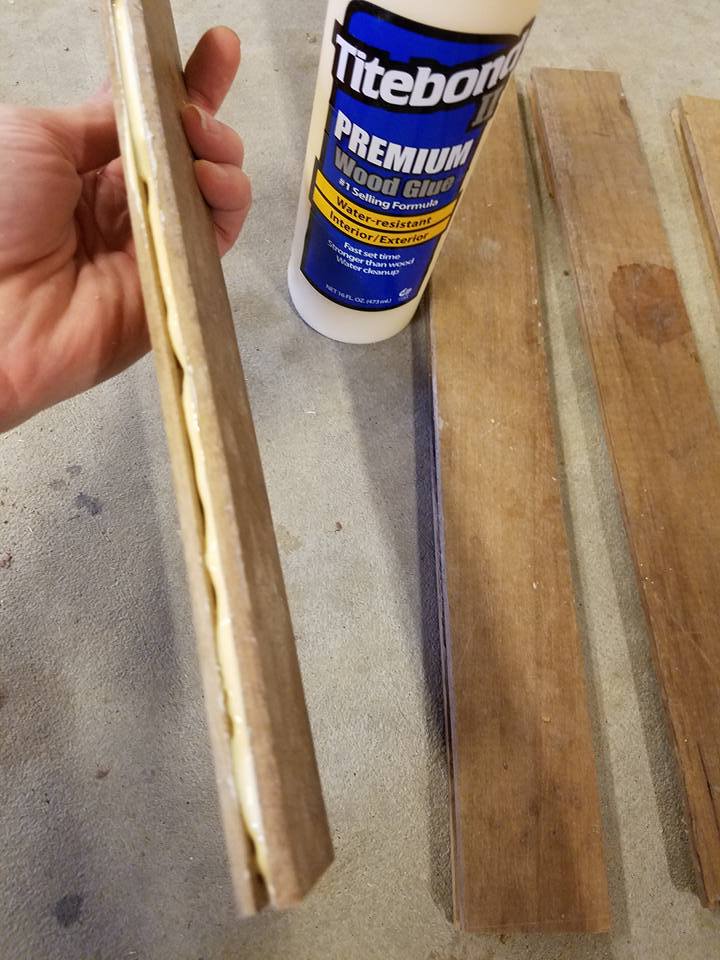 Apply a generous amount of glue into the grooves and attach the boards together. Apply a generous amount of glue into the grooves and attach the boards together.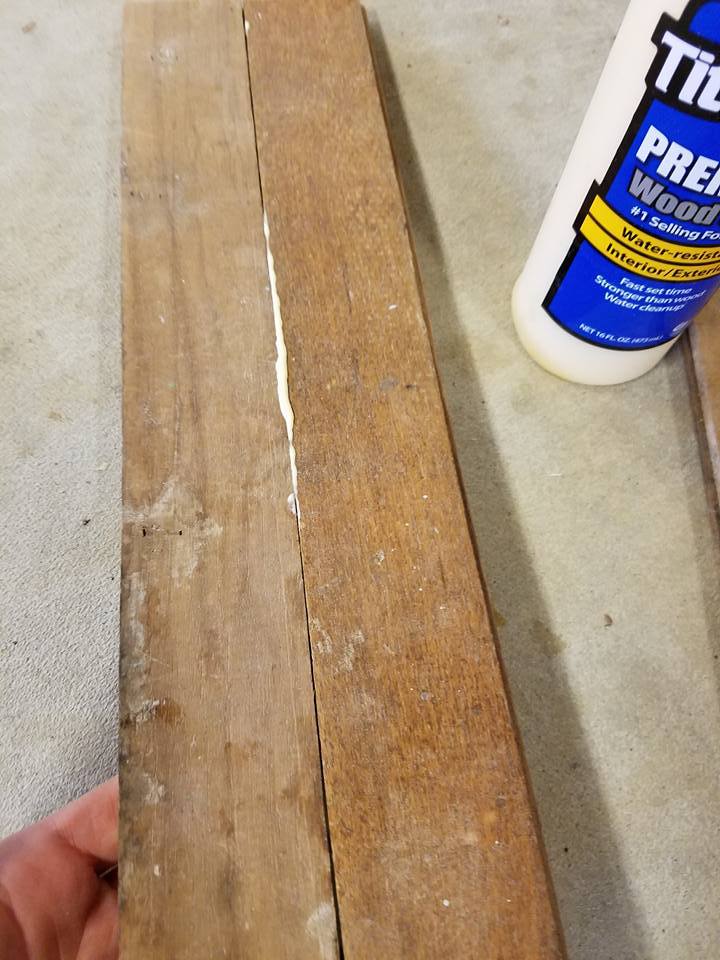 Glue should seap out. If it doesn’t, pull the boards apart and add a little more glue. Glue should seap out. If it doesn’t, pull the boards apart and add a little more glue.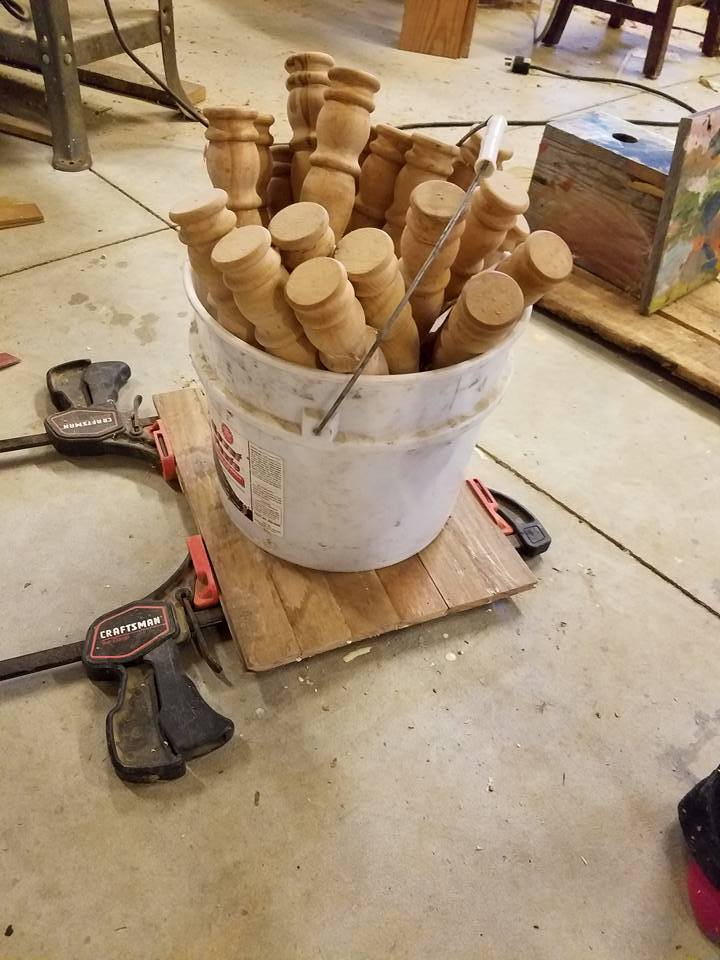 Clamp the wood flooring together until it starts to buckle. Scrape off all the glue. Set a heavy object on the boards to keep them from buckling. Finish tightening clamps. Scrape off any remaining glue. Allow to dry. Clamp the wood flooring together until it starts to buckle. Scrape off all the glue. Set a heavy object on the boards to keep them from buckling. Finish tightening clamps. Scrape off any remaining glue. Allow to dry.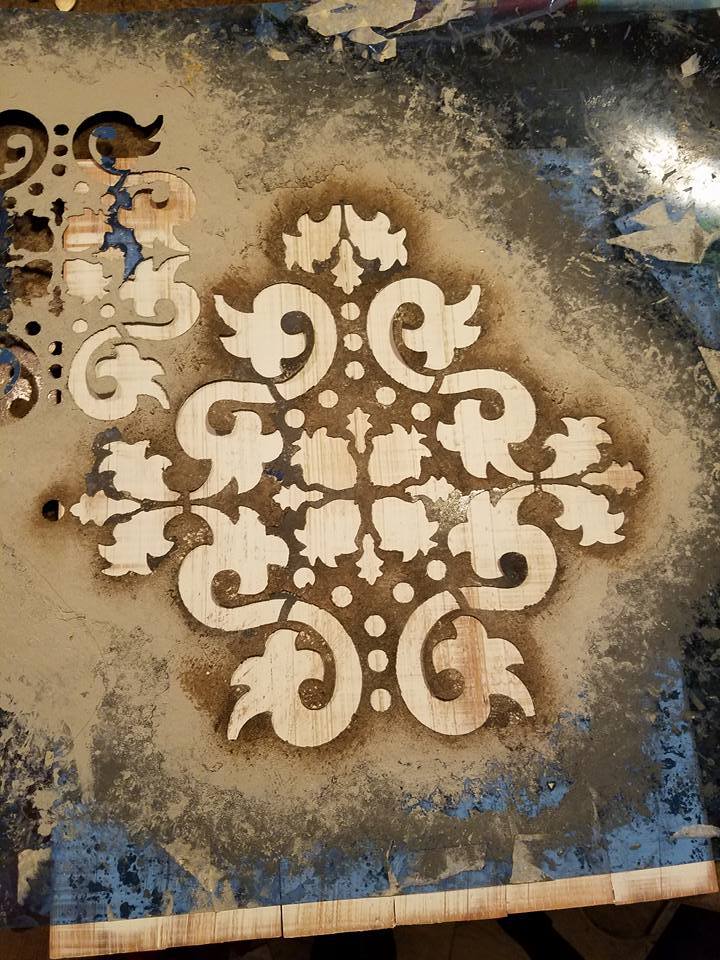 Sand the boards with 120 grit and then 220 grit sandpaper. Unless you have removed all the wax or poly from the surface, use chalk paint. Chalk paint will adhere to any surface. After it dries, sand with 220 grit sandpaper to remove paint from edges and some areas. Center a stencil on the surface. Use a measuring tape if needed. Sand the boards with 120 grit and then 220 grit sandpaper. Unless you have removed all the wax or poly from the surface, use chalk paint. Chalk paint will adhere to any surface. After it dries, sand with 220 grit sandpaper to remove paint from edges and some areas. Center a stencil on the surface. Use a measuring tape if needed.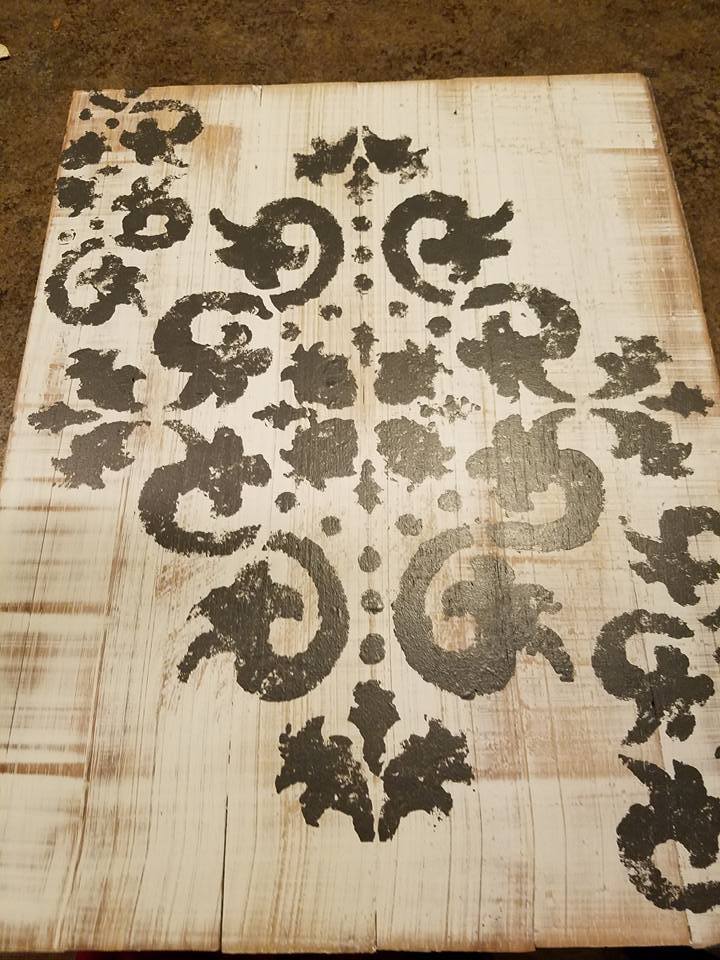 Dip a sponge into the lid of your navy/charcoal paint. Lightly dab it onto the stencil. The one above is from hobby lobby. For this stencil. I had to wait for the paint to dry on the tray bottom as well as the stencil and flip the stencil over. Not all stencils require this. After it dries, sand it again with 220 grit, wipe your repurpose wood floor with a damp cloth and apply a coat of wax or water based polyurethane and finish building the serving tray. Dip a sponge into the lid of your navy/charcoal paint. Lightly dab it onto the stencil. The one above is from hobby lobby. For this stencil. I had to wait for the paint to dry on the tray bottom as well as the stencil and flip the stencil over. Not all stencils require this. After it dries, sand it again with 220 grit, wipe your repurpose wood floor with a damp cloth and apply a coat of wax or water based polyurethane and finish building the serving tray.Click here for wood serving tray plans to see instructions for attaching the sides and bottom and to see more serving tray ideas.
|
Pingback: DIY Serving Tray - Lisa Laker Interior Design