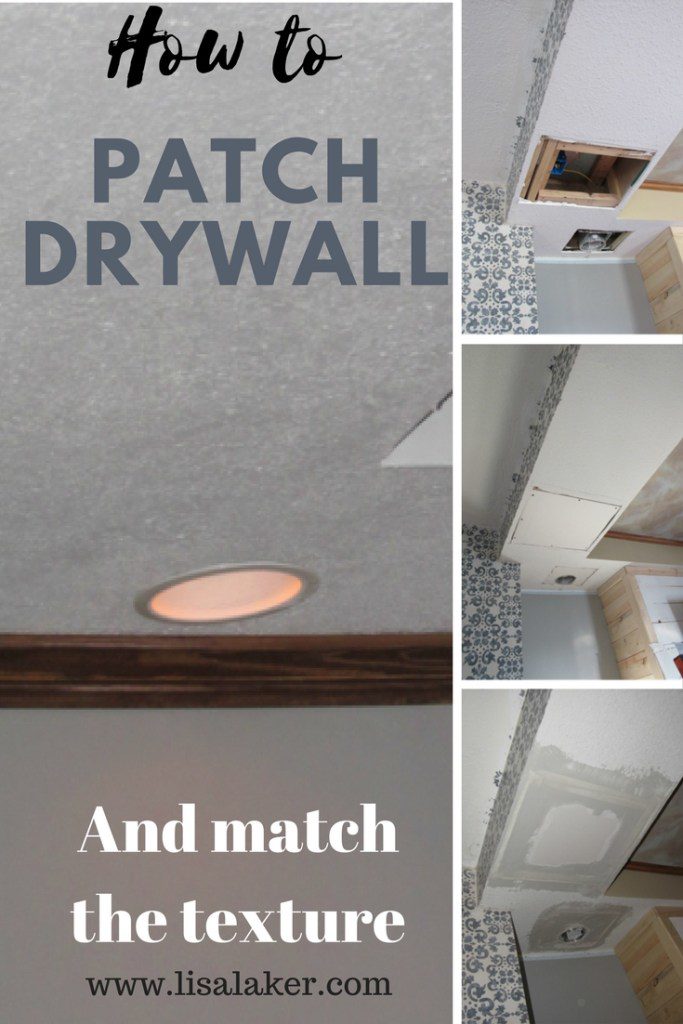
How to patch drywall
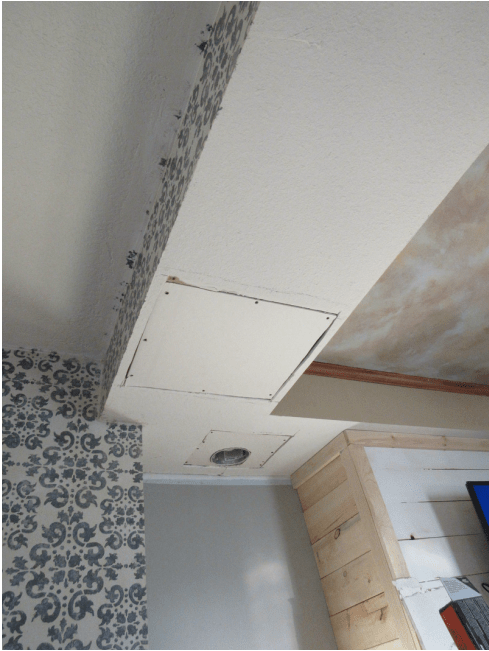
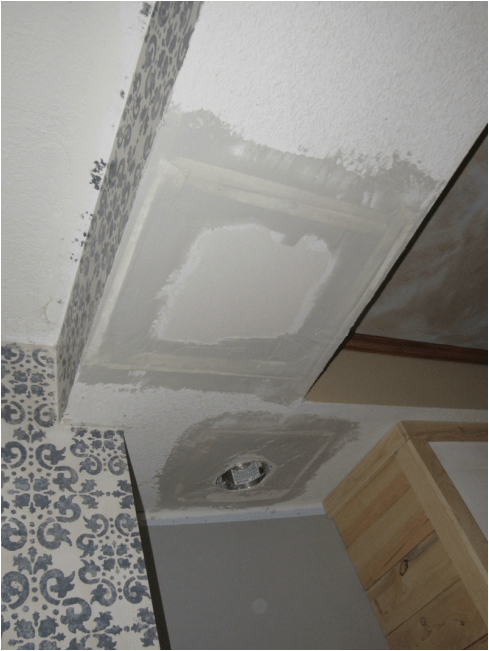
With the addition of our fireplace, I decided to move my can lighting. There are can lighting kits for remodels that only require you to cut a circle through your ceiling, hook up the can and slide the unit into the hole which would not require drywall repair. But since I was going to have to tear out the housing units for the cans in order to patch the drywall AND there were ceiling joists where I wanted to put the new can, I decided to reuse the original housing units. Soooo… I had some large holes in my ceiling.
I’m going to show you the odd things that happen:
- when drywall doesn’t sit flush
- when the hole isn’t perfectly square
- how to match up texture
You will need:
- measure tape
- drywall
- utility knife
- drywall saw
- drywall screws
- driver
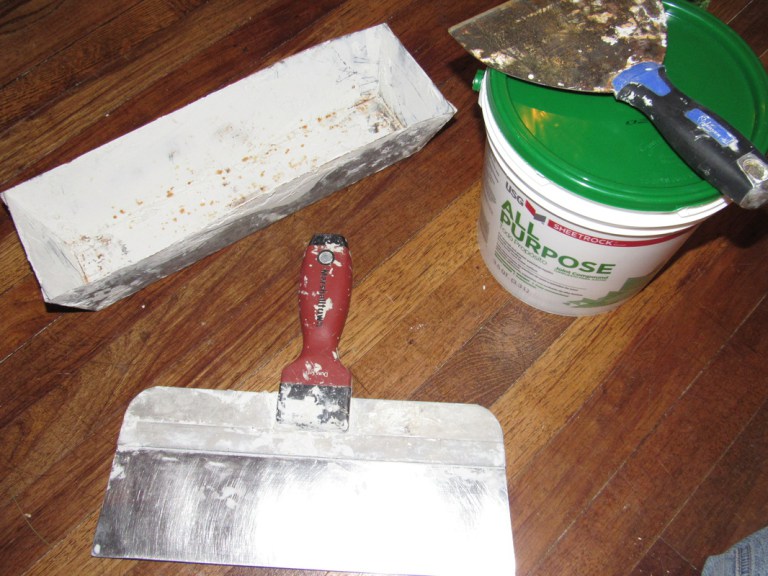
- bucket of mud
- drywall tape
- 6″ joint knife
- 12-14″ joint knife
- sander and sandpaper or screens
- mask and goggles
- cans of spray texture (if needed) purchase twice as much for the square footage you need
- plastic, tape, newspaper, old sheets (as you see fit)
- primer, paint, paint brush, roller (as you see fit)
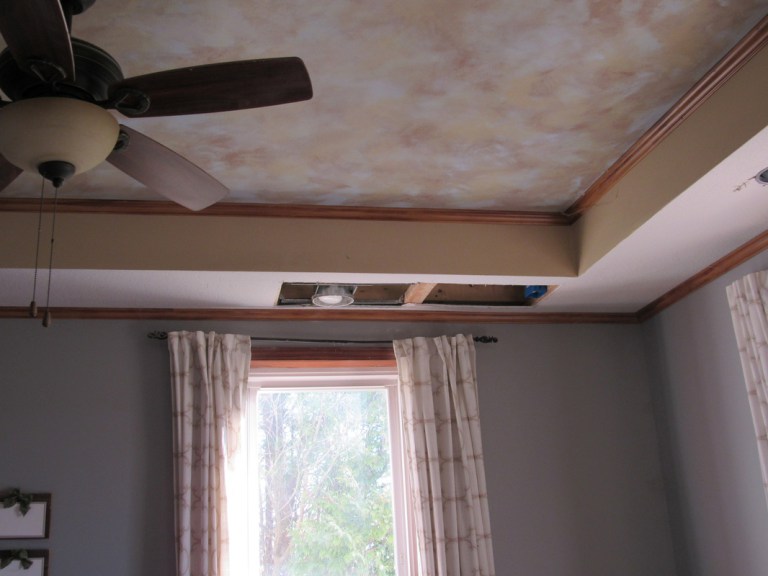
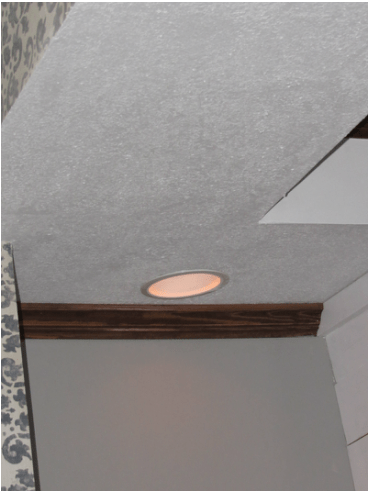
I also decided that since I was making a mess it was the perfect time to move this can down so it was centered on the window.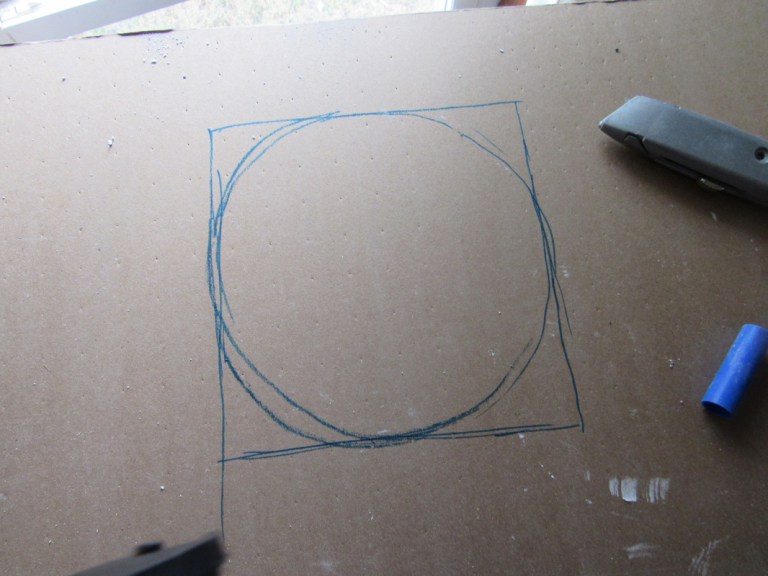
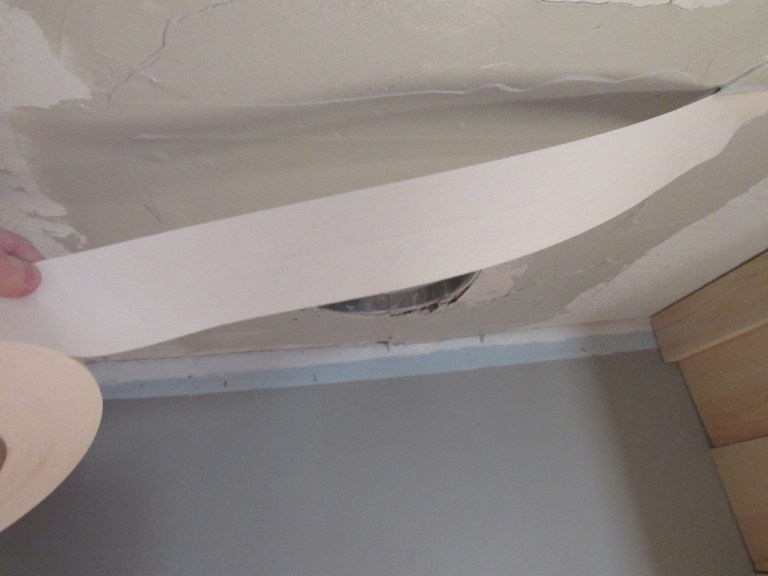
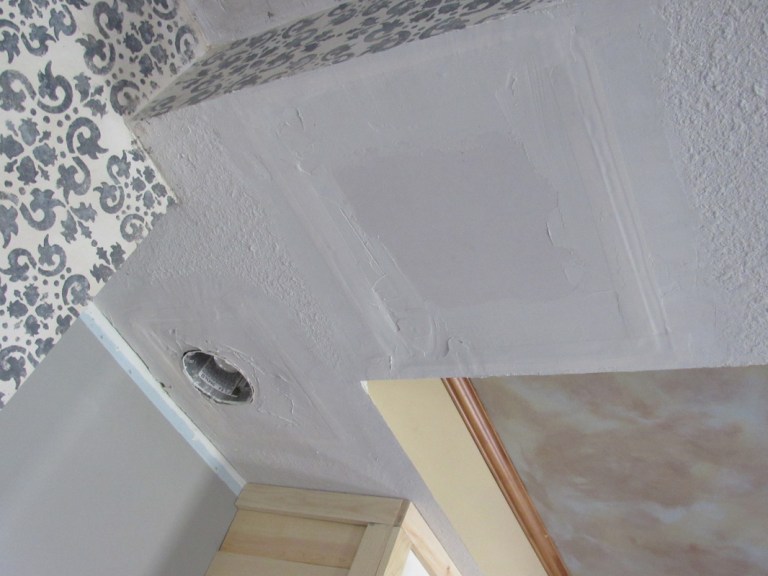
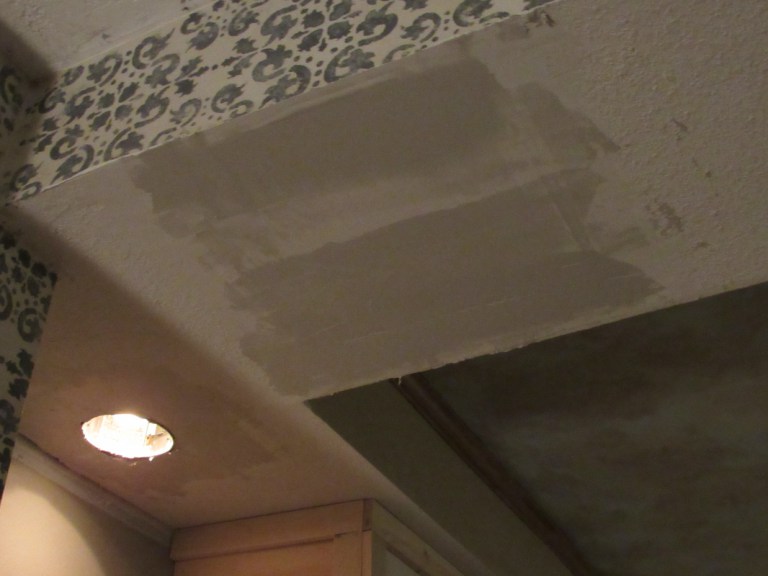
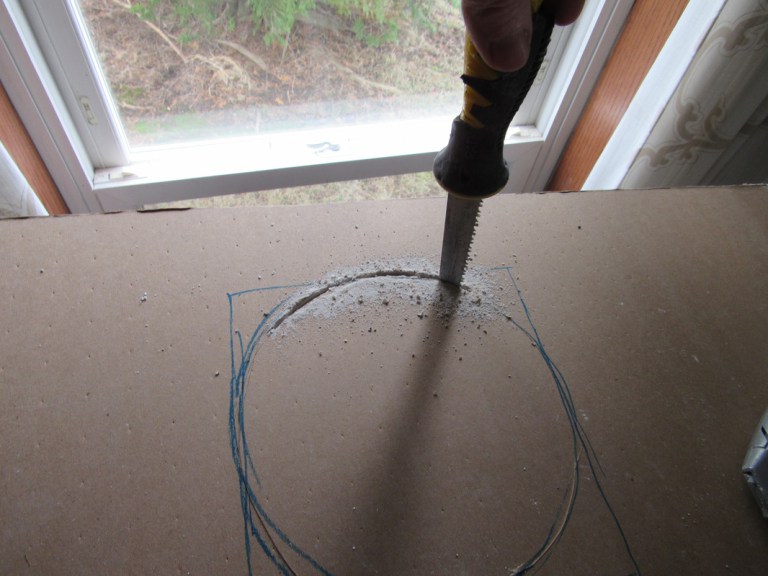 Drywall comes in different thicknesses. Measure the thickness of the drywall before you purchase a piece to patch in. If you are using a thicker or thinner piece to fill the hole, it will be noticeable. I needed 3/8. If you can’t find small damaged pieces at your hardware and need a way to hall it, bring along a utility knife and cut the piece there. If you need a full sheet, they come 4′ x 8′ so you will need a truck or a trailer.To cut drywall, take a sharp utility knife and score the top from one end to the other. Stand the drywall up and bend it. It should snap in half. Then use your utility knife to cut through the back.Measure the width and length of the hole. If your hole isn’t perfectly square, you will want to use widest measurements and trim it to fit. (shown below) To cut out the can, measure from the side of the hole to the edge of the can and mark your drywall on the back. Then measure the width of the outside of the can (mine is 6 1/4″) and place another mark on the back of your drywall (6 1/4″ for me) from the first mark. You CANNOT measure from the outside on all four sides of your can unless the hole is perfectly square and the drywall is already cut to fit. Then measure from the back of the hole to the outside edge of the can and place the mark on your drywall piece. And mark the width of the can. Extend all the lines to make a square and the round the edges. Gouge in with your utility knife to make a slot large enough to fit your drywall saw then use the drywall saw to cut the rest of the hole. You can also use an oscillating tool for this step but it will make a lot of dust.
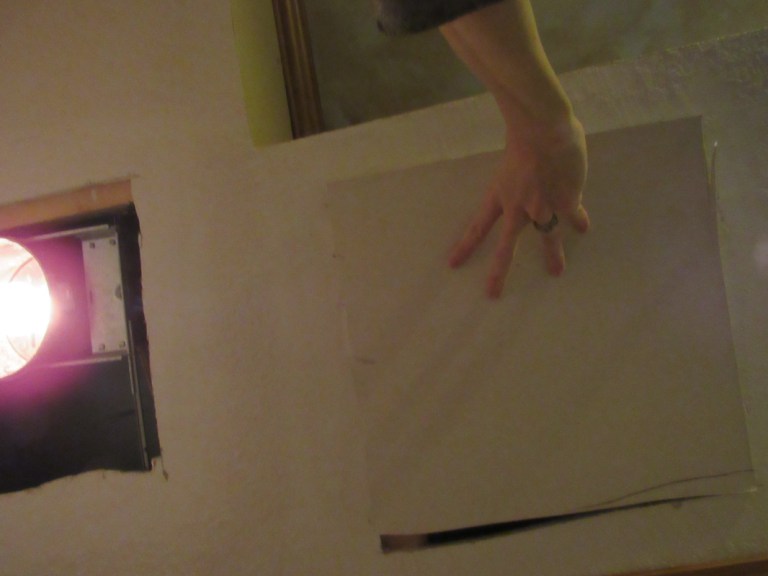 If I was cutting through a wall, I could have made the holes a lot straighter. But since I wasn’t, I expected the hole to be a little crooked. After I cut the circle out, I pushed the drywall up into the hole and used a marker to mark the areas I needed to trim.
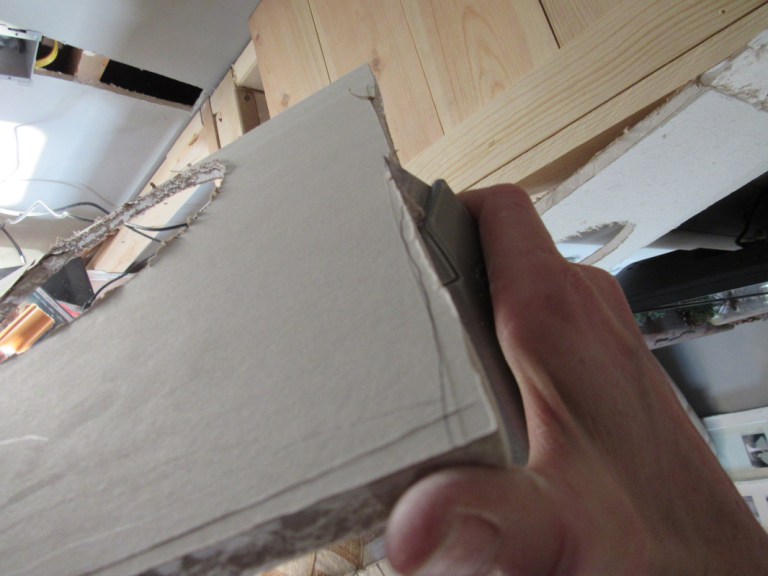
You can score the top with a knife and bend the piece you are removing back and break it off. Or you can shave it off.
Next, screw the pieces in with drywall screws. You have to have 2x4s on all sides. If you can push in on the drywall, the seams will eventually crack.
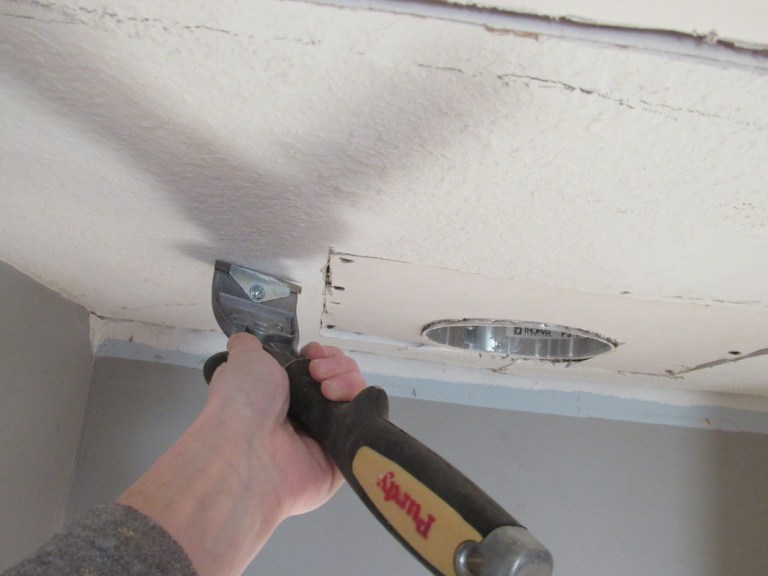
If there is ceiling texture, it needs scraped off first or there will be noticeable humps on all of the seams. You can spray unpainted ceiling texture with water to make removing it easier. If it’s painted, you can scrape through down the original drywall with a sharp scraper.

Using your small joint knife, spread a moderate amount of mud along the seam.
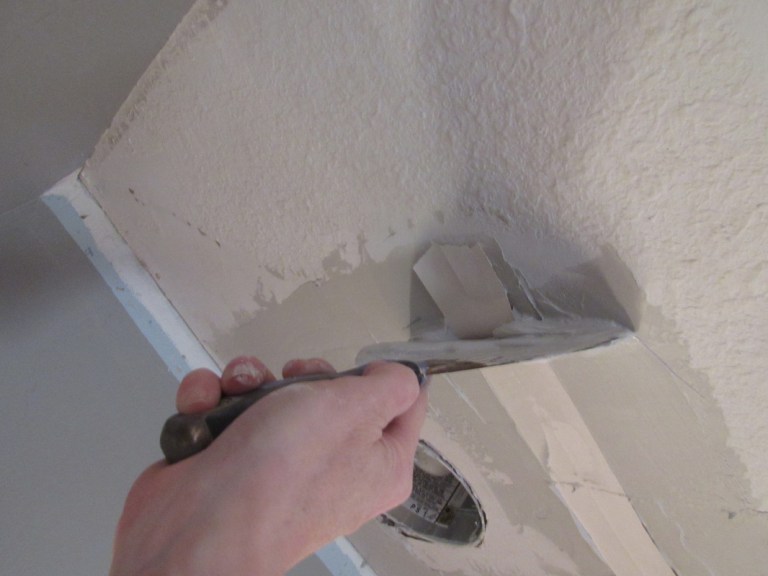
Then push the joint knife into the center of the tape and drag it toward the outside flattening the tape to the ceiling. Add the mud that is on your joint knife back onto the tape and do your best to smooth it over the original drywall and the new piece. Keep it flat as possible, It doesn’t need to be perfect at this point. Make sure that you don’t have any large peeks or bumps or you will need to sand in between coats. Scrape any excess mud off and back into the bucket.
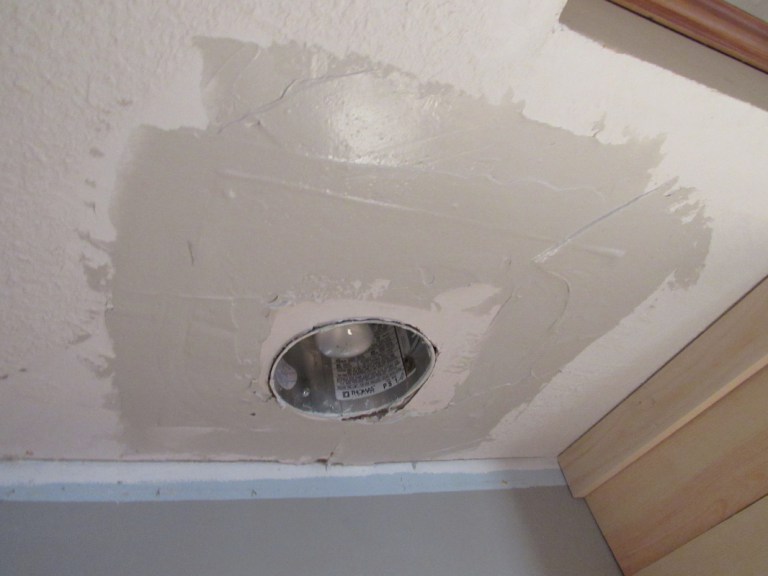
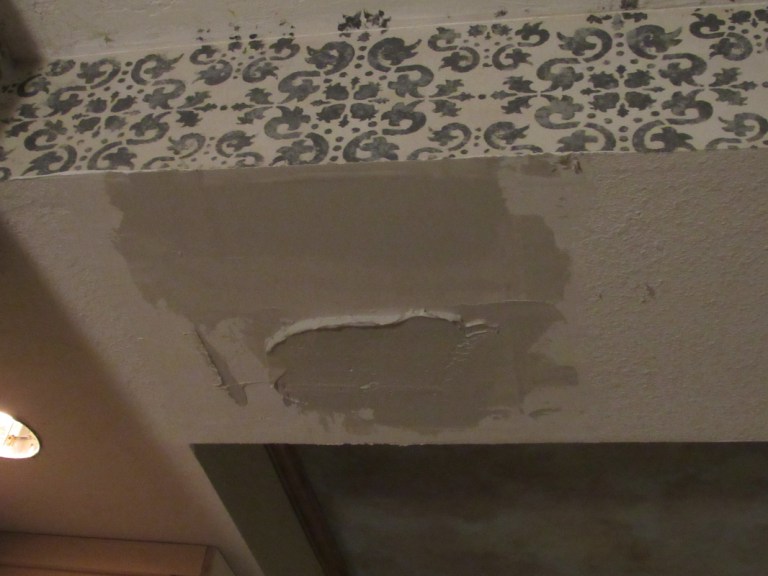
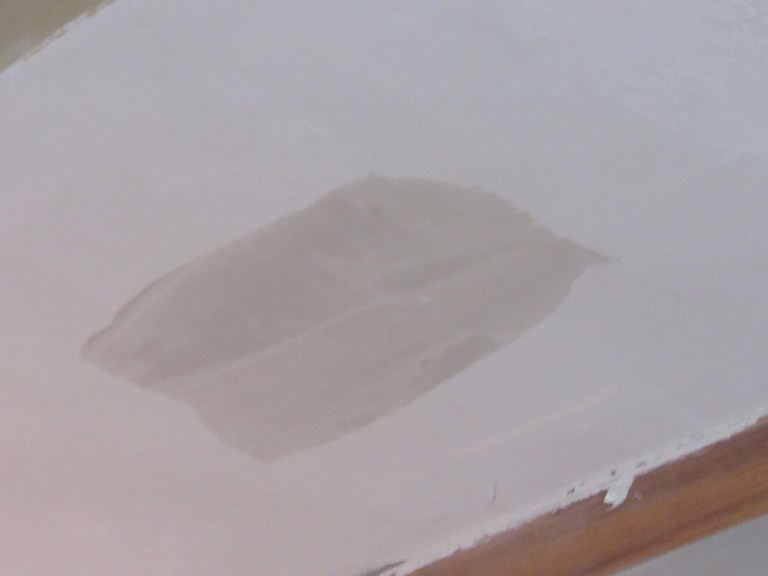
The mud will shrink as it dries, requiring a second and possibly 3rd and 4th coat. The first coat will take hours to dry. You can see the uneveness of my piece. I do not understand how if replacing a hole with the same thickness of drywall that some edges are even and others aren’t. But this is how to fix it: Use a wide joint knife. This one is 12″.
Use the small joint knife to spread a moderate amount of mud back onto the seams and flatten it with the large joint knife. I find that using a small joint knife to apply the mud is easier if you are working on a ceiling. If you are working on a wall, the wide knife should be fine.
There are also small humps where I taped the seams (which is unavoidable). Spread mud onto the center and drag the large spatula over the length of the tape keeping it as level as possible. Then hold the spatula parallel with the tape and lightly drag the mud away from the hump and fan it out. You can also fade it by dragging the large spatula diagonally across the hump. If this is the first time you are mudding, keep the coats of mud thin and do several coats to avoid having to sand between coats.
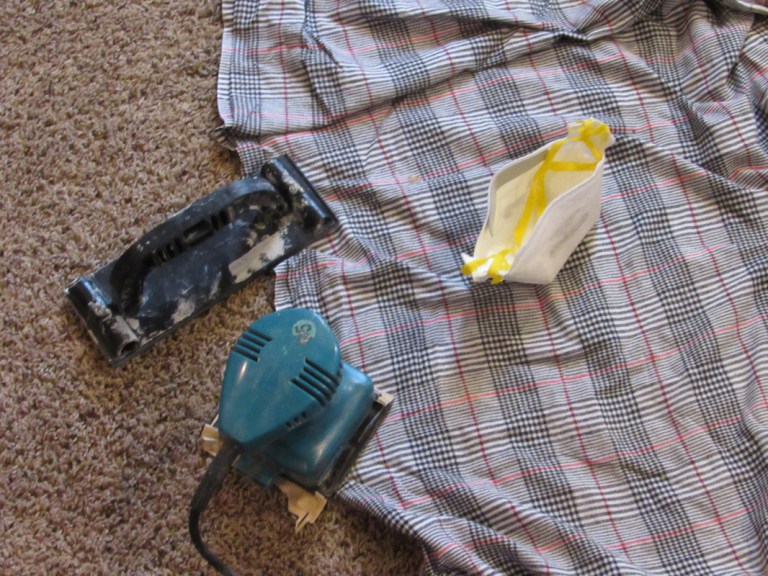
When you get everything level (or if you applied too much mud) it’s time to sand. Use a mask and if you are working on a ceiling use goggles. I’m using an old electric sander because it’s a ceiling and I know from past experience that I will get knots in my shoulder and neck muscles and end up with a migraine. An electric sander (about $35) is a lot less work (but does create a lot more dust.) You can also a 9″ hand sander with either sanding screens or 120 grit sand paper. There are also hand sanders that connect to a pole but I have a hard time with them.
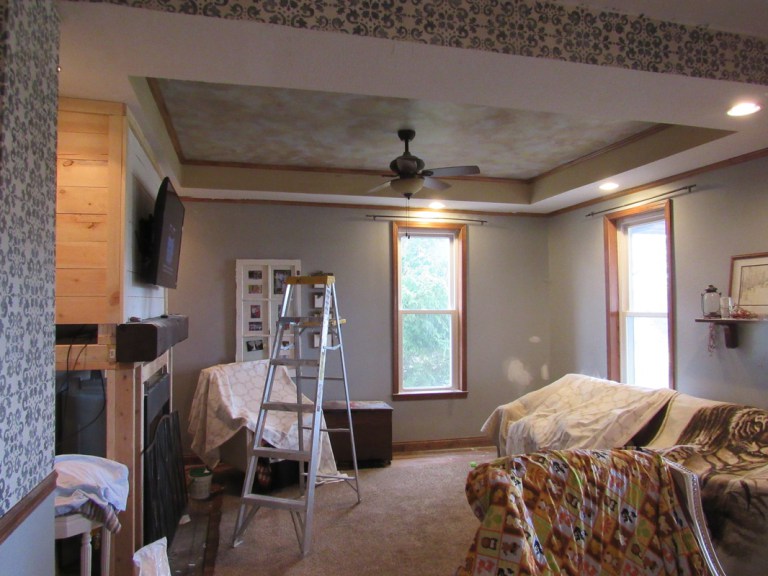
It is easier to cover everything than spend hours wiping everything down. I even put a big sheet over my carpet because drywall dust can ruin a vacuum.
After you sand, you may see spots that need another coat of mud. Again, if this is your first attempt, you may see several spots and you may need to sand several times
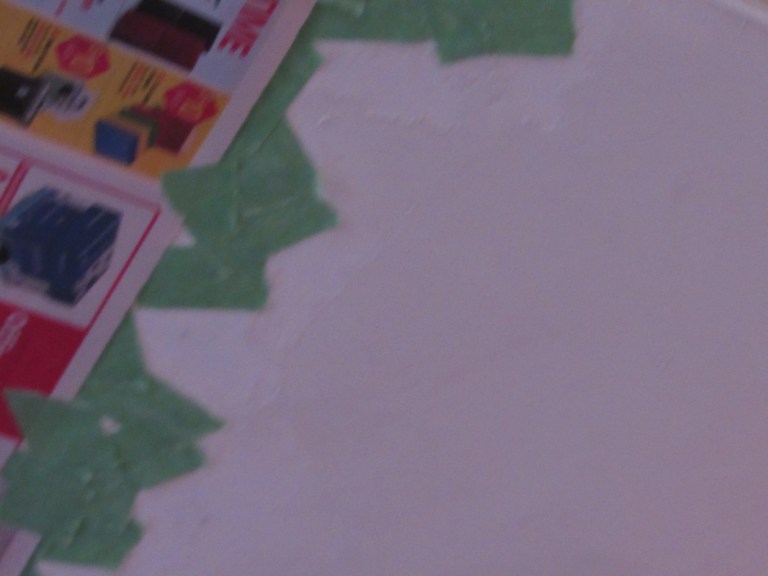
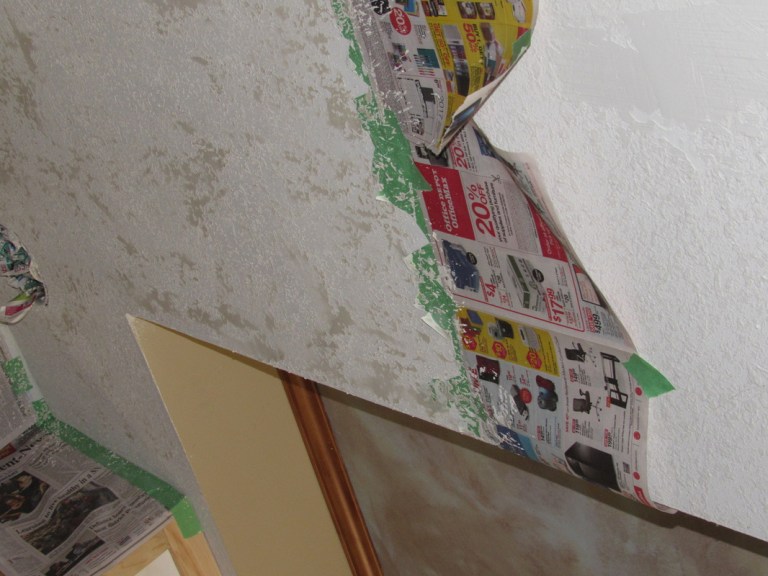
To blend the texture, use you scraper and scrape a jagged line into your original ceiling. Then use painters tape to tape over the original texture along the line. Then tape a piece of newspaper or plastic over the original texture.
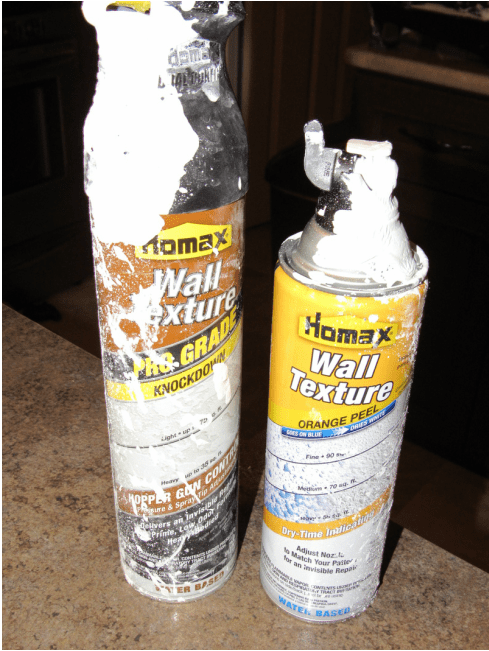
There is either popcorn, knockdown (sometimes called spanish lace), or orange peel. To determine what you have, compare your texture to the picture on the can. You can purchase these at your local hardware. Following the directions on the can, spray your ceiling. Keep in mind that unless you are using the same exact application method that was used to put your original texture on, that it will be hard to get it exact. I ended up needing 2 coats to get close to the texture that was originally there.
Finally, prime, paint, and clean up!