

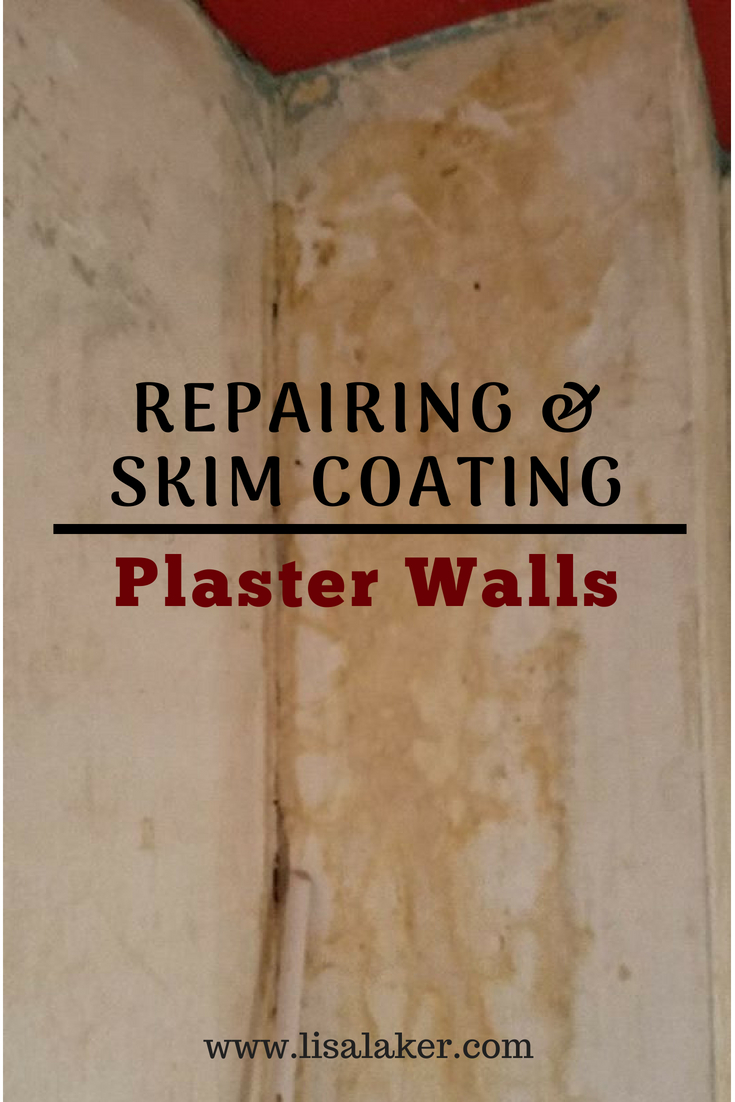
Skim Coating Rough Plaster Walls
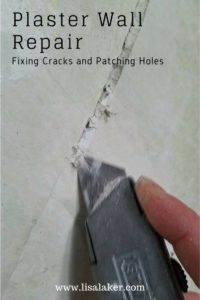
Plaster Wall Repair
Back in the days before drywall, walls were framed as straight as possible and covered with rough sawn 1/2″x2″ pieces of slat board and then covered with plaster. Nothing was even and slight shifting in the home due to settling caused cracks and separated corners. We are lucky today to have walls framed straight applied with sheets of 4′ wide drywall do give us a smooth even wall surface. Since tear out alone would cost more than a DIY repair job and the plaster was repairable, I decided it was was best to skim coat. Here’s how to skim coat plaster walls.
https://www.youtube.com/watch?v=oScrekisAMg
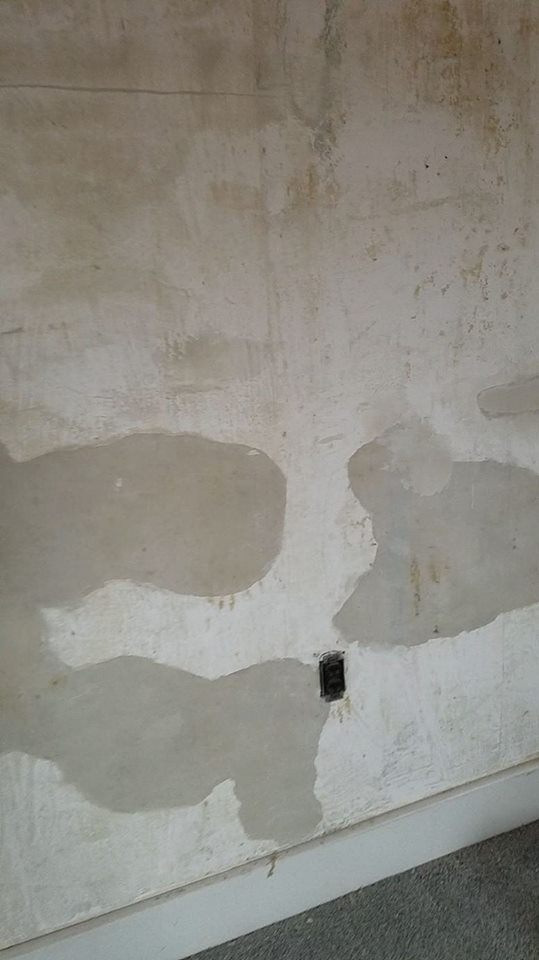
After one coat of mud.
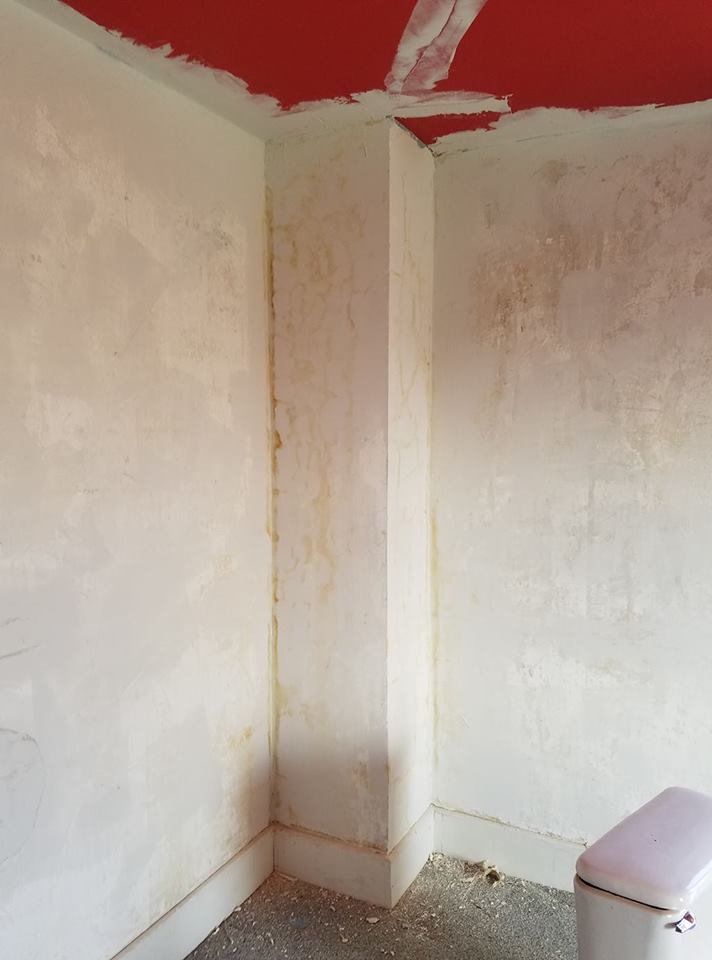
2nd coat of mud. 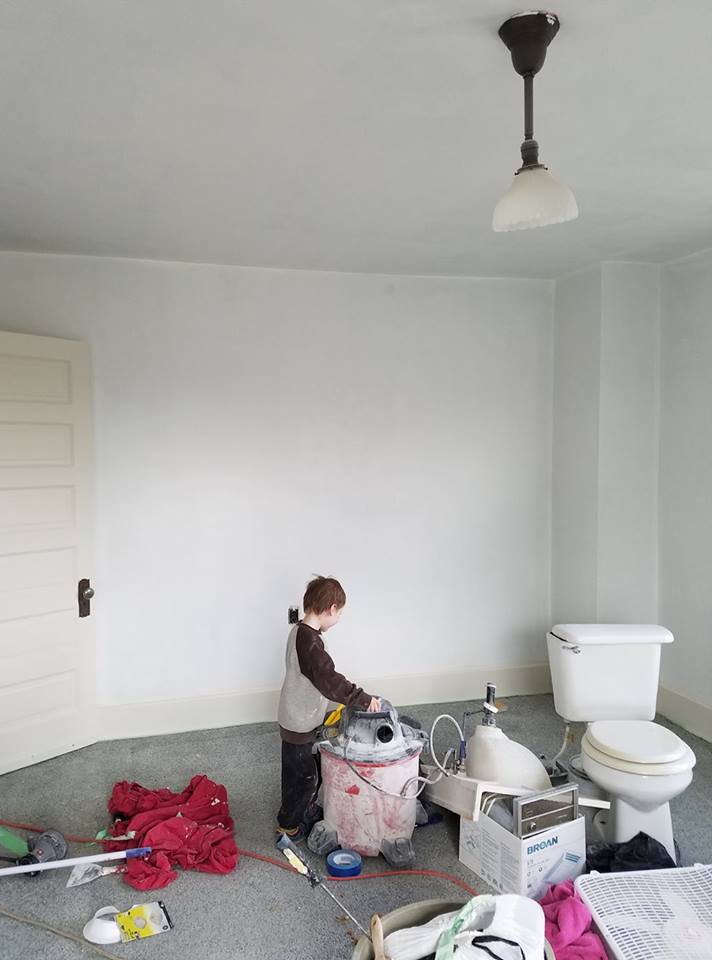
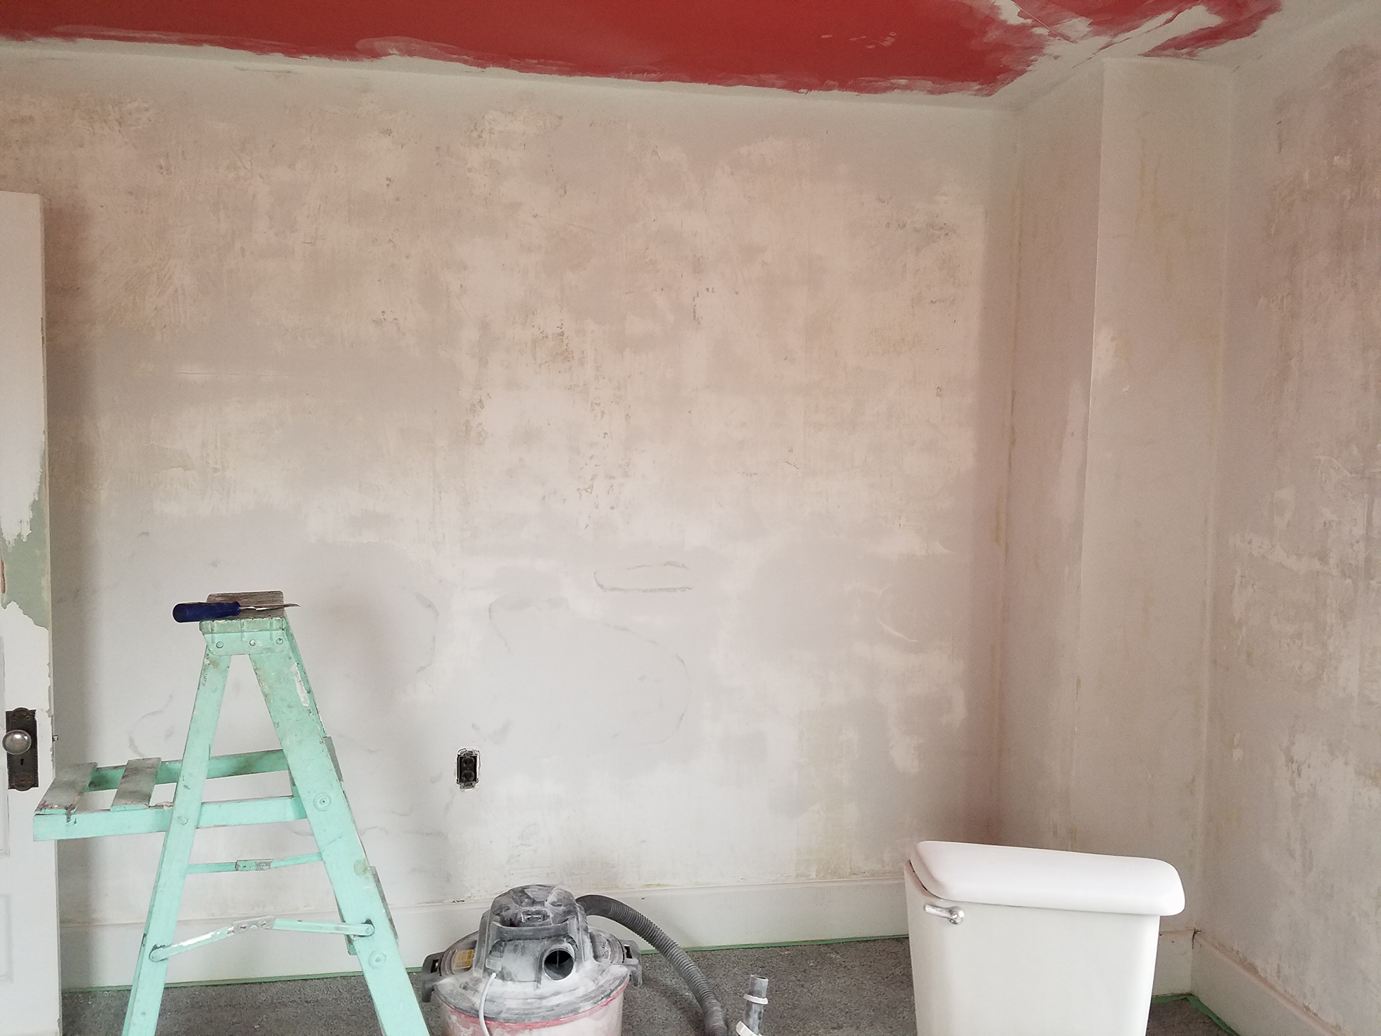
Sanded and primed.
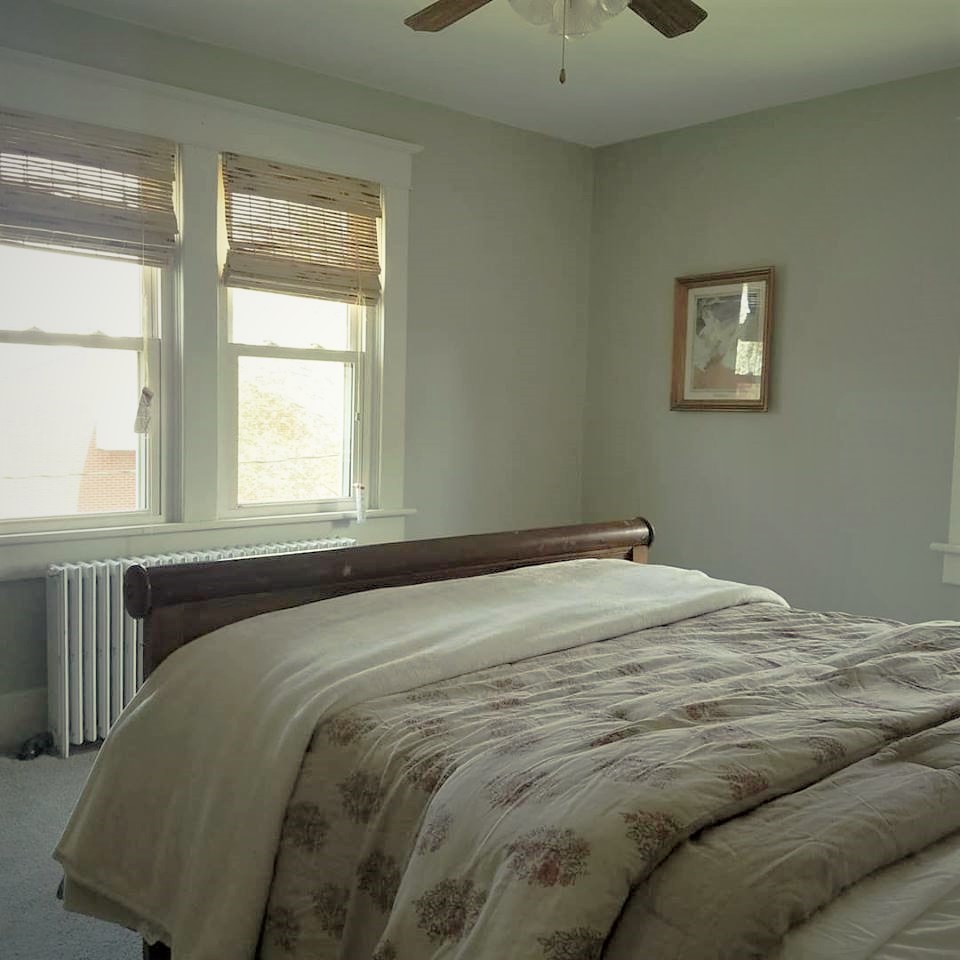
And painted and staged!
If you enjoyed this video follow me on you tube to keep up with more of my home improvement projects!
Click the picture below to see how to patch cracks and holes!
Pingback: Conference Room - Lisa Laker Interior Design
We are planning to finish our basement soon so this post is perfect for us!
The transformation is outstanding! Bravo!
What a great tutorial! It definitely can be tricky, but it’s also amazing to see how beautiful the final product is!
It turned out so well!! You did a great job! 🙂
What a beautiful transformation. You did a great job!
It looks like it was a lot of work, but it turned out awesome!!
Pingback: Office Design - Lisa Laker Interior Design
Pingback: Removing Wallpaper - Lisa Laker Interior Design
Pingback: Executive Office - Lisa Laker Interior Design