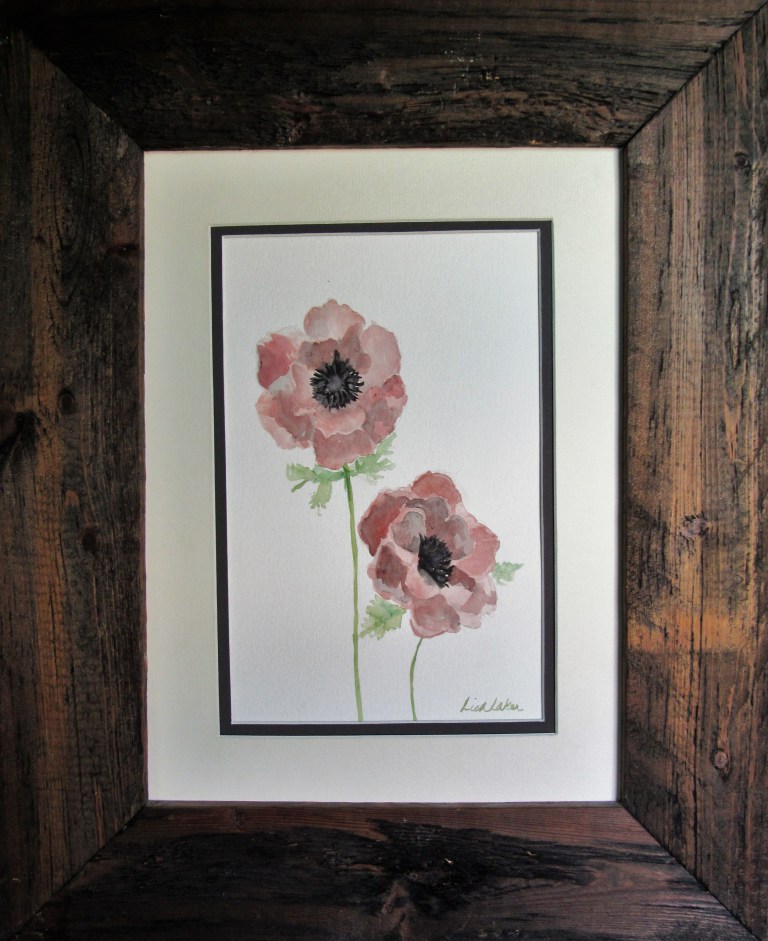
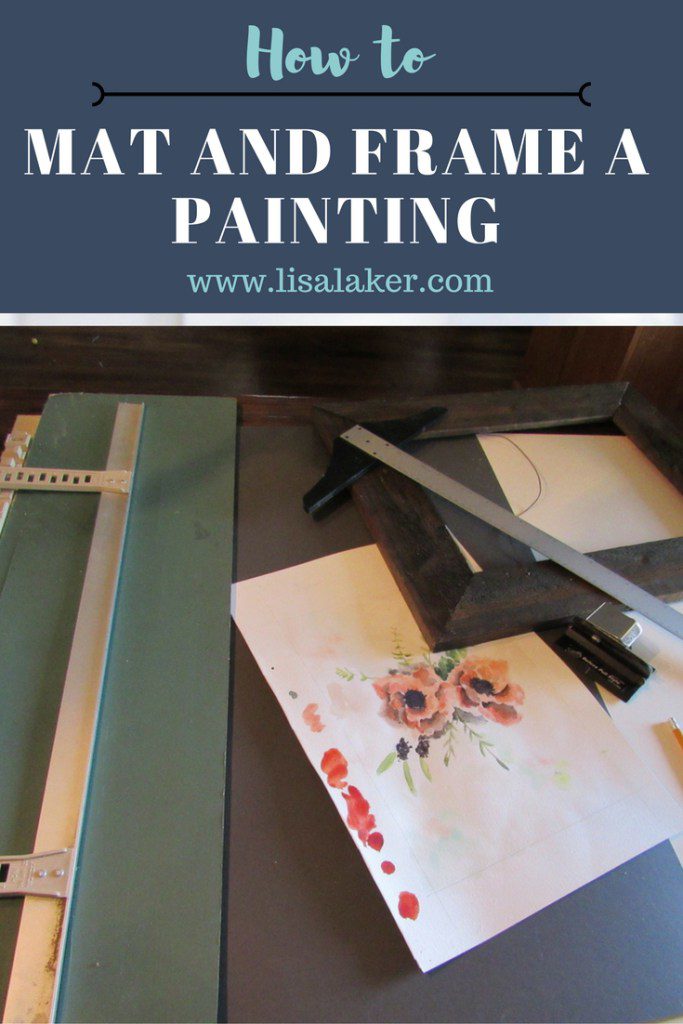
Mat and frame a picture
Disclosure: This post includes affiliate links, which means I receive a small commission if you make a purchase through my links. There is no extra cost to you. Purchasing through my affiliate links help support my website so I am able to continue posting free content.
You will need:
picture
frame
mat board (2 pieces)
Hinging Tape
utility knife
mat cutting blade
metal straight edge and scrap mat board OR mat cutter
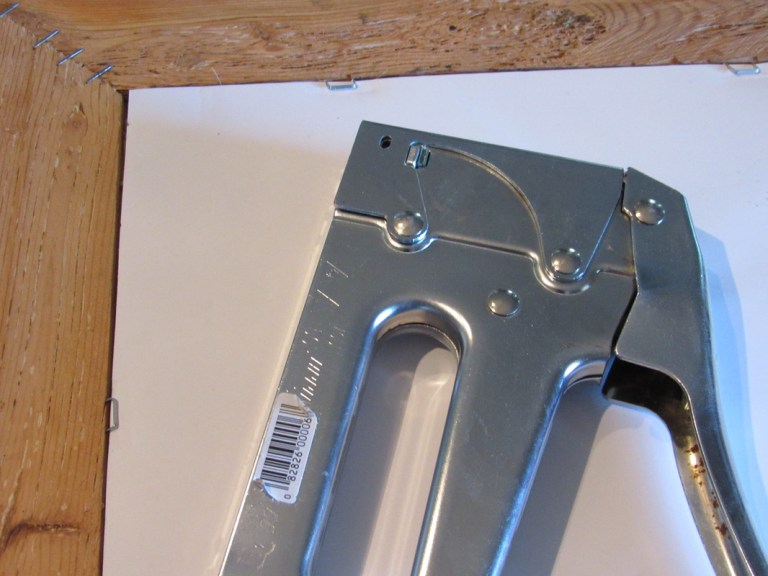
staple gun
pencil
ruler
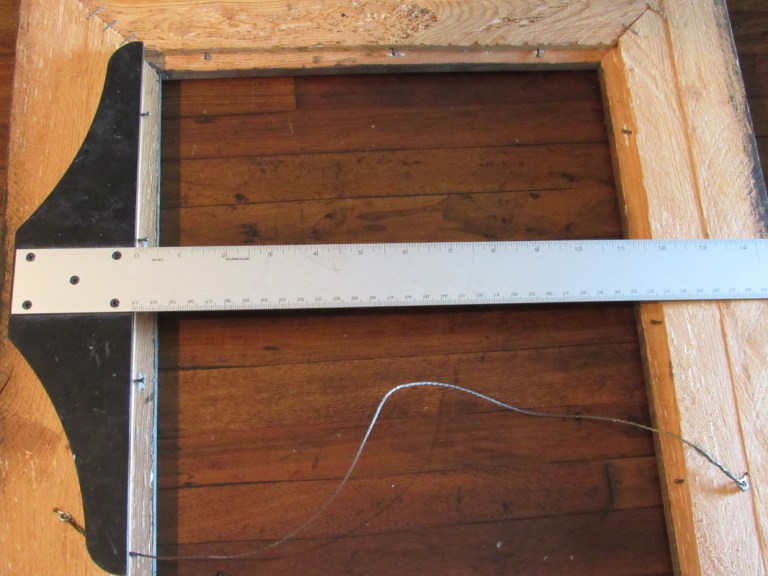
Measure the back of the frames width and length. Cut your front mat board to those dimensions. Cut your inside mat 2″ less.
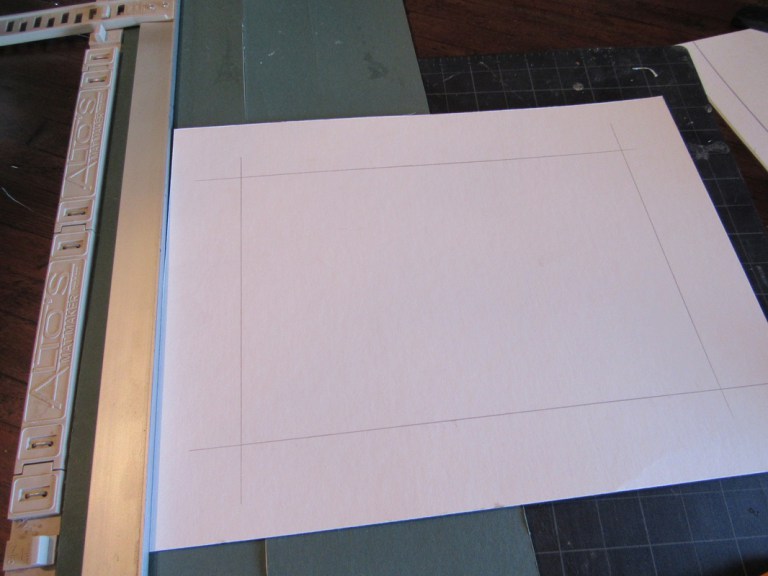
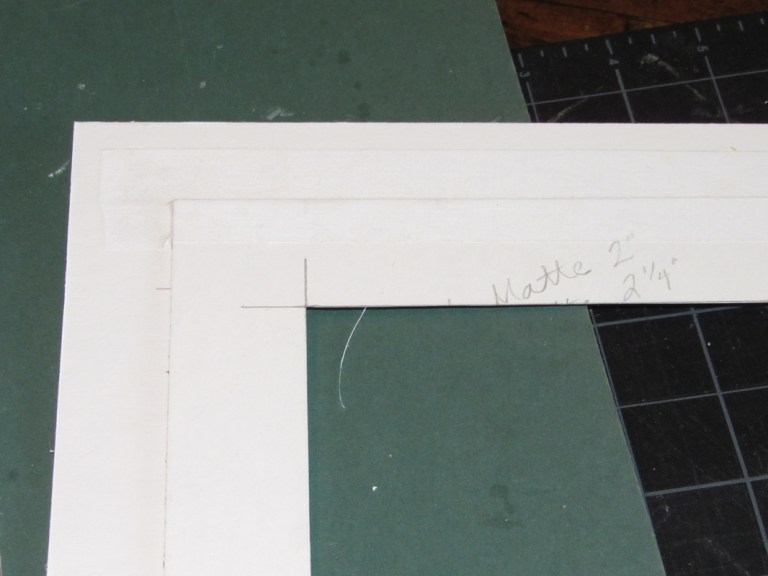
Determine how wide you want your mat board. I am using 2″. Make a small mark 2″ from the outside of your mat board. Then slide it under your mat cutting board and adjust the metal edge to the mark. If you don’t have a mat cutting board, make several marks on all 4 sides of your mat and draw a line connecting them.
Draw a line down the side of the metal edge. Do this on each side of the mat board.
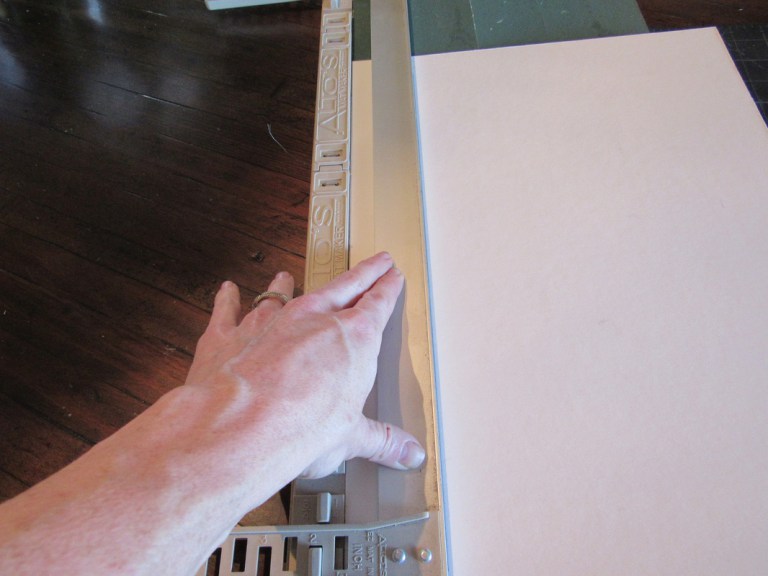
Line up the line on your mat cutter to the line on your mat board. Place your left hand on the metal edge and apply pressure. Drag you cutter lightly down the mat board a few times until it is cut through. Repeat on all 4 sides. Do not apply too much pressure to your cutter.
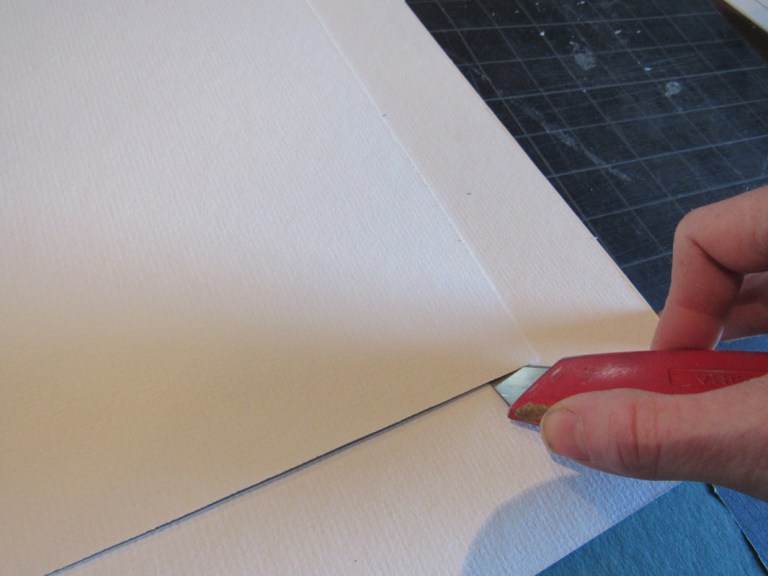
Remove the inside piece. If the corners are still not cut, insert a utility knife into the groove at the same angle and cut out the corner.
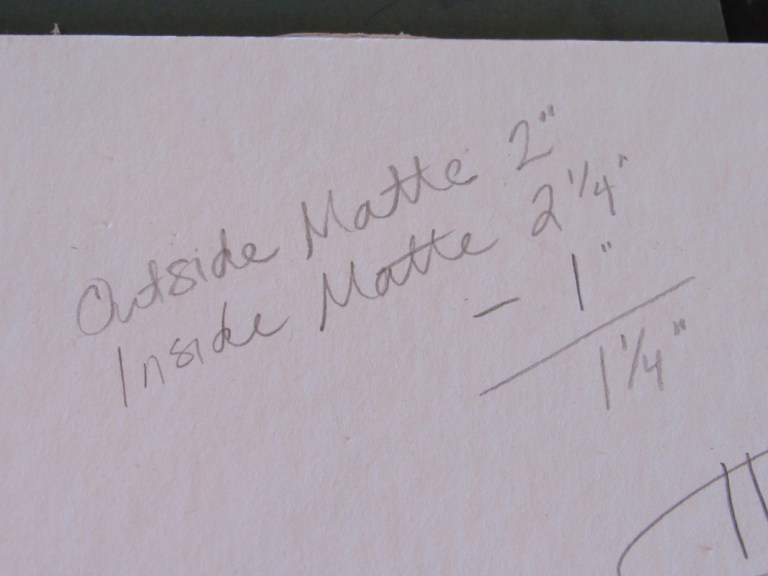
For the inside mat: add the width of the outside mat + 1/4″ then deduct 1″ (since the inside mat is cut 2″ smaller than the outside).
Set up your straight edge to cut the inside mat the same way you cut the outside.
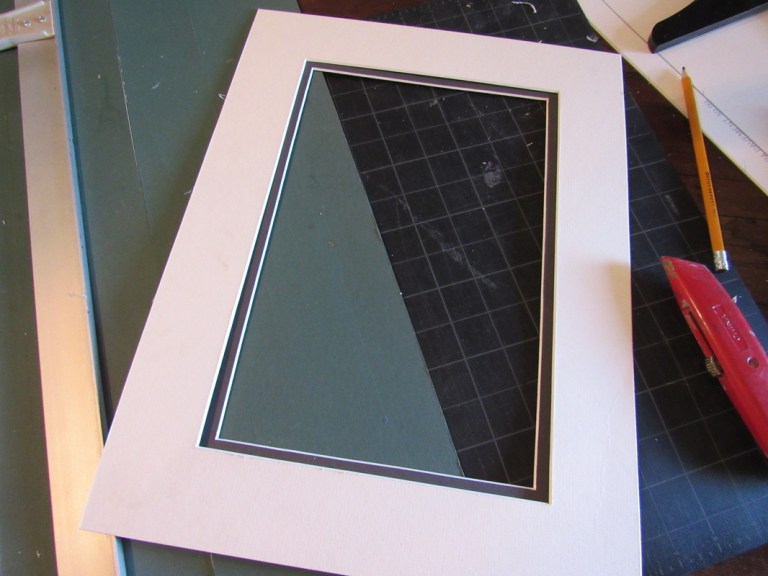
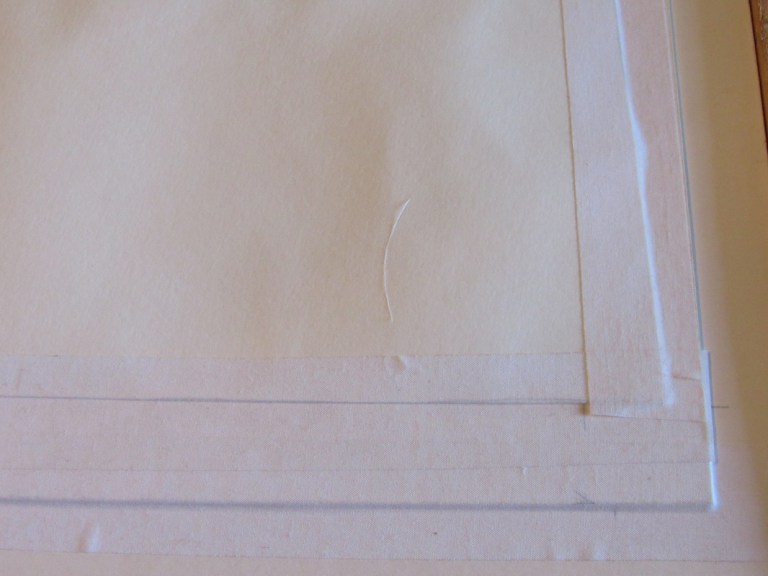
Center the inside mat on the outside mat and use hinging tape to hold them together.
Center your picture inside of the mat and secure with hinging tape.
Clean the inside and outside of the glass. Place it into the frame. Place the picture on top of it. Then cut a backer board to fit and place it over the picture. I like to use 1/4″ foam board.
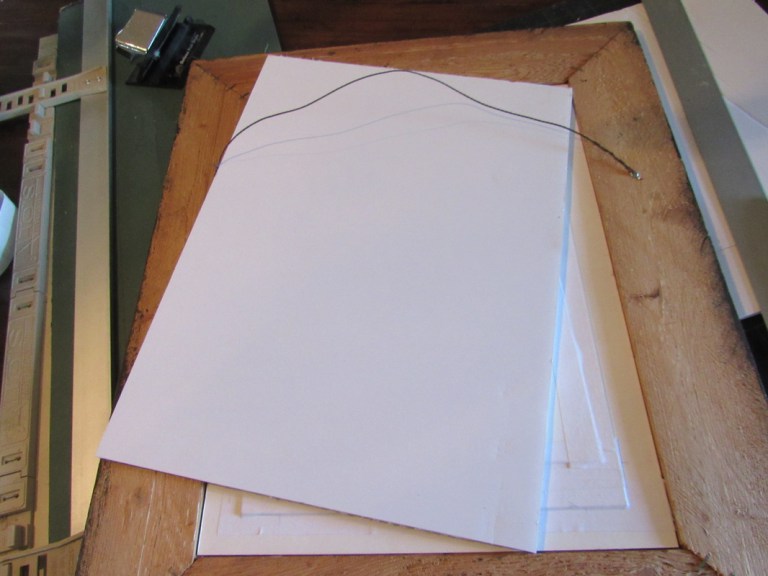
Staple it into place. Place the stapler about 1/8″-1/4″ away from the edge and angle it to staple into the wood but not the backer board. This way, if you want to change the picture or the mat, you only need to bend up the staples, switch the content and bend the staples back down.