Simple, Sturdy Drawer Construction

This drawer construction is for flush inset drawers with bottom wood guides.
***If you are using metal drawer guides, you must follow the manufactures instruction for the size of your drawer. The drawer face can remain the same size.
1. Measure each drawer opening. Subtract 1/8″ Cut all drawer fronts out of solid wood.
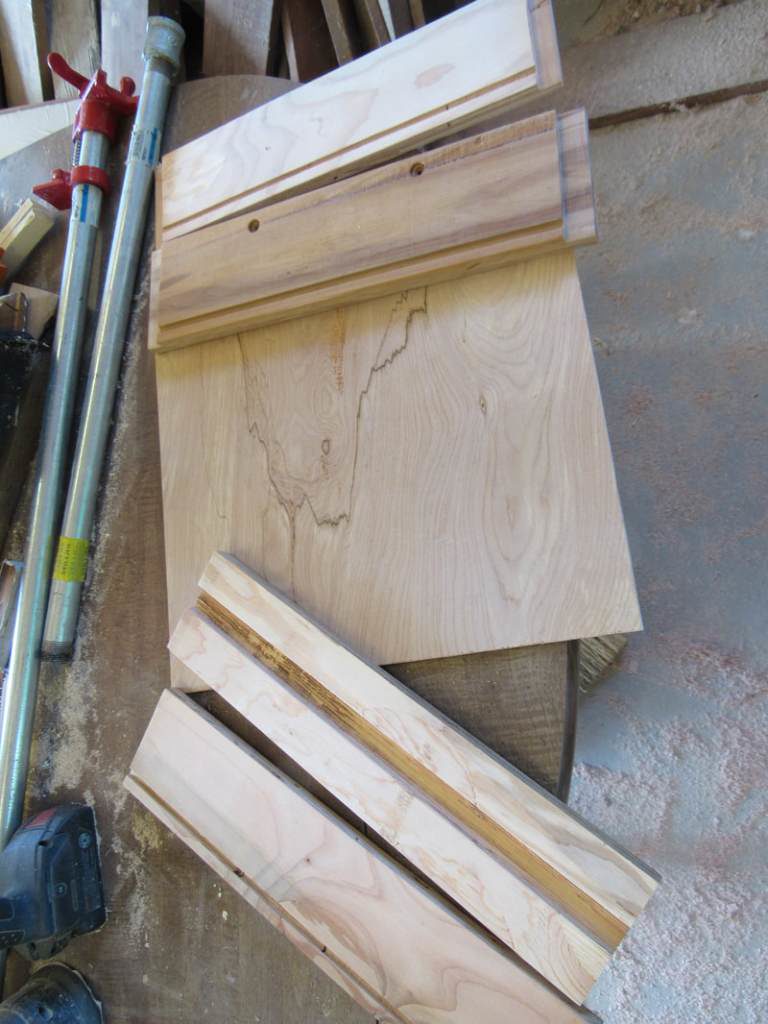
2. Rabbet the left and right side 1″, 3/8″ deep.
3. Cut the back piece 1/2″ smaller than front. Shave off 1/4″ from the height.
4. Rabbet the left and right 3/4″ 3/8″ deep
5. Cut side pieces 2″ shorter than the depth of your cabinet. Shave 1/4″ from the height.
6. Dado a 3/16″ wide slit into the inside bottom of all pieces approximately 1/2″ from the bottom, 3/8″ deep.
7. Cut a 1 1/2″ wide slot up to the bottom of your 3/16″ dado in the center back of your drawer. This is for the bottom wood guide.
8. Measure and cut 1/4″ plywood to width and depth needed. This will slide into your dado groove.
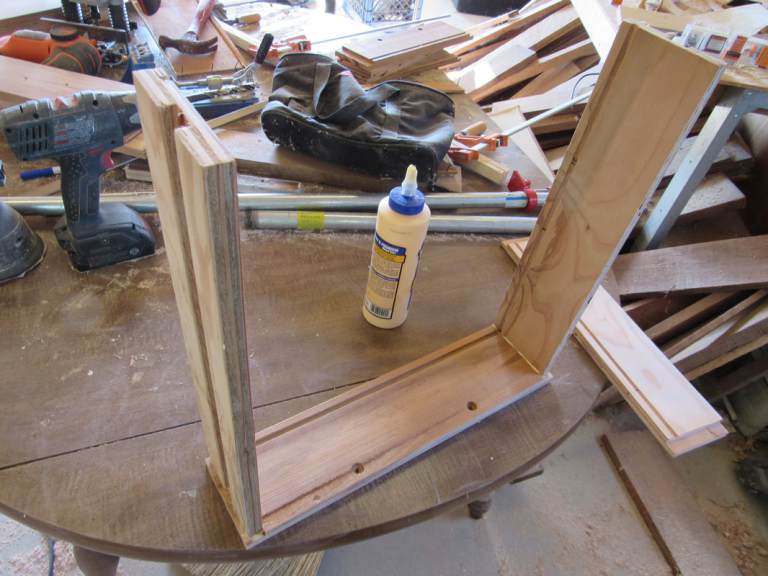
9. Glue your sides to your drawer front.
10. Slide in the 1/4″ plywood panel. Do not glue the panel in place.
11. Glue in the back of your drawer.
12. Clamp each side. Allow to dry
13. Remove clamp and add finish nails.


***Pay no attention to the groove on the outside of the drawer piece in the above pictures. Originally, I was going to use wood side guides. Instead, I decided on a bottom wood guide.
