
Porch Addition
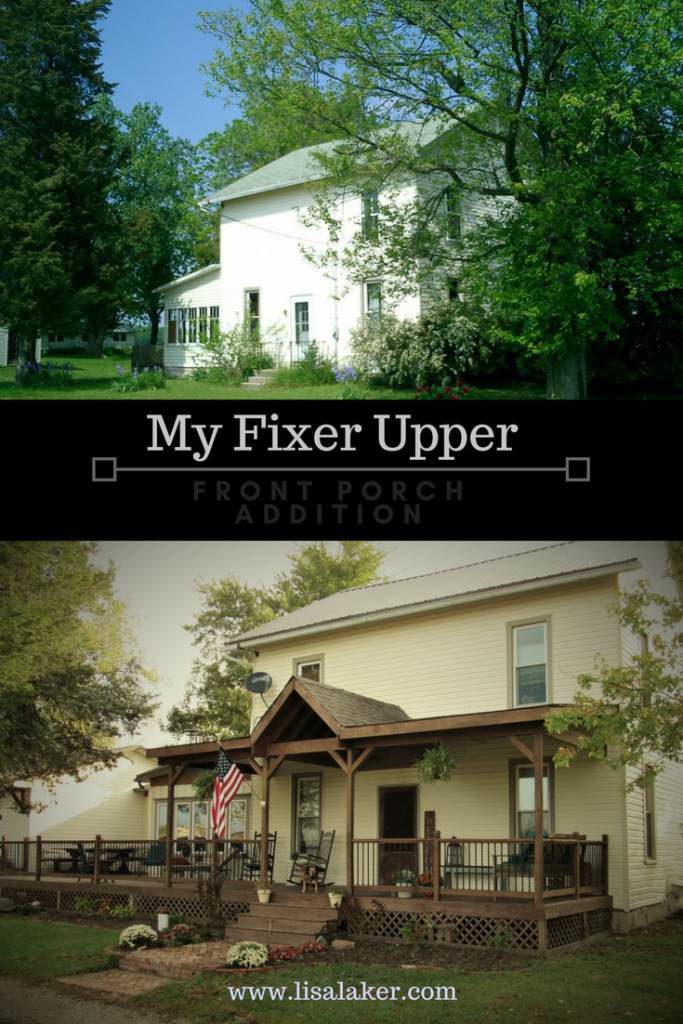
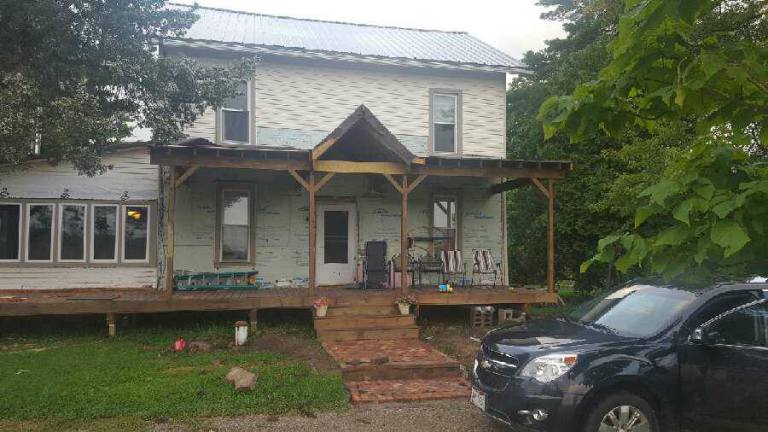
My husband, Brad, and I purchased our home back in 2010 and I spent every second, of every minute, of every hour, of every day hating the exterior and especially hating the color of the siding. It was an overgrown mess with faded window trim, a broken screen door, deteriorating concrete steps, and a rickety rail, not to mention, no sidewalk to keep your feet from being soaked with morning dew or snow. The back sunroom windows were cracked and busted out and the small deck on the back of the house wasn’t roomy enough to entertain on. After my husband and I spent years updating the interior, I went to the drawing board to overhaul the exterior: mudroom, 2 1/2 car garage, and a huge front porch!

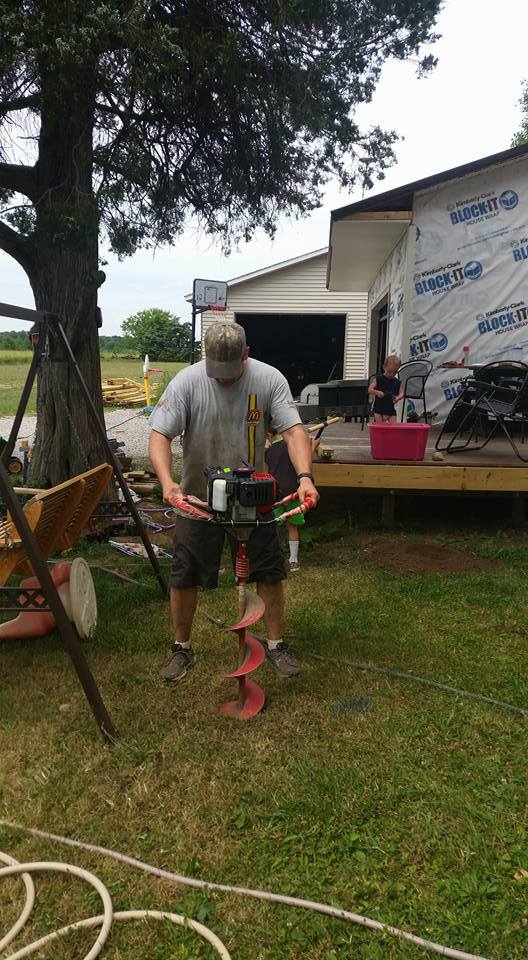
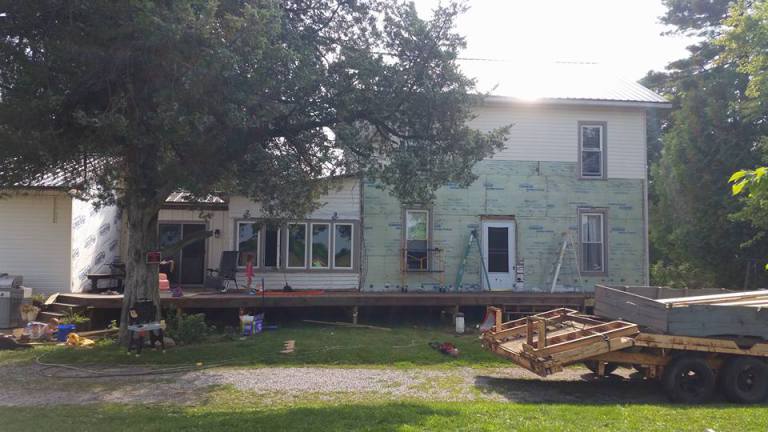
We built the deck in 2 phases: we built the section that wasn’t under roof first mainly because it was small and quick and we needed a way to get out of our mudroom but also because we needed to tear the siding off the front of our house before the deck was built and didn’t want the insulation exposed through the entire summer. When we were ready for for the porch area, we carefully removed the siding to reuse on the back of our new garage addition. It wasn’t in view from the road and the siding really was in great condition.
That being said, I hated this siding. I wouldn’t have chosen this color in a million years. But since it was in great condition I couldn’t justify tearing it off the entire house and replacing it. So I used the cream color to create a palette that I could live with. And it turns out, I absolutely love the color now.
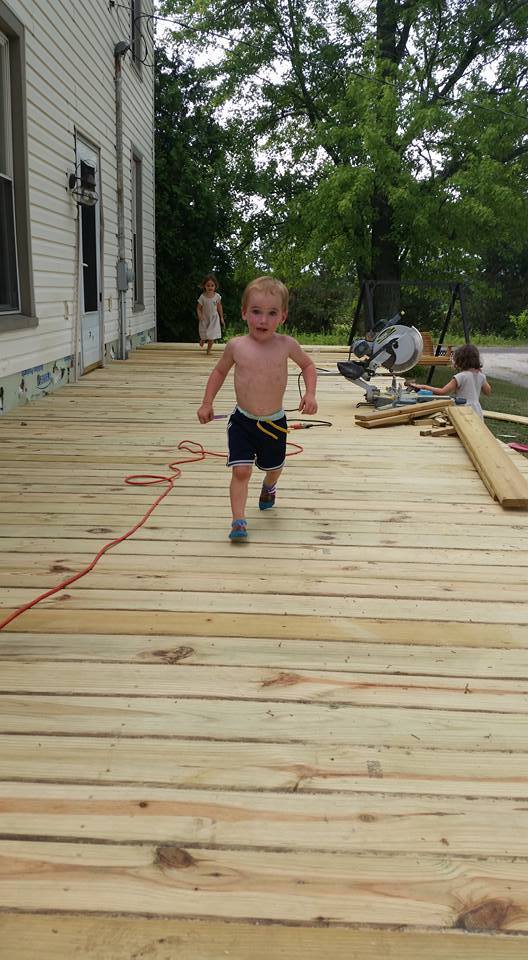
I took time to stain the sides of each deck board before we nailed it down. Even though we were butting the boards up against each other, they still shink in width exposing the sides. Since I am very detail oriented, I didn’t want any unfinished edges exposed.
We also left the deck boards loose that were against our electrical. We had the power company move the electrical off the house and bury the lines and we ended up finishing the deck before they were scheduled to come out. And since that’s where our dish connection is, we left one board loose so during equipment replacement, we would easily be able to access it instead of having to crawl underneath the deck. Yes, it squeaks when we walk on it but this house is over 100 years old. Creaks and squeaks are welcome here! 🙂

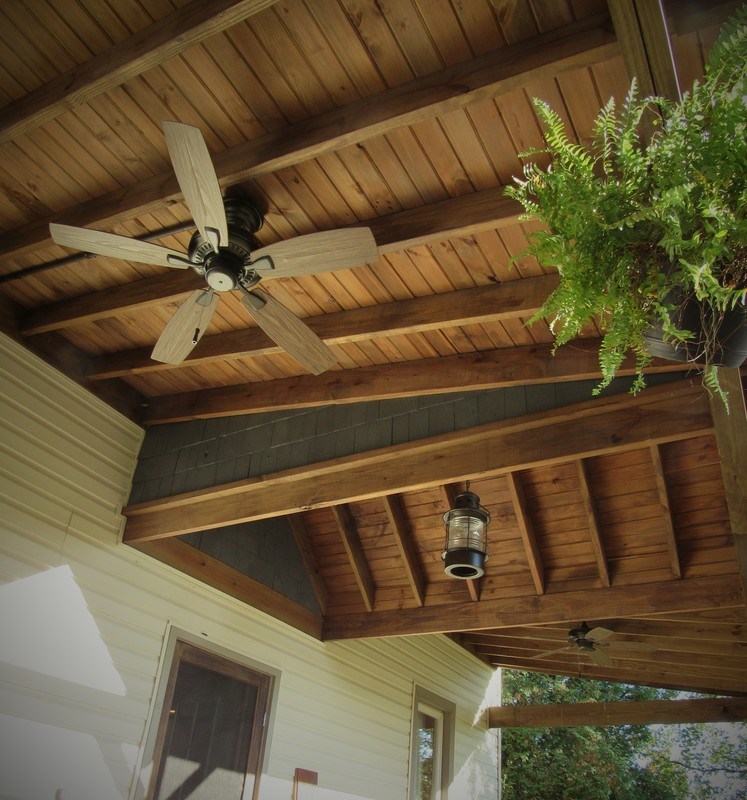
We used carsiding for the roof and left the trusses exposed. It was the most expensive part of the job but a very important design element. Brad and I both love rustic design so exposed stained trusses along with a stained wood ceiling was something we both agreed on.
The brick path was made from the bricks that we saved from the chimney we tore out when we first bought this house. Reusing some the elements that would have otherwise went to the dump made this project fun. I love it’s story.
Instead of leaving the roof exposed I installed wood shaker shingles. As much as I love maintenance free vinyl shaker shingles, I am a person who enjoys changing colors. I’m not scared of a paint brush (obviously) and I change palettes throughout my home every five years
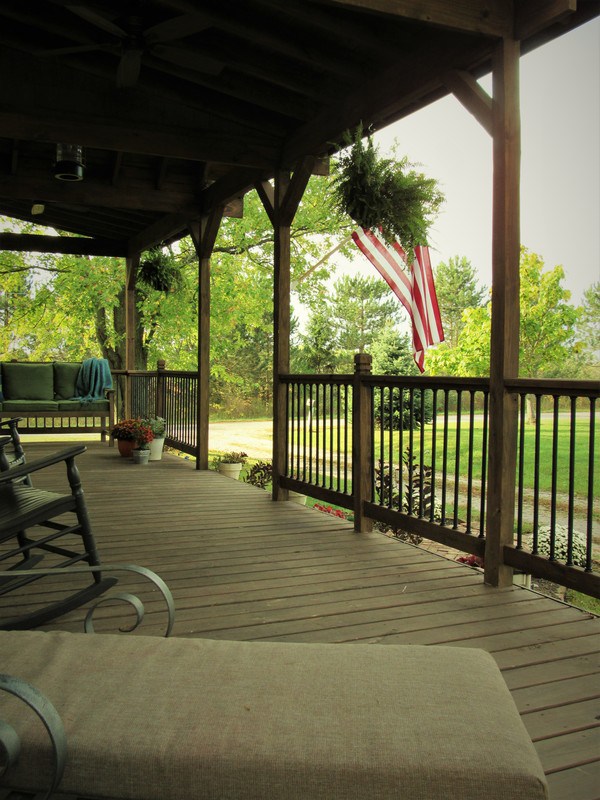
With the hundreds of available options for railing, we decided on powder coat aluminum spindles and stained railing. I had considered painted wood spindles but didn’t like the contrast between white and the wood and lack of contrast between white and the cream siding. I planned to use black accents so matte black spindles were our choice.
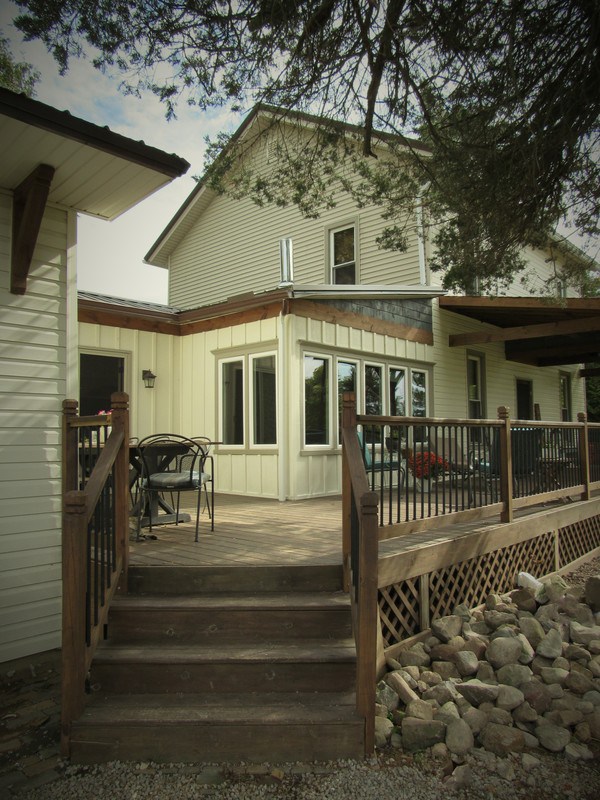
To break up the vinyl siding and add a different texture, I used board and batten on the exterior of the sunroom and mudroom addition. The roof over our sunroom has a 2:12 pitch so we matched that on the porch roof. Since the board and batten siding only comes in 8′ sections, we added a stained trim board at the front roof line and that was where we determined the height of the porch roof. To further break up the monotony of vinyl siding, we installed more wood shakes above the trim board.
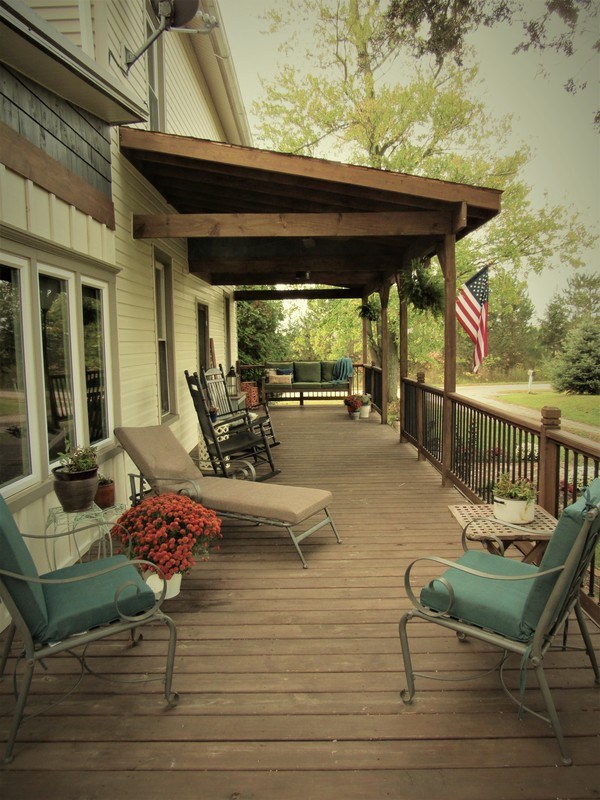
Since this porch is so large, I divided it into 4 different sections for furnishing. Brad and I love to entertain so many different seating areas and a dining area were key. On top of entertaining, we also have 5 children who love to play out here even during the rain. And unless it is too hot or is bee season, we enjoy supper out here almost every evening in late spring through early fall. See more about how I furnished my porch as well as several DIY projects here.
If you are making an investment into your home, make it worth it. Seek the advice of an architect or professional interior designer. As a designer, I have witnessed many messes, unfinished projects, and terribly planned additions. It is less expensive to get help during the planning stages than to have a contractor come fix a poorly planned project. In worse case scenarios, poorly planned projects can detract from your home’s value and in a lot of cases can make your home hard to sell.