
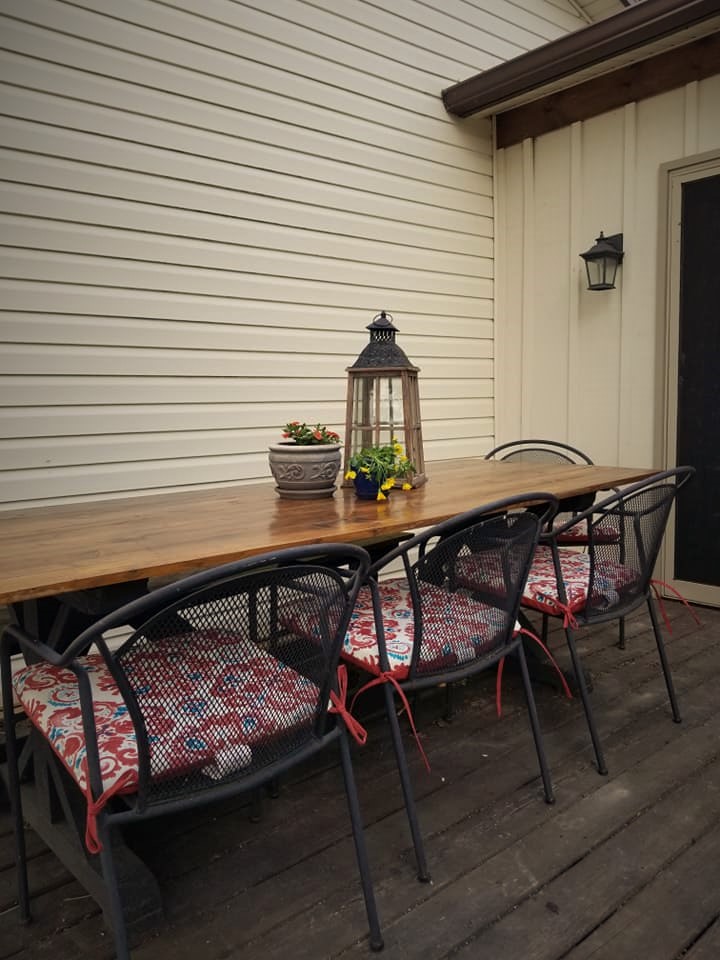
Refinishing a Table Top
I built this table 4 years ago. Little Evelyn was about a month from her due date and I was a stay at home mom with lots of project time on my hands. With a large, brand new porch that had been finished up a few seasons prior, I still had a lot of space to fill with furniture.
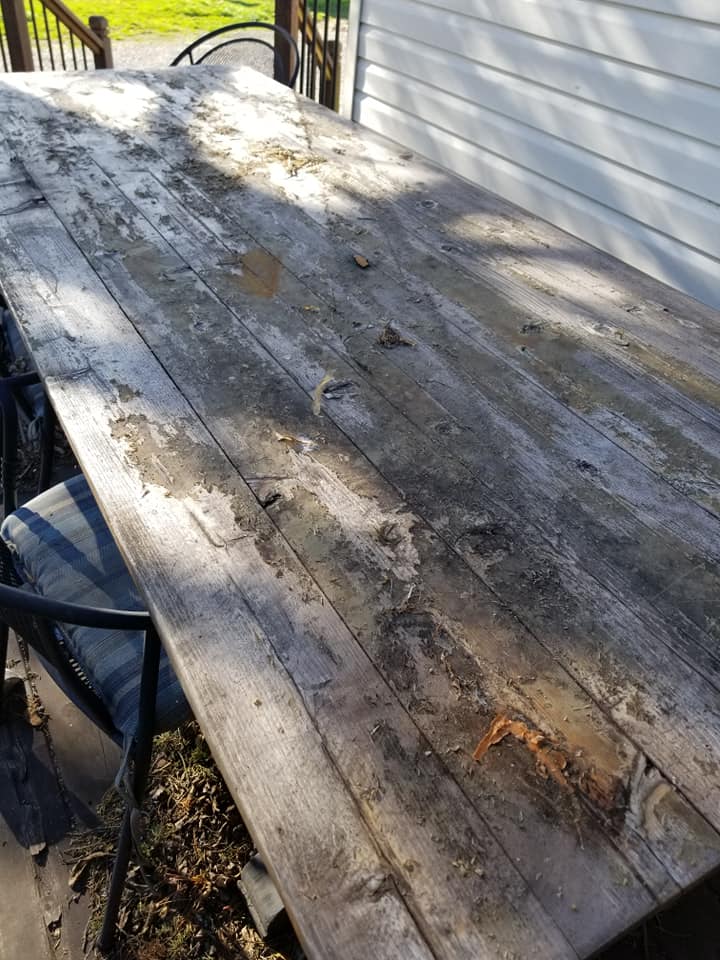
Unfortunately, all of the finishes we can purchase at hardware stores only have a 5 year life, particularly on a flat table top that will hold water, snow, and ice. But on the upside, it’s very simple to refinish with the right products and tools.
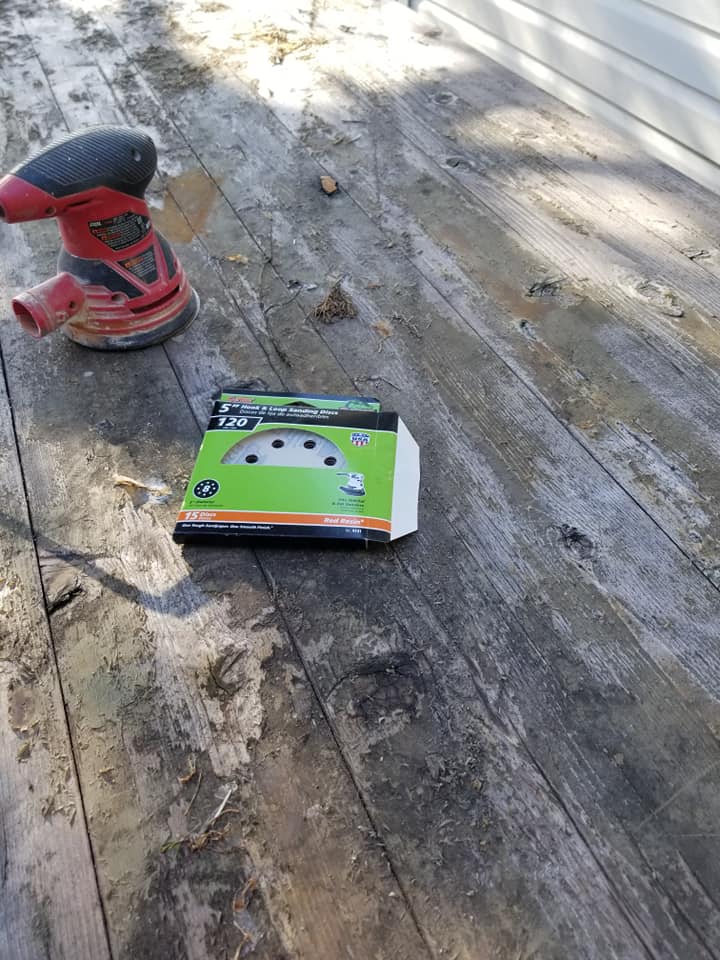
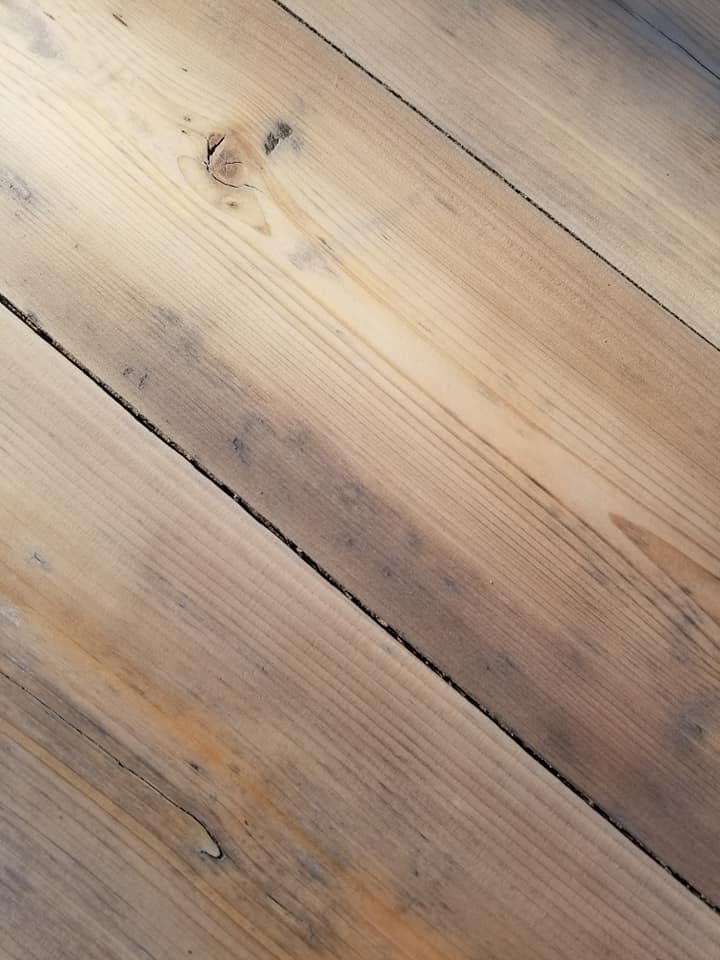
- Sand. If most of the poly has worn away like this, 120 grit paper should work just fine. But if you have thick areas of finish being stubborn, you may need a little 60 grit. Keep in mind that 60 grit paper will leave swirly marks, you will want to go back over it with 120 grit afterwards.
2. Clean all of the dust off with a shop vac and dry lint free cloth.
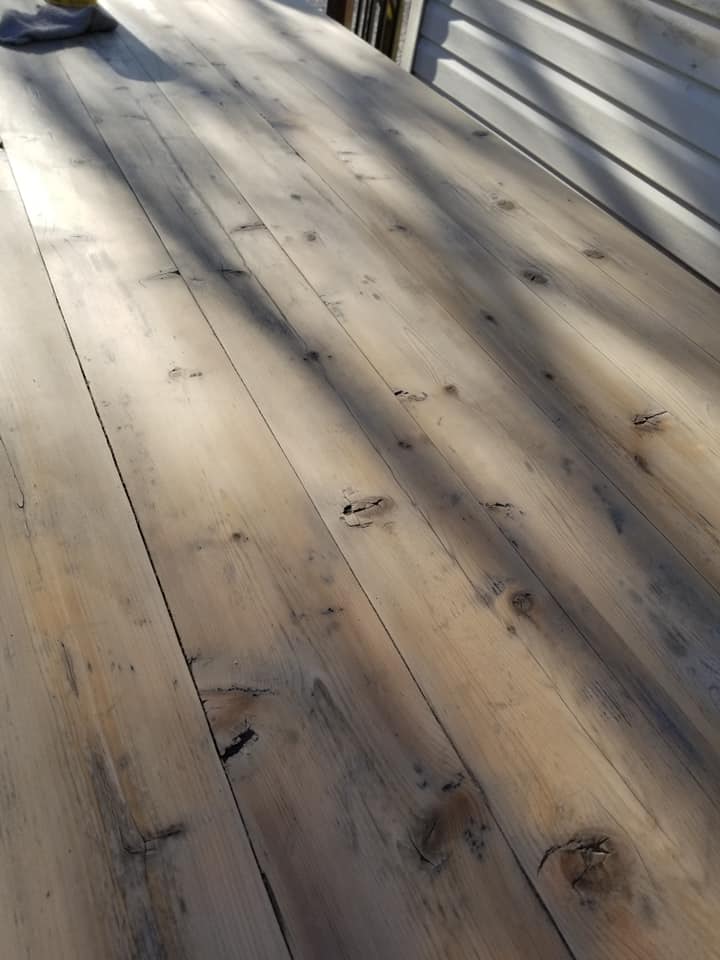
3. Apply a coat of stain. I used minwax weathered oak.
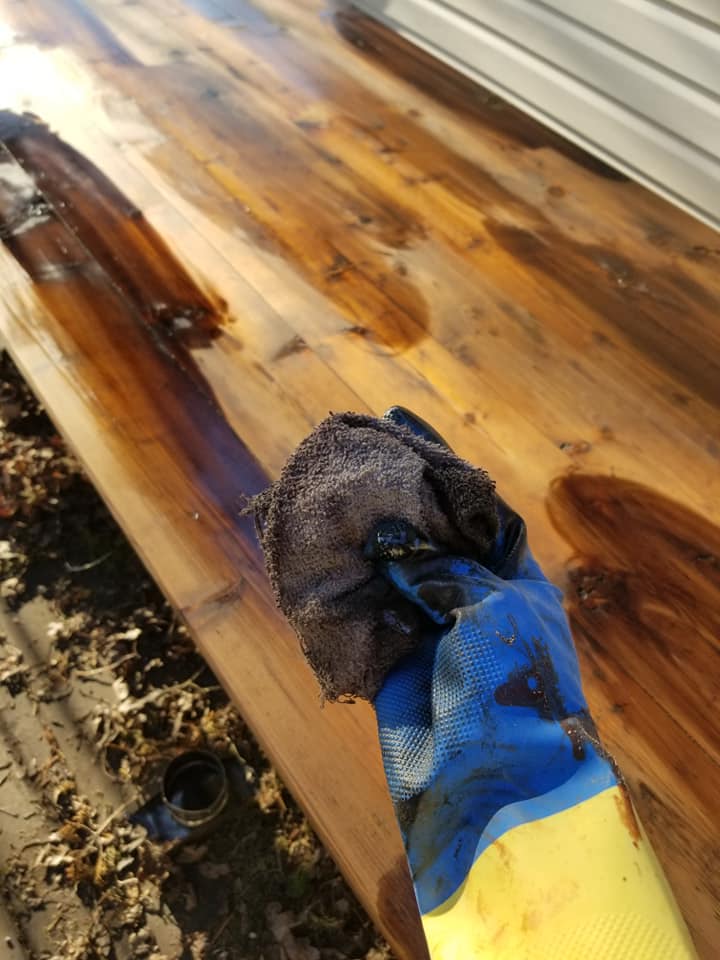
4. Since my deck is dark brown, I added splotches of english chestnut. Then using the same cloth as the first stain, I spread it around and blended it.
5. After the table dried overnight (or 8 hours), I sanded it again with 220 grit paper. This smoothed the finish and closed all of the open grain.
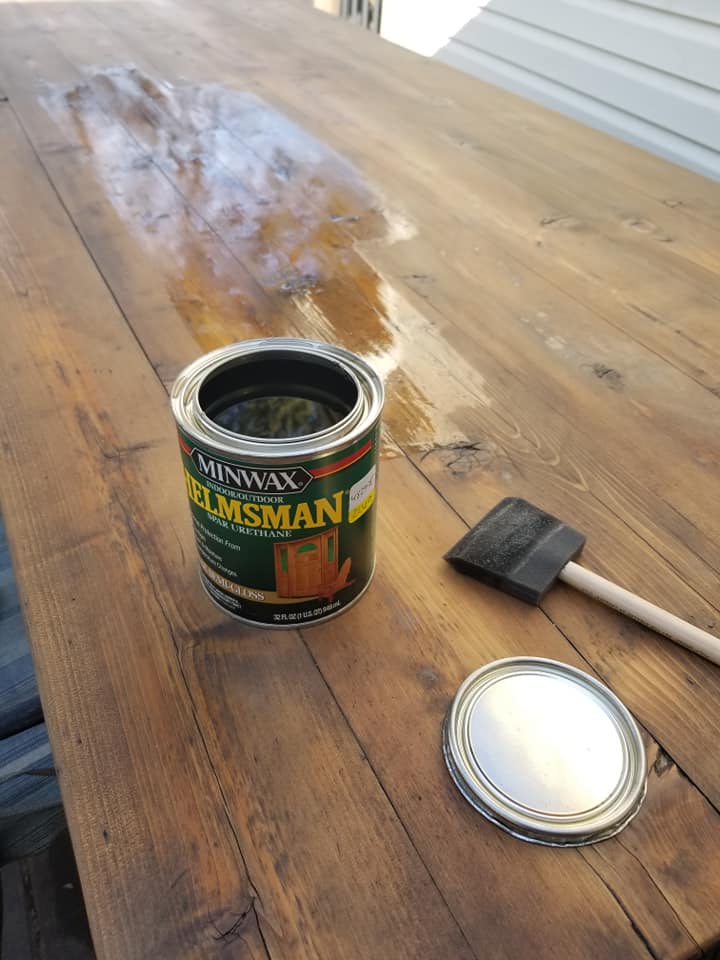
6. Then I added 3 coats of spar urethane (outdoor poly). it’s important again to sand with 220 grit in between coats in order to achieve a nice smooth finish.
7. Allow the table to off-gas before eating at it. Sparurethane fumes are strong!
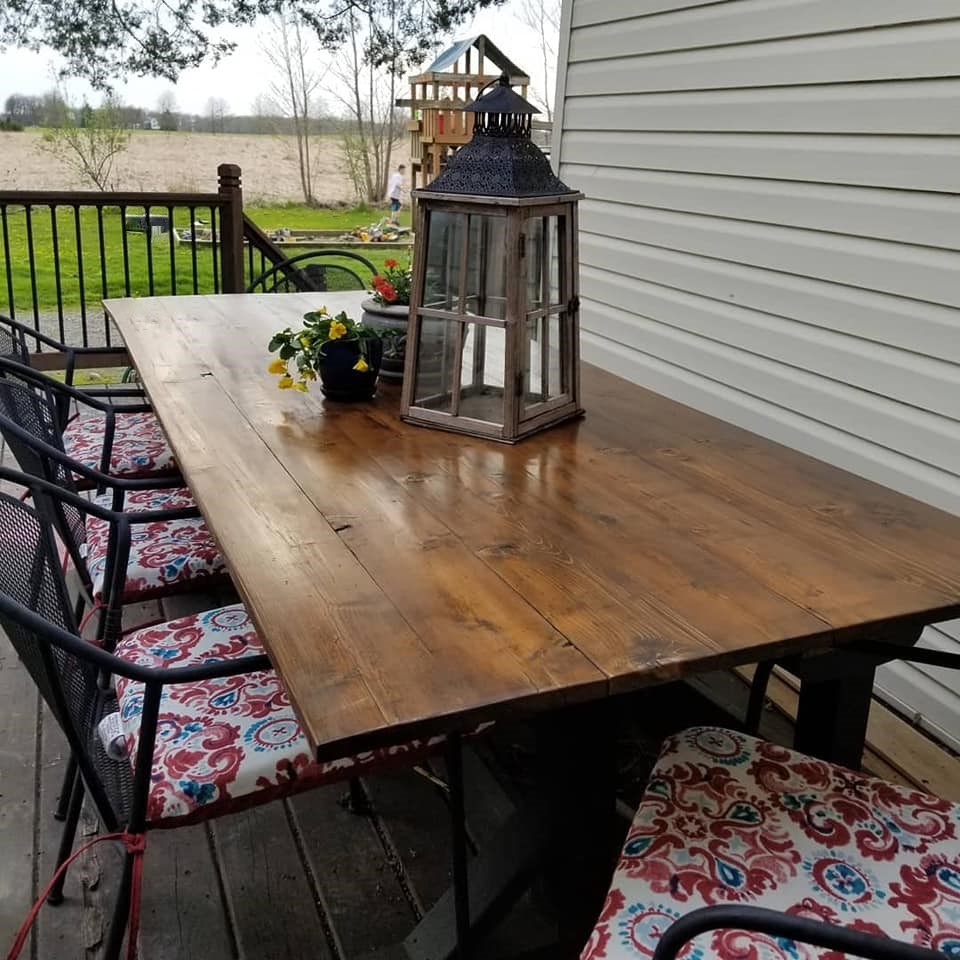
Beautiful…a lot of “elbow grease”…but well worth it.