

Speed Stenciling
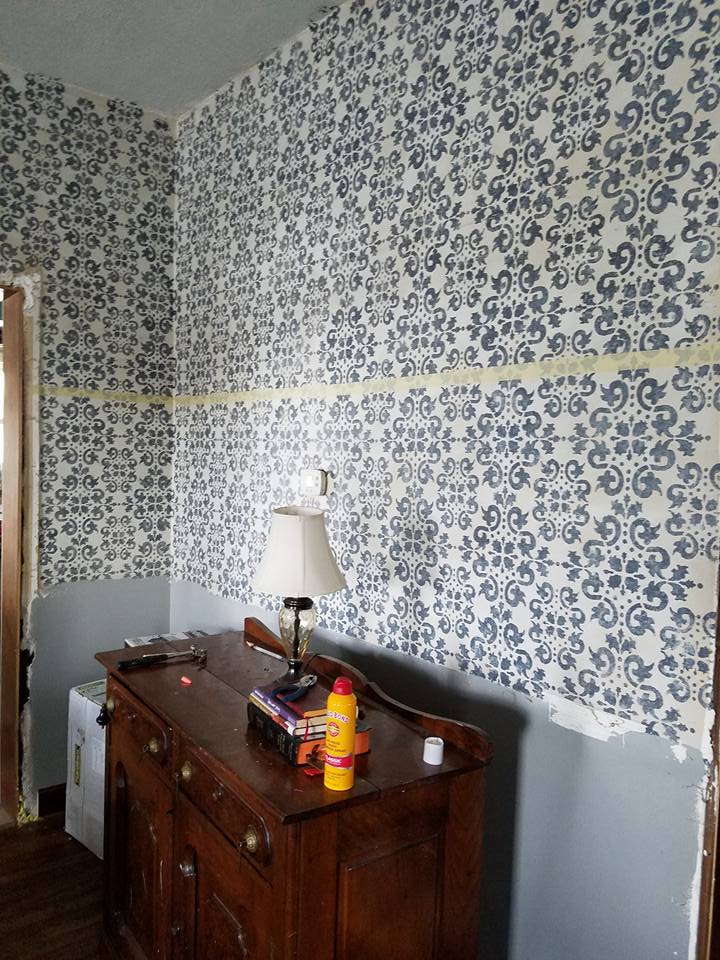
I love color and I love pattern and I love character so when I grew tired of the old world style stencil pattern in my dining room, I came up with a way to brighten it up and add color. This speed stenciling tutorial is for those of us who love the weathered look. This room took a full day (8 – 10 hours) and I’m an experienced painter.
https://www.youtube.com/watch?v=y4HIsZXaxes&t=73s
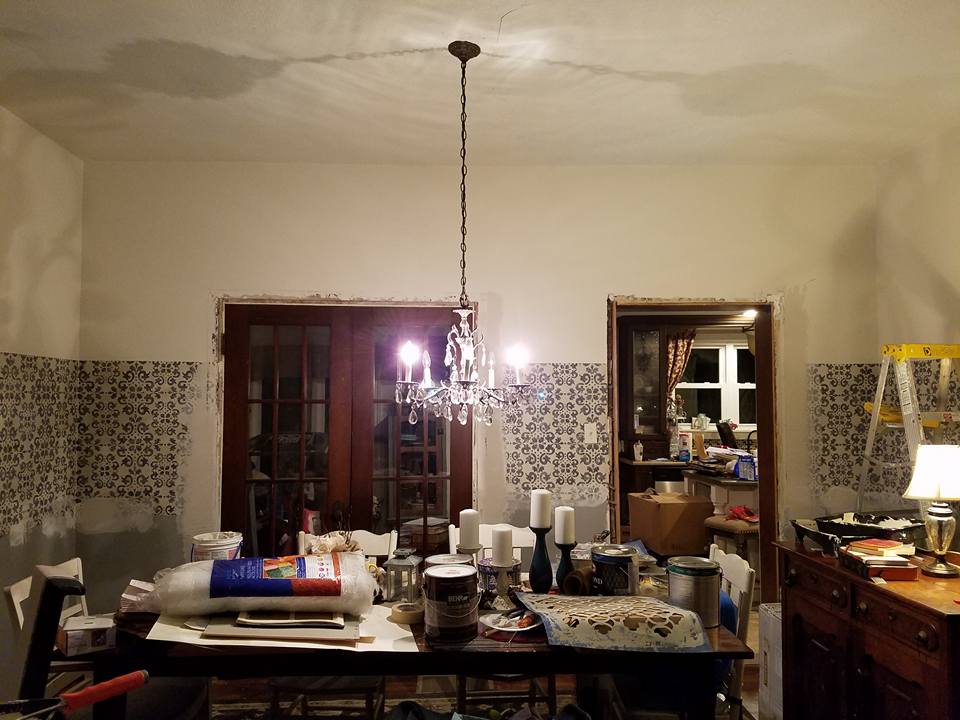
- Remove your trim and tape off the area you plan to stencil. I raised my chair rail to 68″. Use a level. If you live in an old home like mine where nothing is level, 68″ from the floor will look like a crooked line.
- Paint the base coat. I used SW shoji white.
- After the base coat is dry, place your stencil on the wall, use a level to make sure it is straight. Dip you sponge into your paint and remove some of the paint by first sponging on the dry area of you paint pan.
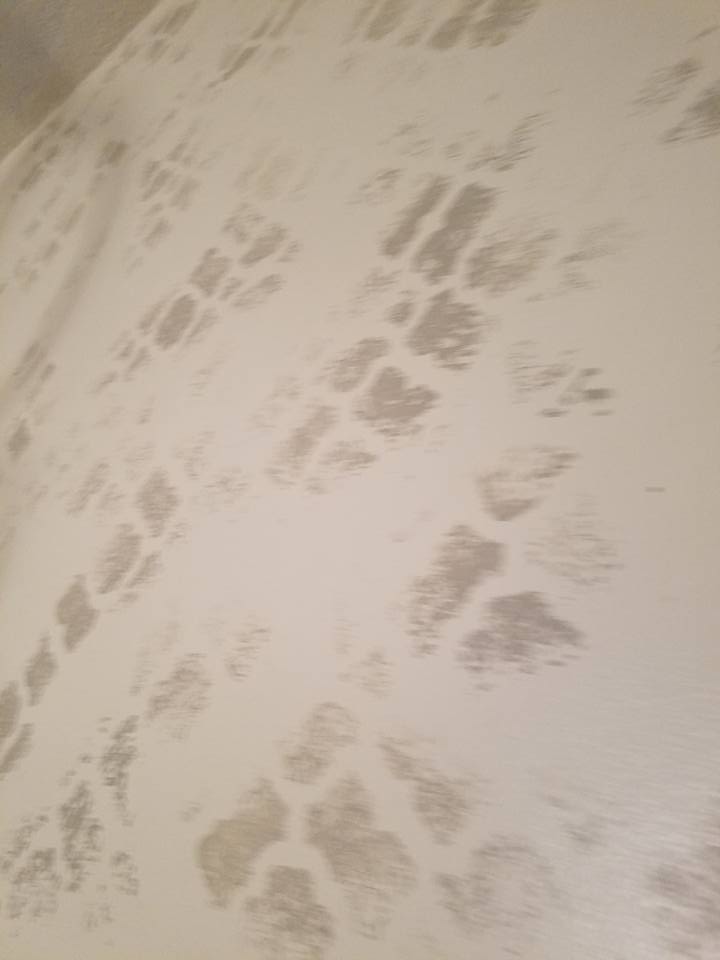
- Dab your sponge onto the stencil creating different motions each time you use your stencil. (circular, diagonal, vertical, horizontal). See video above for this step and for corners.
- Line the pattern up. Since this is a weathered pattern, I’m not 100% concerned with keeping it perfectly lined up (which is why this will take 1/4 of the time it would normally take.)
- After you finish with your first color, the second, third, forth and fifth will go even faster.

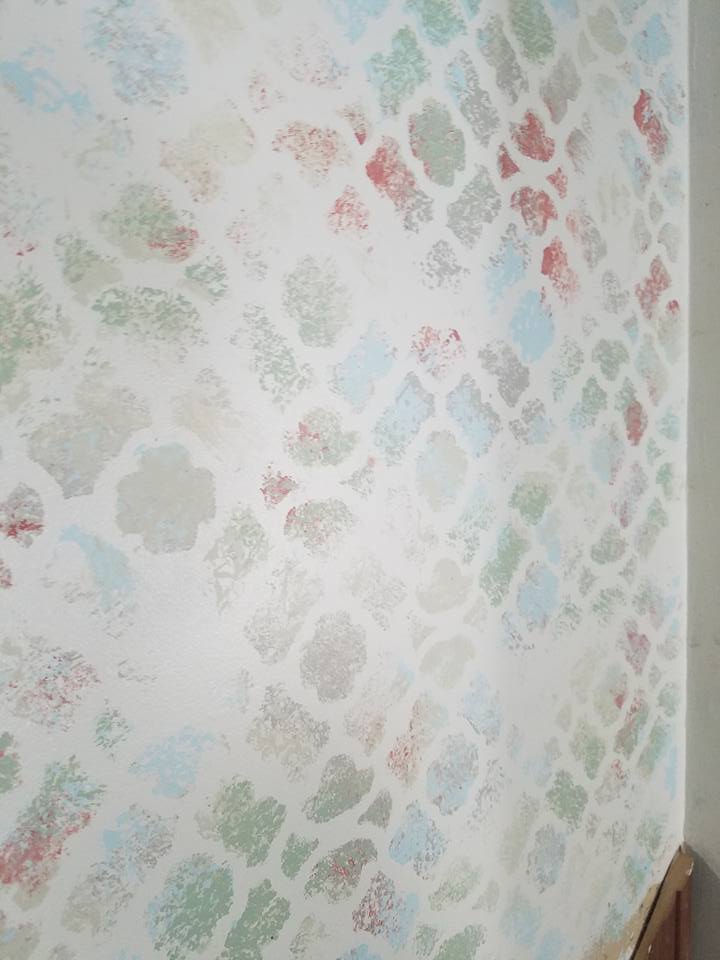
- The last color is your base color. The more you add in, the more weathered your stencil pattern will look.

- Remove the tape, paint below the dado rail (high chair rail). I used SW Conservative Gray.
- Nail your trim back up and enjoy!
