
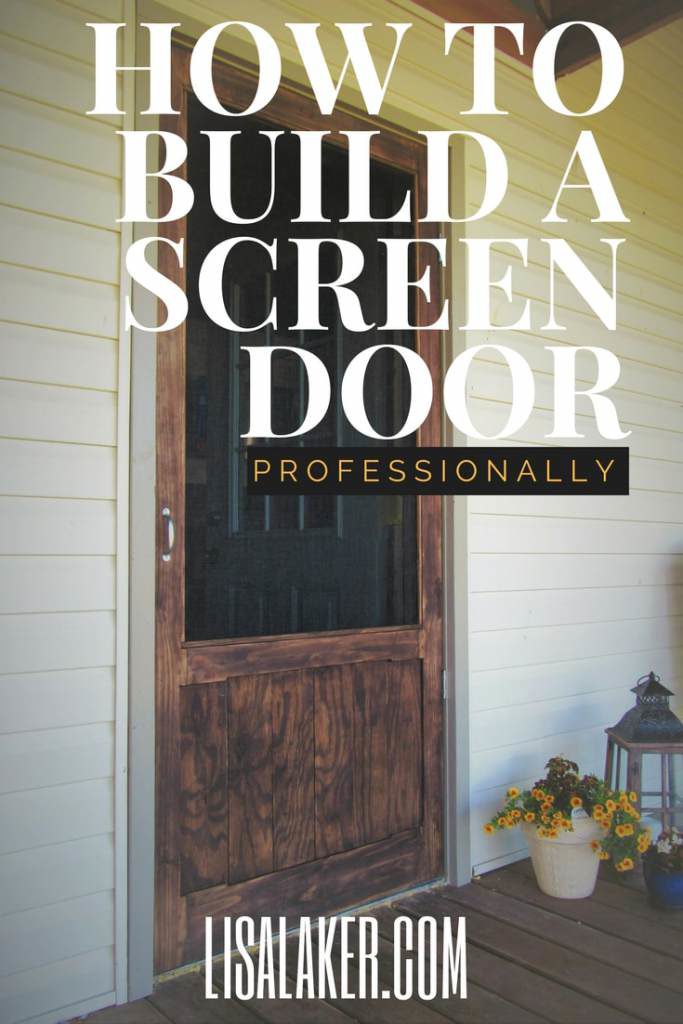
Wood Screen Door
What you need for this project
|
Materials:
glue (2) 5/4×4″x8′ pine (sides) (1) 5/4×4″x6′ pine (top and middle rail) (1) 5/4×8″x3′ (bottom rail) (2) 6×6’x1 pine (inside panel) 30 x 50 screen (2) 1/2″ x 1/2″ x 8′ trim pieces. I actually used scraps stain exterior sealer screen door kit latch |
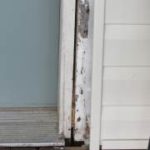
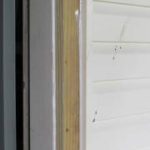
First things first: This door is facing west and had no insulation. I used a couple cans of spray foam. Then I ripped down 2 x 4’s of treated lumber to trim out the frame and caulked it with a paintable all weather caulk. I needed 2 layers to build it out further than my siding. I then filled all of the holes in the existing door frame with wood filler and sanded it down with 220 grit paper. Then I painted it with my exterior trim color.
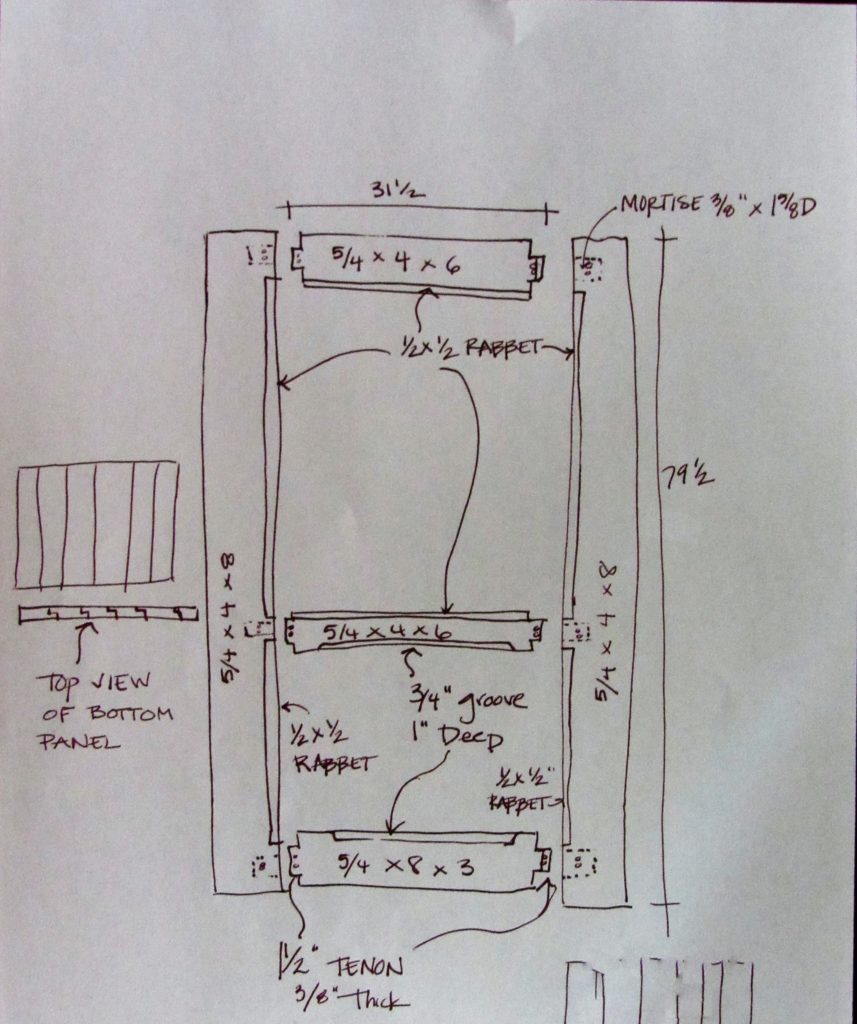
My door is standard 36 x 80. So my screen door is 35 1/2 x 79 1/2. Premeasure your opening and deduct 1/2″ depending on your hinges from your length and width. This is also important for expansion/contraction.
Cut your 5/4x4x8’s to height. For the length of your cross pieces use your opening width – 7 (outside pieces) + 3 (1 1/2 tenon on each side). Mine are 31 1/2. Cut 5/4x4x6 and 5/4x8x3 to your needed length.
To create your mortise. Set you saw blade 3/8″ height and your fence to 1 1/2. Make several cuts on the top and bottom of you cross boards on both ends then chisel the excess wood and sand smooth. For mortise and tenon steps click here.
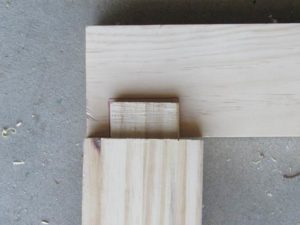
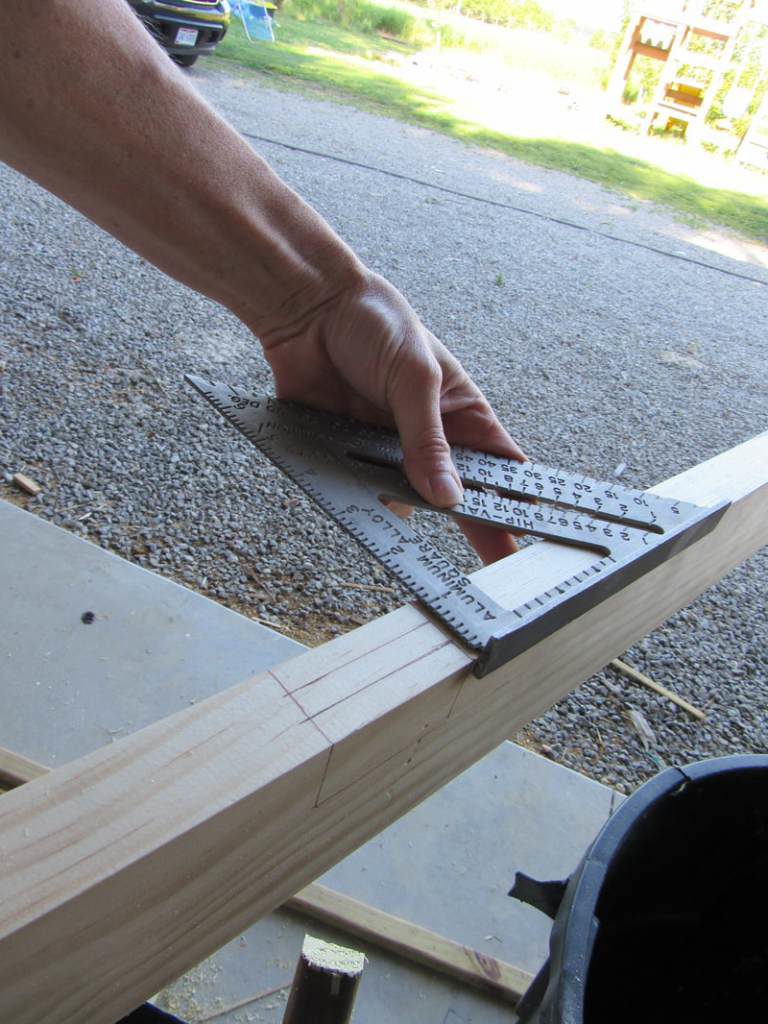
Lay your door frame out and mark on your frame exactly where your tenons are. Trace around it and use a square to transfer all your marks to the edge of your board. Set your router depth to 1 1/2 and router the opening for your tenon. Either round the corners of your tenon or chisel the corners of you mortise make it square. Check the the mortise and tenon joints are nice and tight.
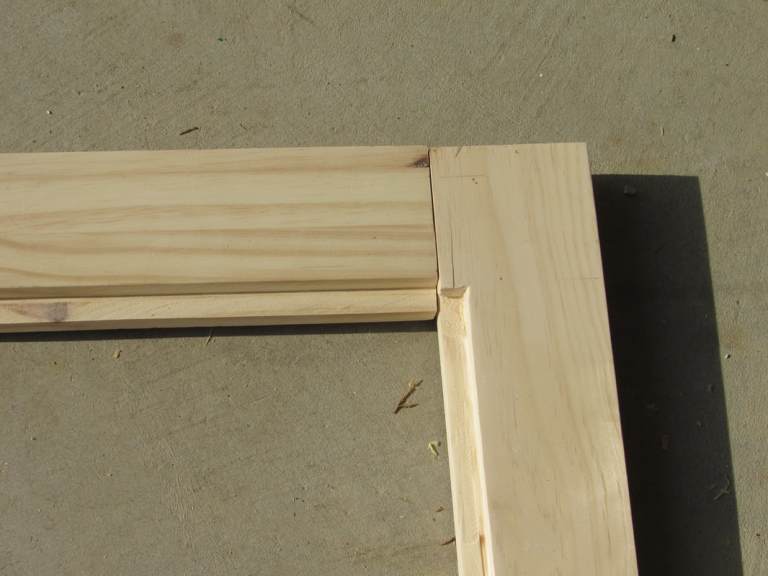
Next rabbet the bottom inside of your top board and the top inside of your middle board. (blade at 5/8 height and fence set at 5/8″). Use a chisel to line up the rabbets there the boards are joined.
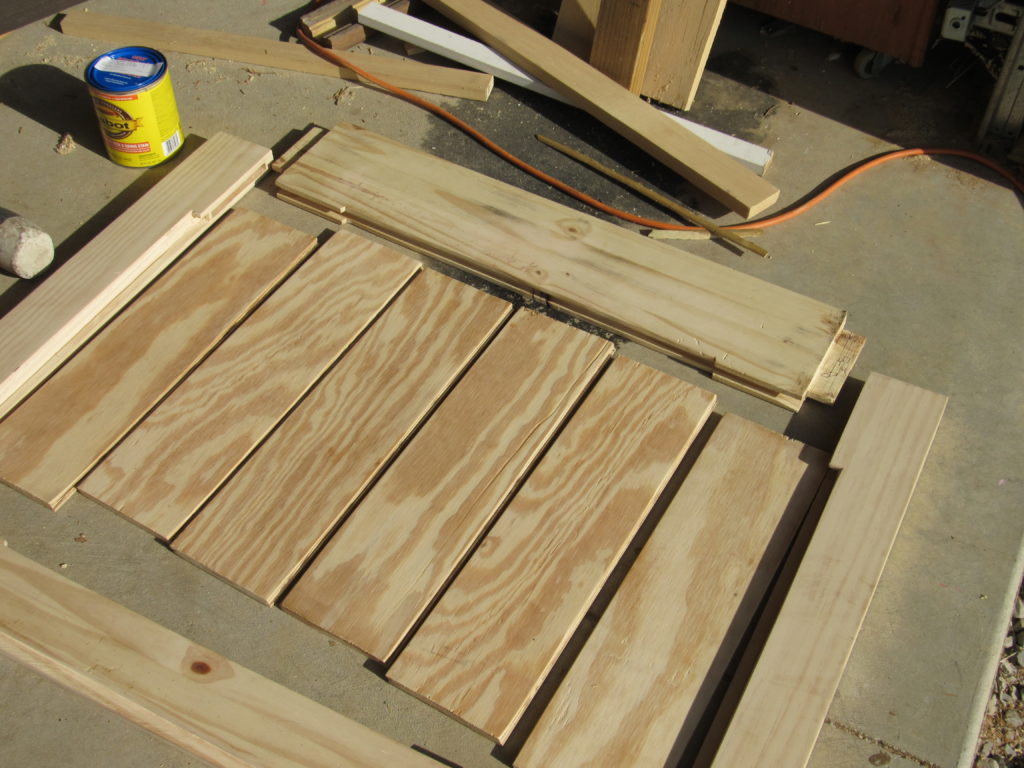
Cut a 3/4″ wide dado 1″ deep into the top of the bottom rail and the bottom of the top rail. I did this by making several passes on the table saw or you can use a dado blade in your table saw. If desired, you can use a jig saw to shape the grooved edges (as shown above). Dry fit the door together and mark the where you need to rabbet the the outside boards. The rabbeted edge should run through the top and bottom of the grooves as well as the top and bottom of the rabbeted edges of the top and middle rails. Also measure the middle opening height and add 1 7/8″ (to account for the dado). Cut your 1x6x6’s to that length. Measure the middle opening width. It should be your door width -6″ Mine is 29 1/2. Jot that measurement down.
Cut in your rabbets into the outside boards. I did mine by slowly and carefully lowing it onto the table saw blade. You cant cut it from end to end because the blade is round. Chisel or use an oscillating tool to square up the rabbets. Or use a router with a fence.
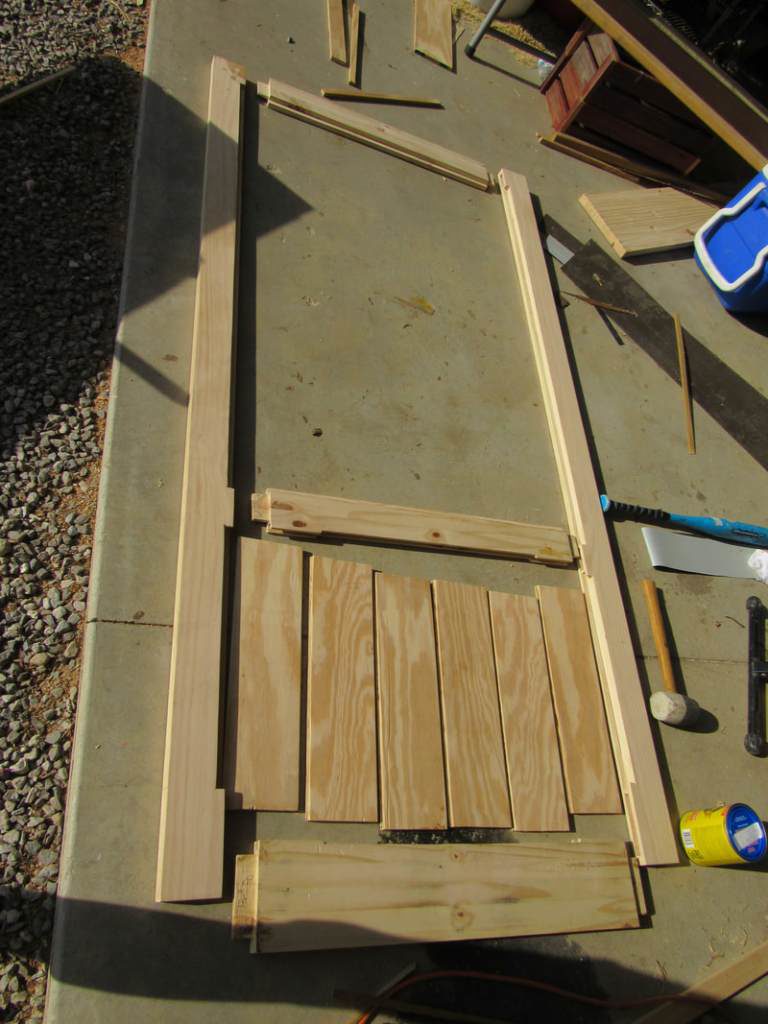
Glue and clamp center panel. After it’s dry, apply a generous amount of glue on all of the tenons and put the door together. Clamp it tight and make sure it is square. Adjust clamps if door isn’t square. Scrape off all glue and allow the door to dry.
Router in edges for hinge placement. The hinge should sit flush with the door. Sand the door with 220 grit paper. Apply Stain to door and trim pieces. Allow stain to dry. Lightly sand with 400 grit paper. Apply a couple coats of sealer, sanding in between coats.
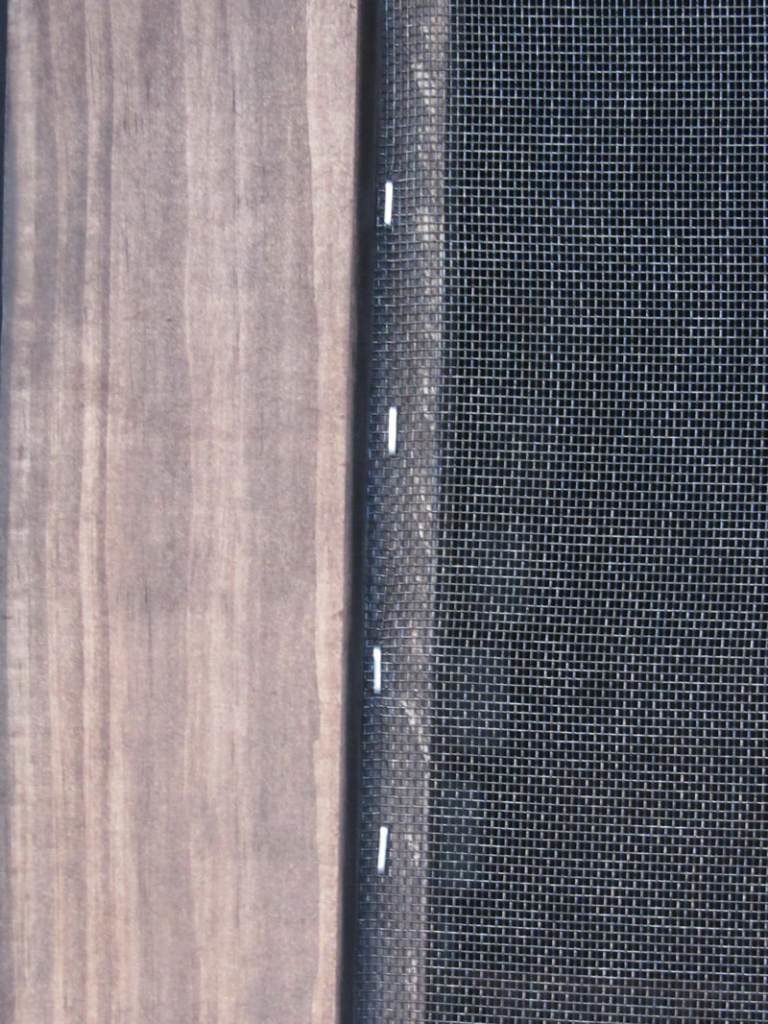
Staple screen in place by lining up the corner with the top left corner and stretching the screen to the right and bottom as you staple. After all edges are stapled, cut the excess off with a utility knife. Using 3/4″ finish nails, nail the 1/2″x1/2″ trim pieces into place to cover staples.
Last, hang the door and install the latch, handle, and spring.
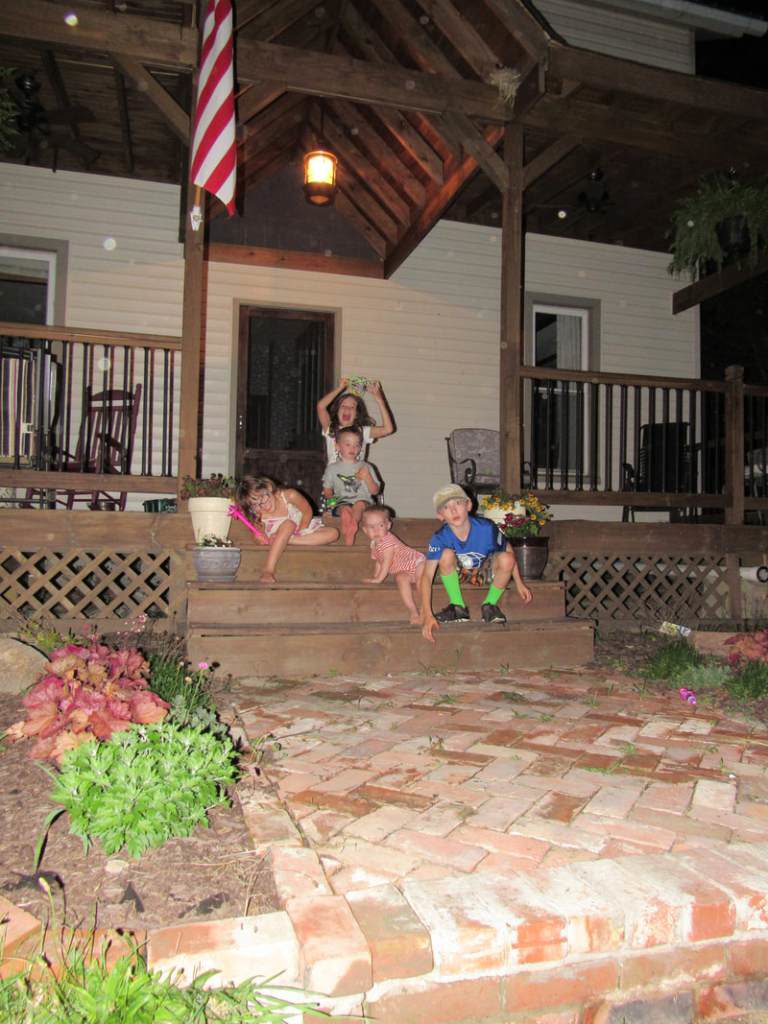
Alas, a slammin’ screen door that will hold up to 5 kids and lots of front porch entertaining!