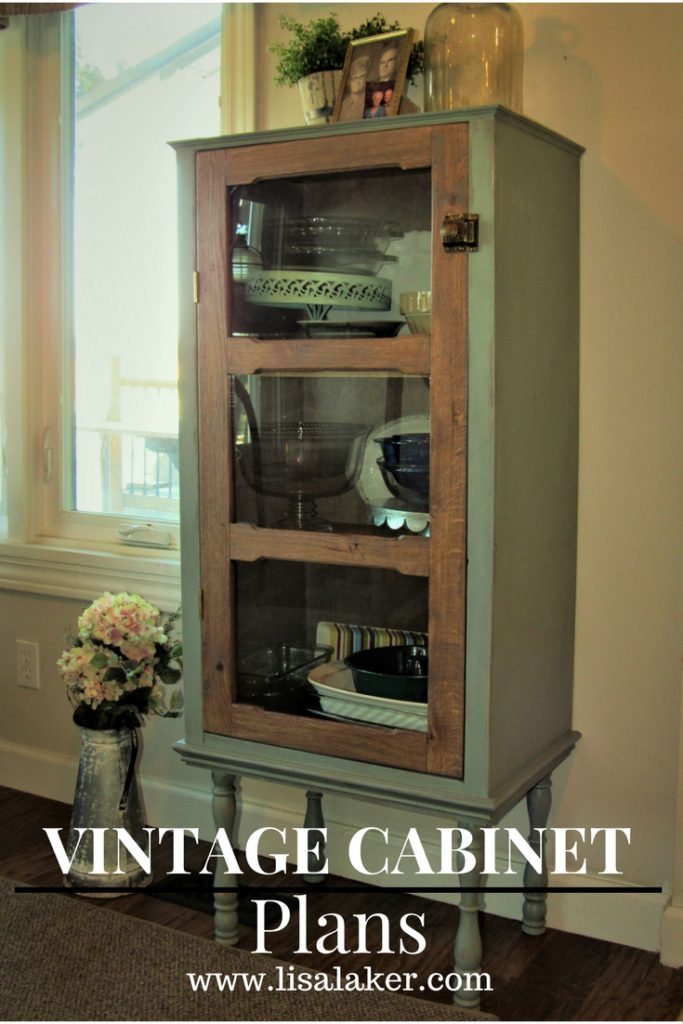
Jelly Cabinet Plans
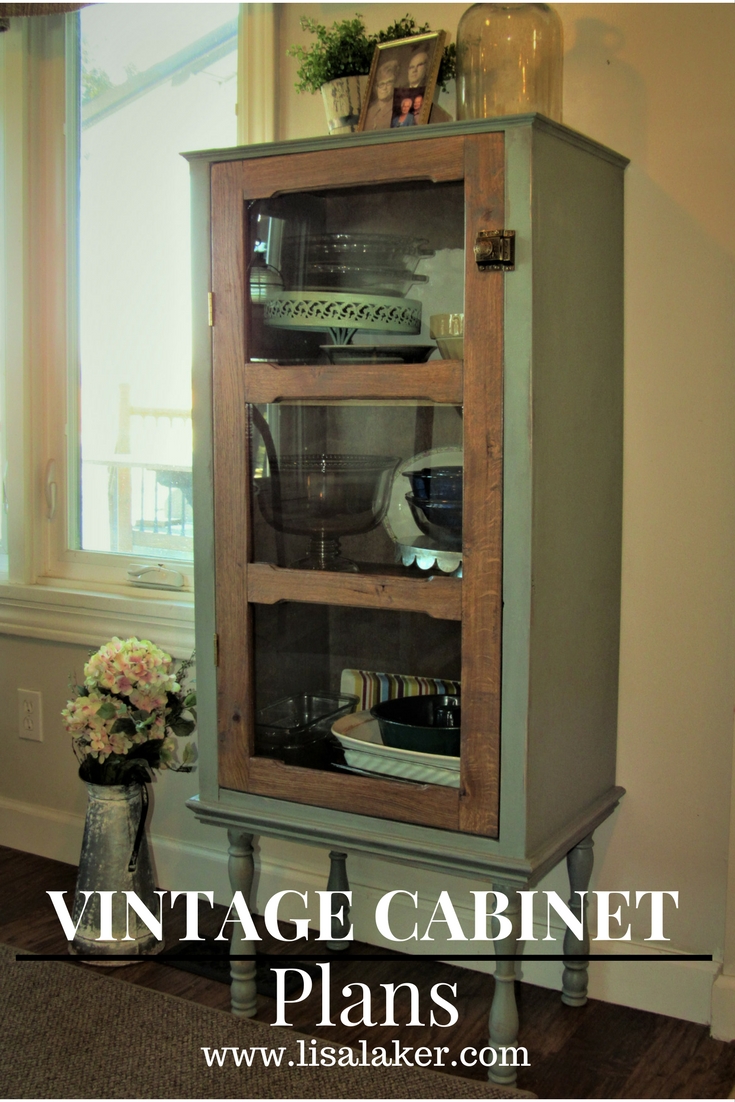
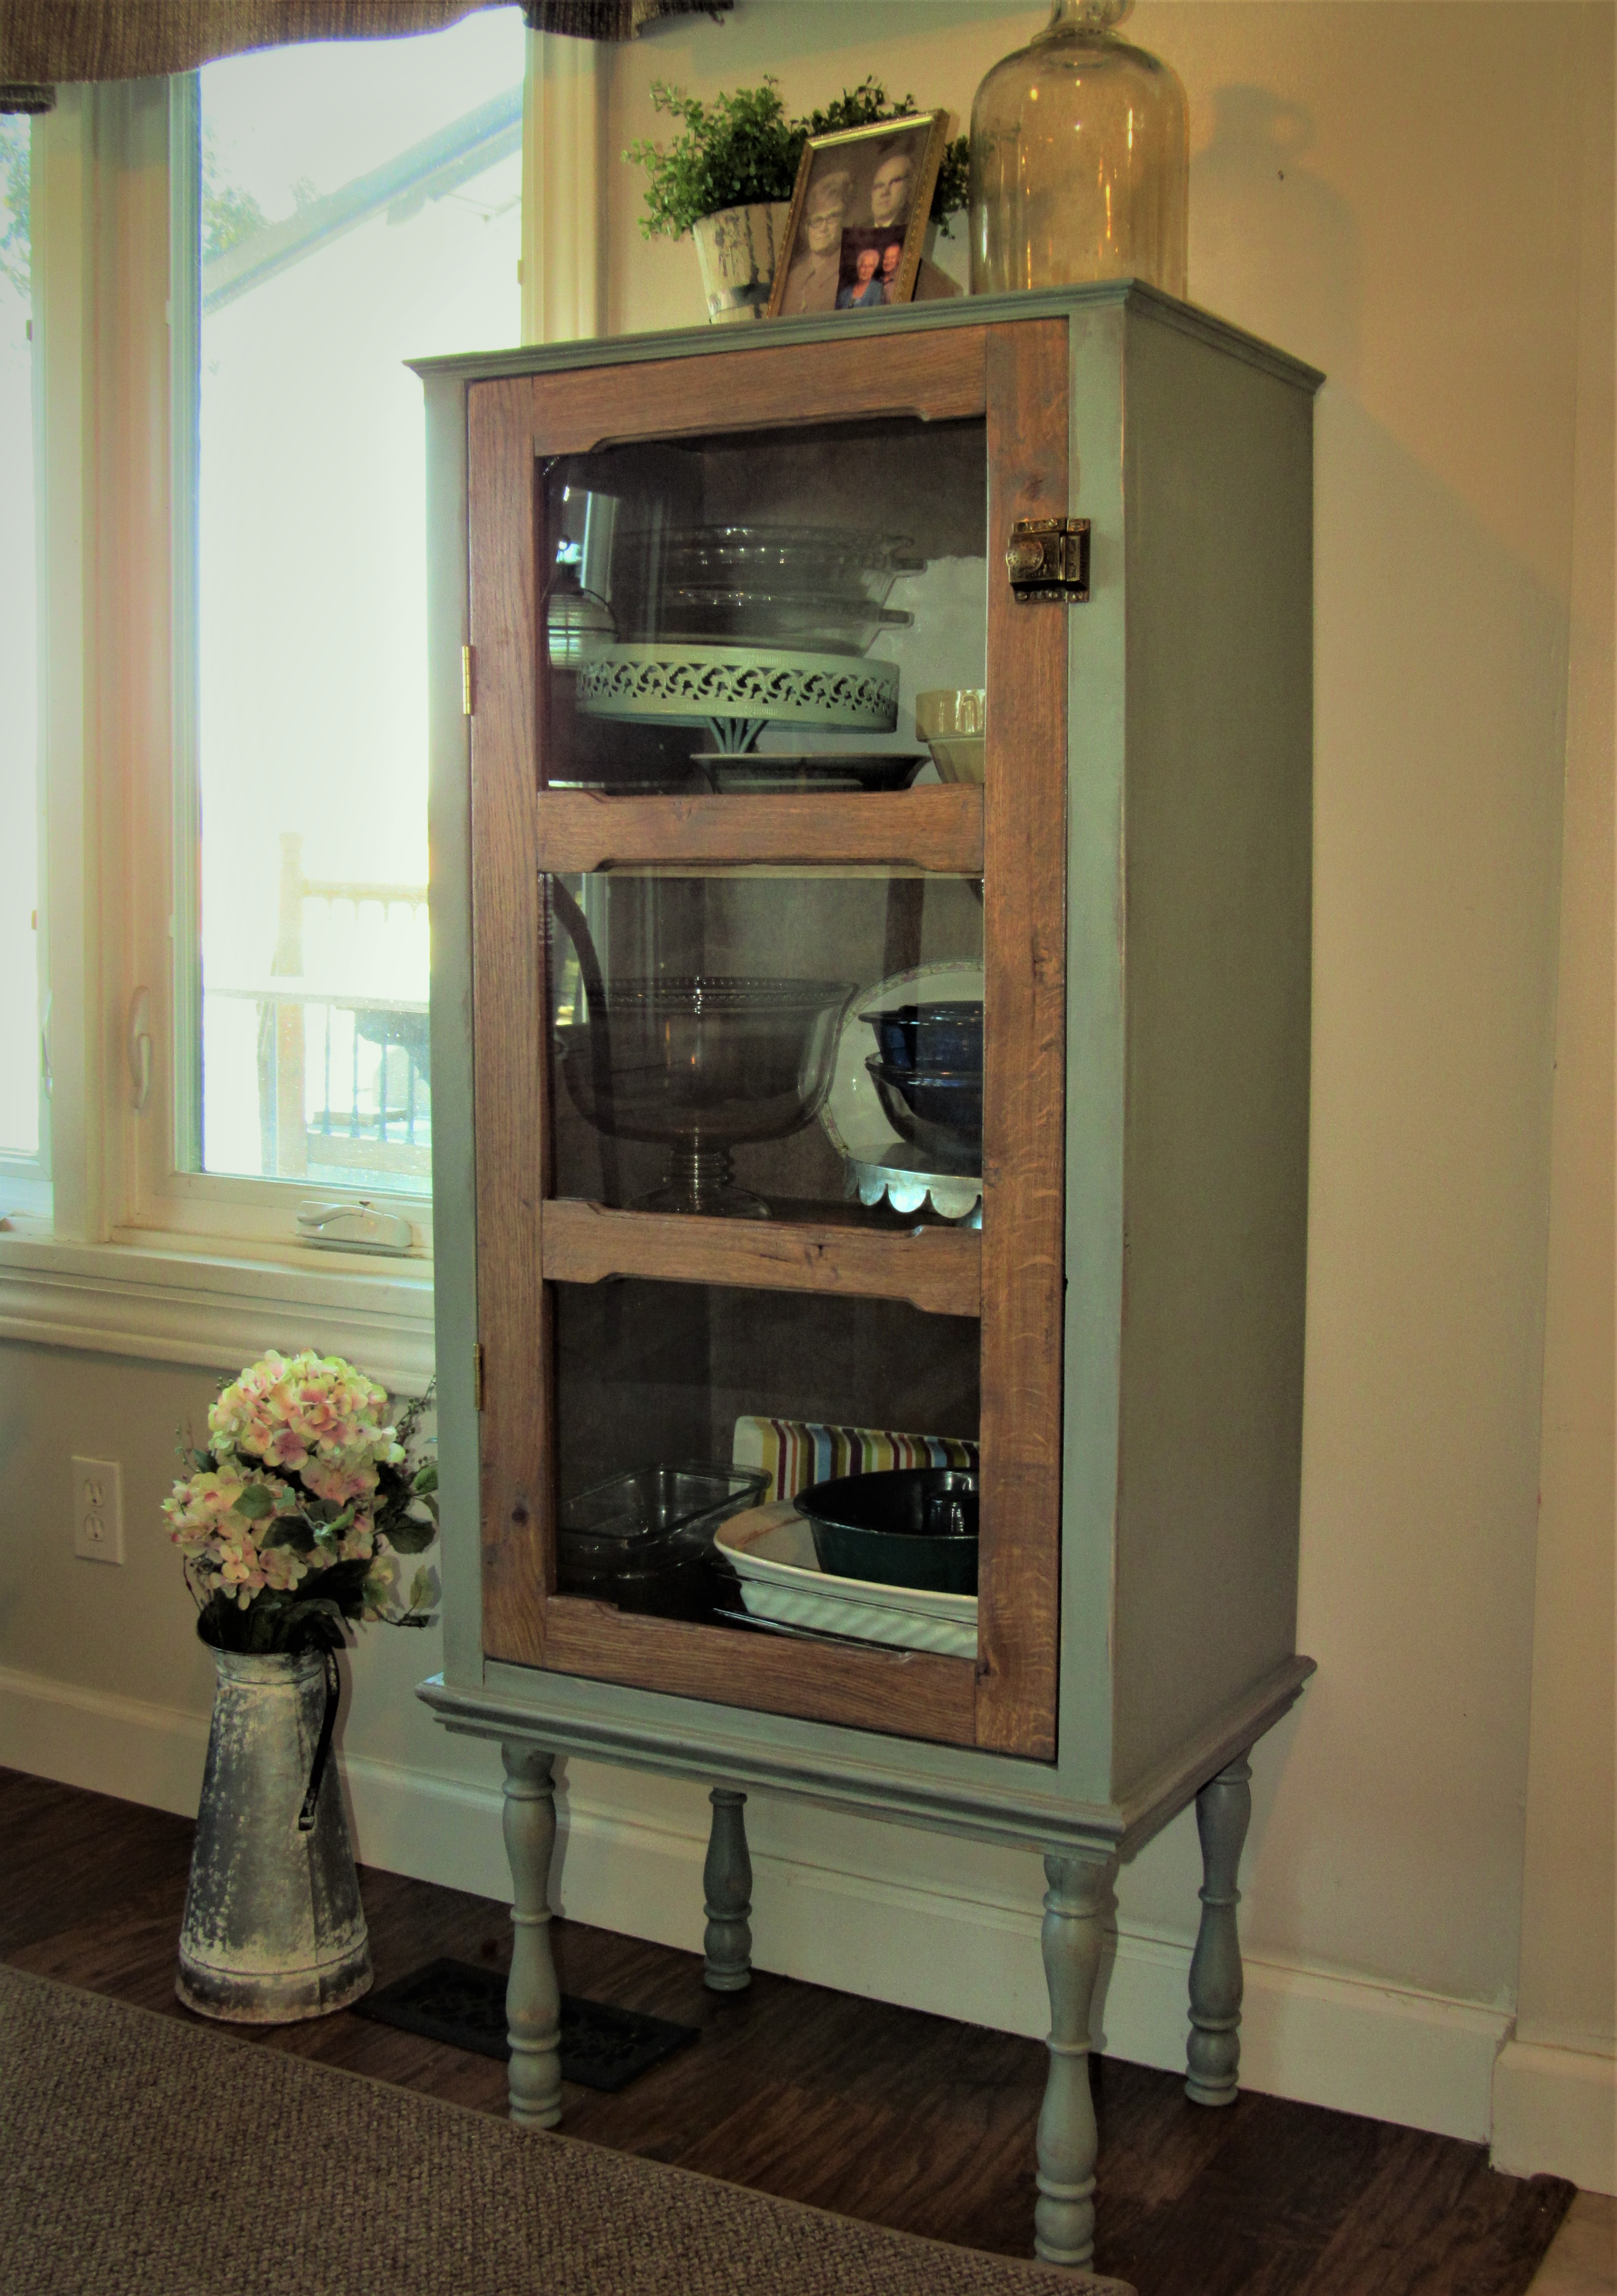
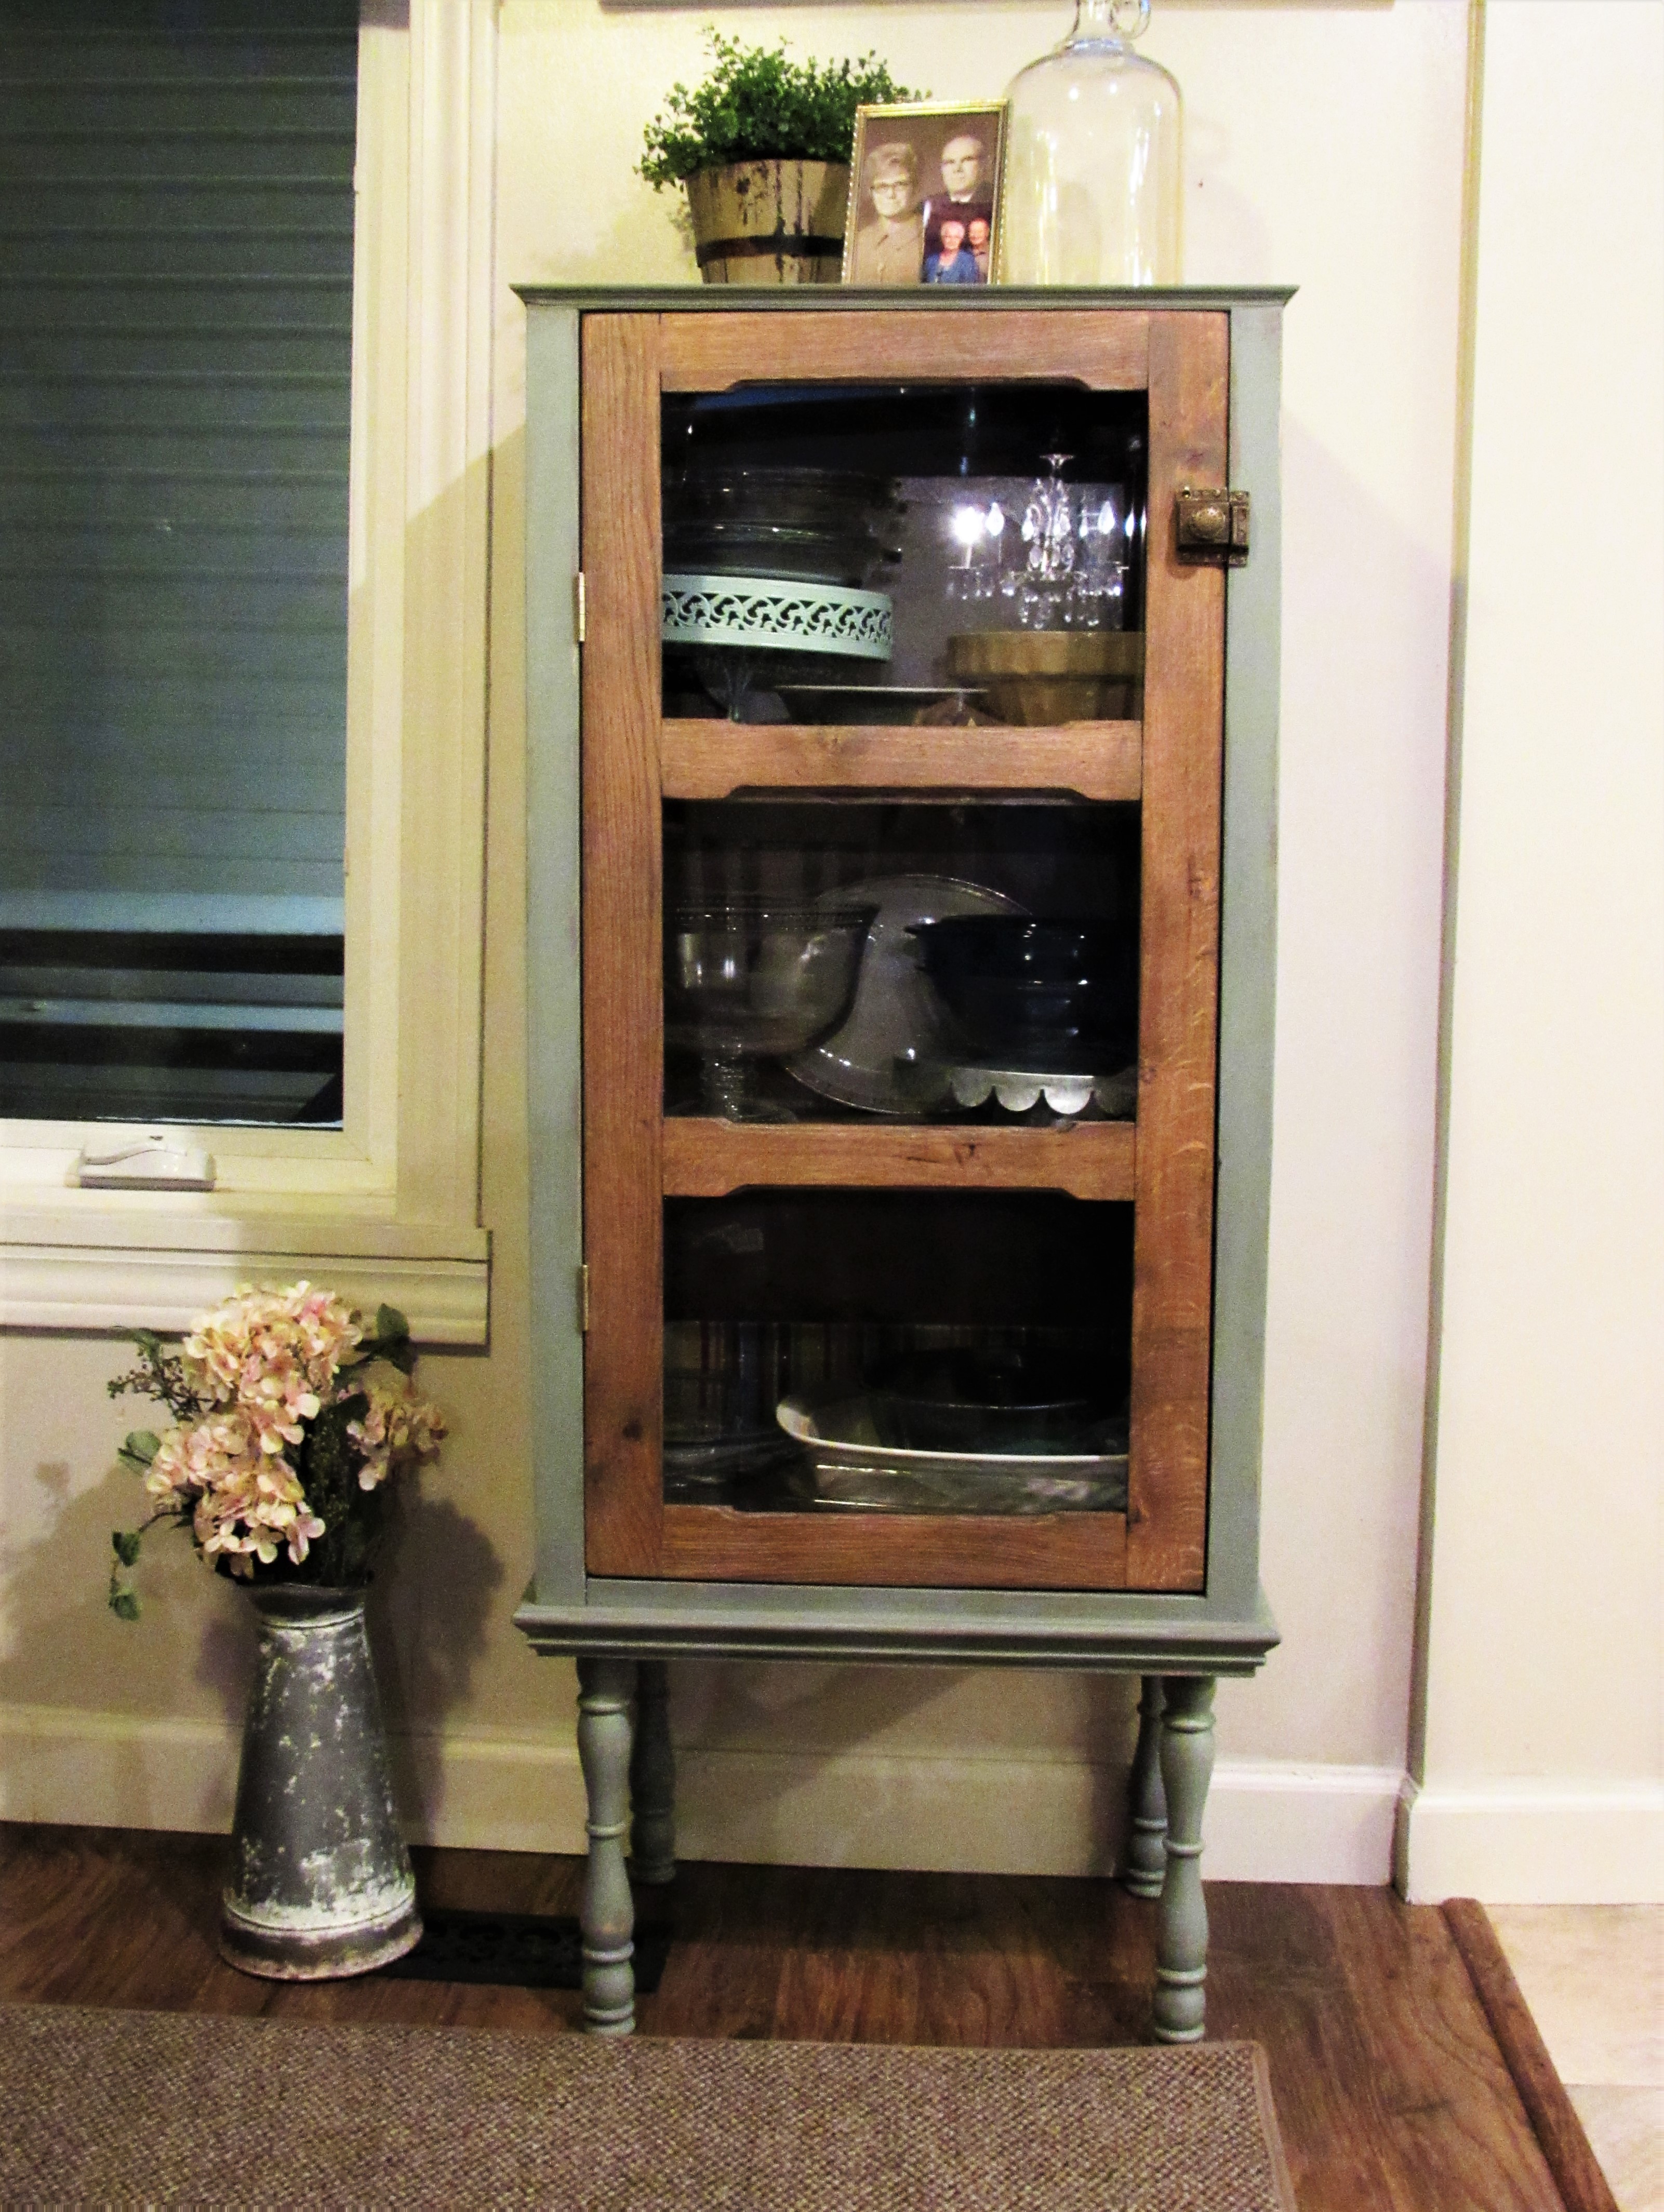
When I needed more storage in my kitchen I decided to design jelly cabinet plans that would bind my love for antiques with my eclectic farmhouse taste. These vintage style cabinet plans are easy to build and will fit almost any style! Enjoy these free woodworking plans!
Disclosure: This post includes affiliate links, which means I receive a small commission if you make a purchase through my links. There is no extra cost to you. Purchasing through my affiliate links help support my website so I am able to continue posting free content.
Materials:
1/2 sheet of 3/4″ birch plywood (sides, top and bottom)
1/4″ x 1″ dowel pins
wood glue
1 x 3 x 8 scrap wood or 3/4″ plywood
2′ x 4′ 1/4″ plywood
(2) 1 x 10 x 4′
(2) 1 x 3 x 6′
(4) legs
(4) hanger bolts and leg plates
minwax special walnut and minwax weathered oak)
Mineral Spirits
Satin Polyurethane
foam brush
paint brush
paint (Sherwin Williams Proclassic Satin Paint Halcyon Green 6213)
Tools:
tape measure
pencil
Ear Protection
Eye Protection
Table saw
miter saw (optional)
pliars
drill press or drill
1/4″ drill bit with a stopper
(4) 3′ clamps
(4) 4′ clamps
Brad Nailer and 5/8″, 1″ 1 1/2″ brads
Air compressor
orbital sander
120 and 220 grit sandpaper
- Cut sides out of 3/4″, top, and bottom. Sides are 15×42, top is 22 1/2 x 15, and bottom is 21 3/4 x 15
- Cut a 3/4″ dado into the sides, 1 3/4″ from the bottom. (see how here)
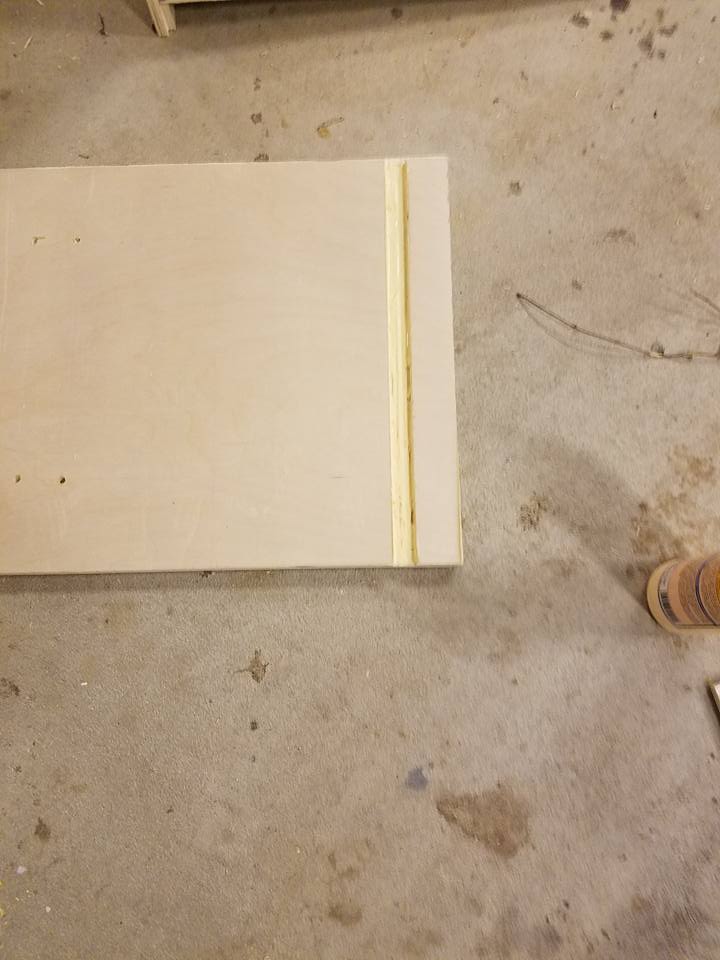
- Create a rabbet edge on the back of both sides, 3/8″ wide by 1/4″ deep for the back.
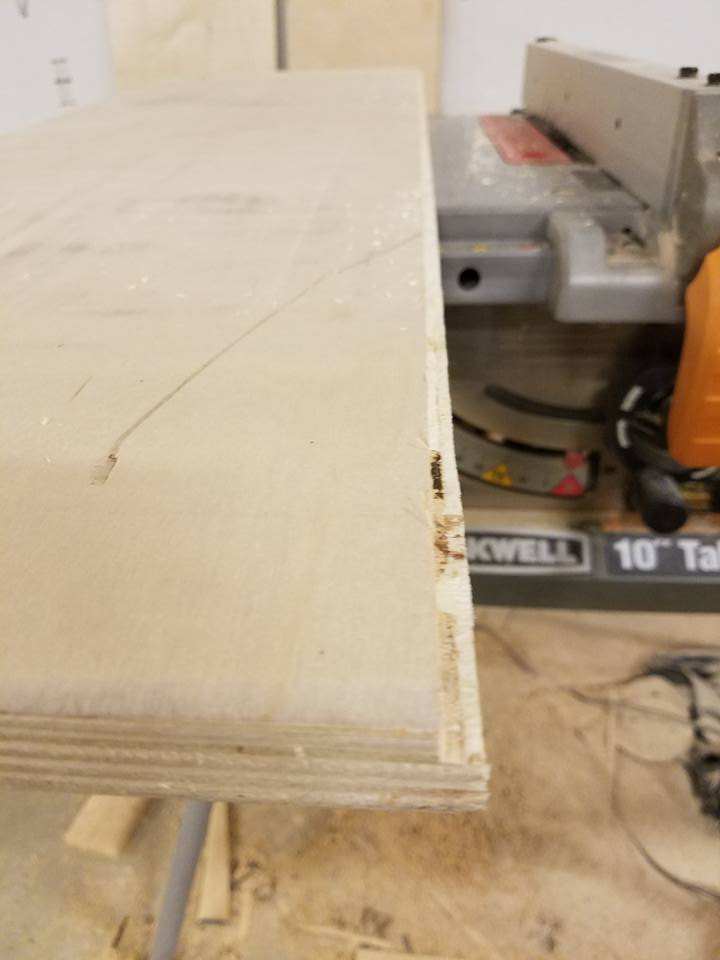
- Create a rabbet edge on the back edge of the bottom piece.
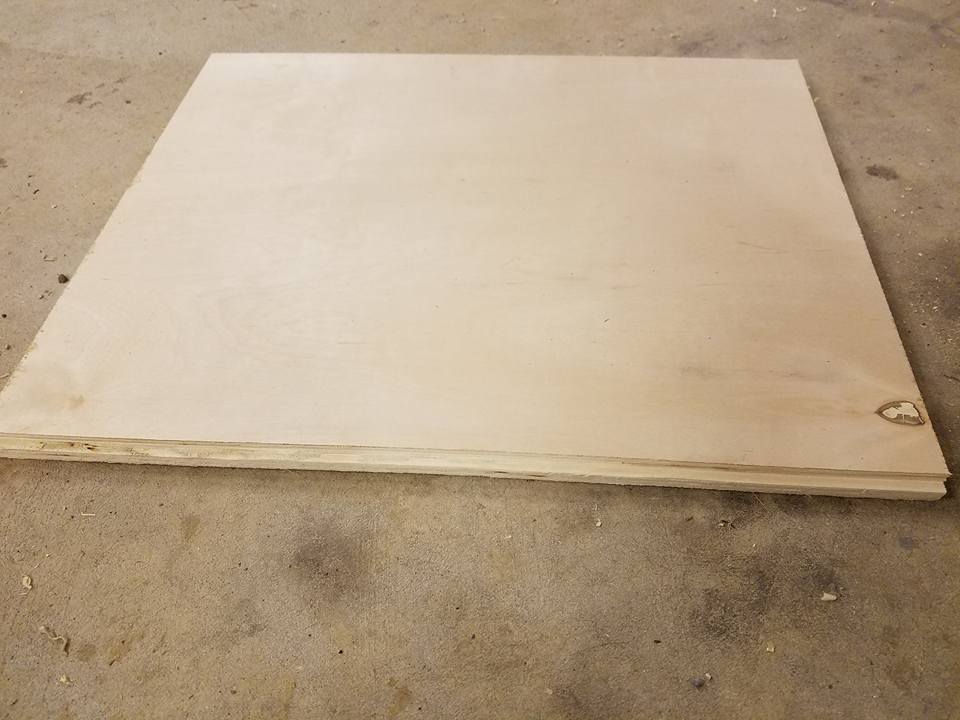
- Create a rabbet edge on the sides and back of the top piece.
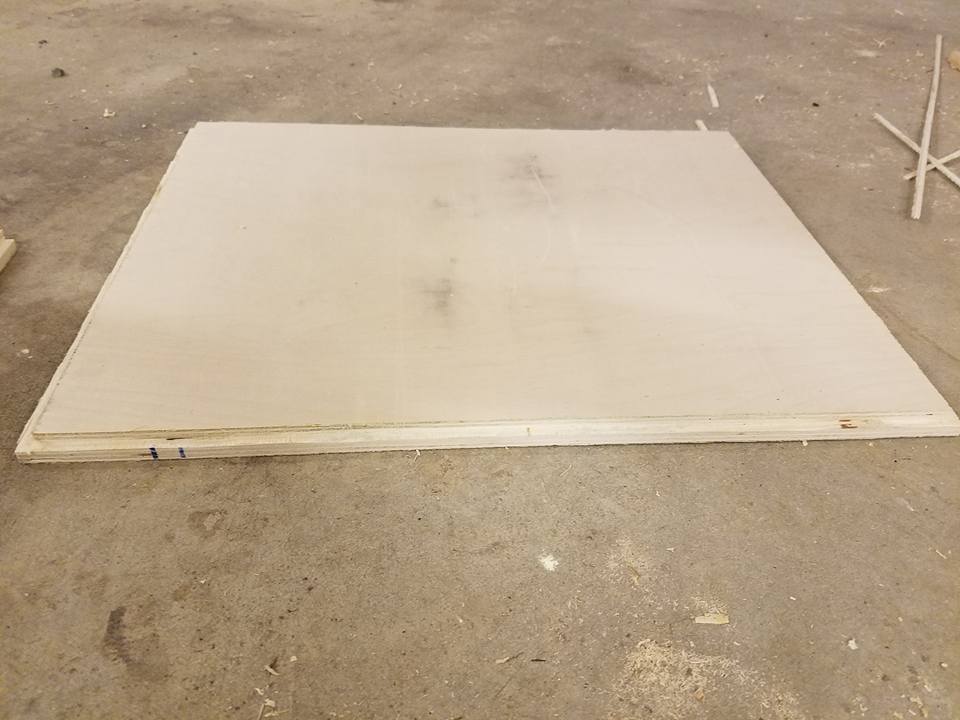
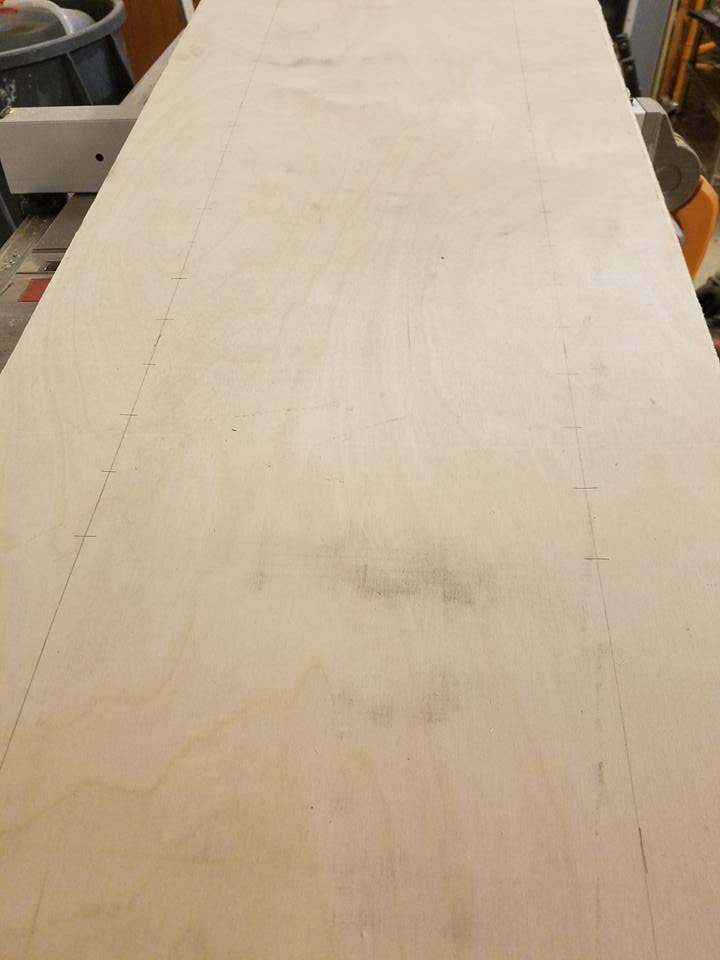
- To create holes for adjustable shelves, draw a line on the sides 3″ from the front and back. Place hash marks across the line 1 1/2″ apart starting from the bottom at 11″. Use a drill press or a drill with a 1/4″ bit to drill 1/2″ into the wood on the intersection. Test fit a dowel pin after you drill the first hole.
- Spread a generous amount of glue into your dado joints. Fit the sides of your shelf into the dado with the back rabbet edge up and clamp tight. Be sure your front edge is flush with the sides.
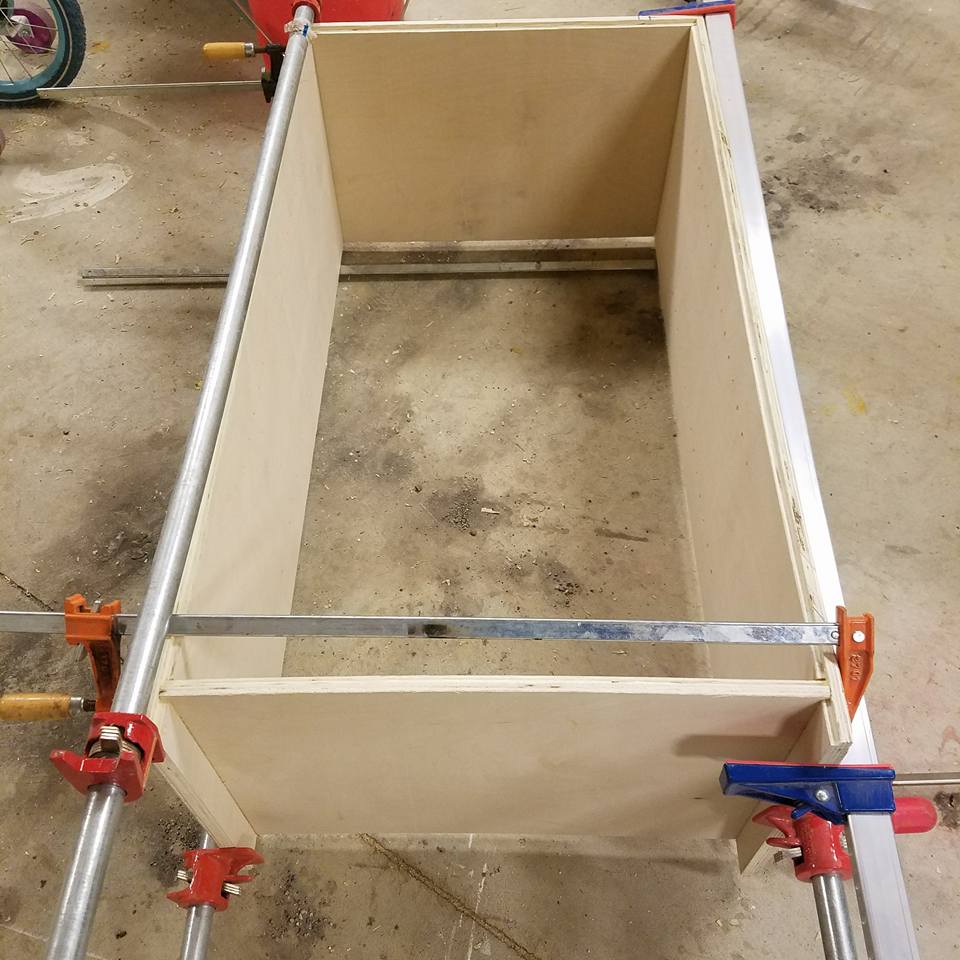
- Apply glue to the rabbet edge on the sides of your top and attach to the sides. Use (2) clamps across the front and back as well as 4 clamps for the top and bottom. Check to make sure cabinet carcass is square. Adjust the hinges if needed. Allow to dry.
- Cut 3/4″ scrap wood into 2-3″ squares. Flip the cabinet carcass on it’s top. Glue and clamp the blocks to the 4 corners.
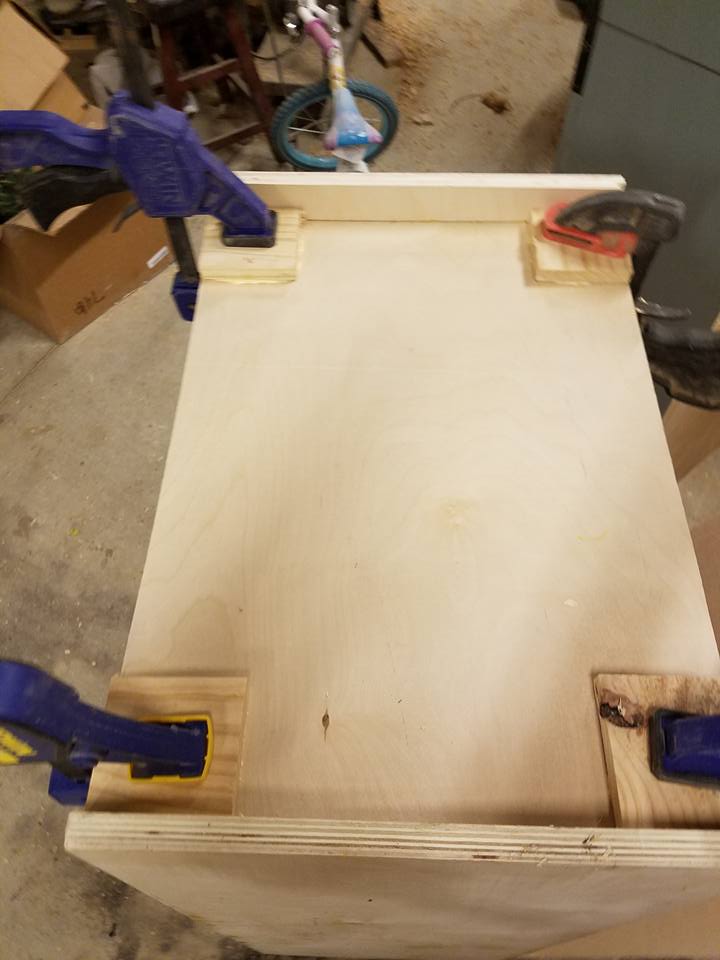
- While the blocks are drying, measure and cut the back out of 1/4″ plywood.
- Drill through the center of the leg for the hanger bolts. Make sure to use a stop to prevent from drilling too deep. Keep your drill straight. Screw hanger bolts into the legs.
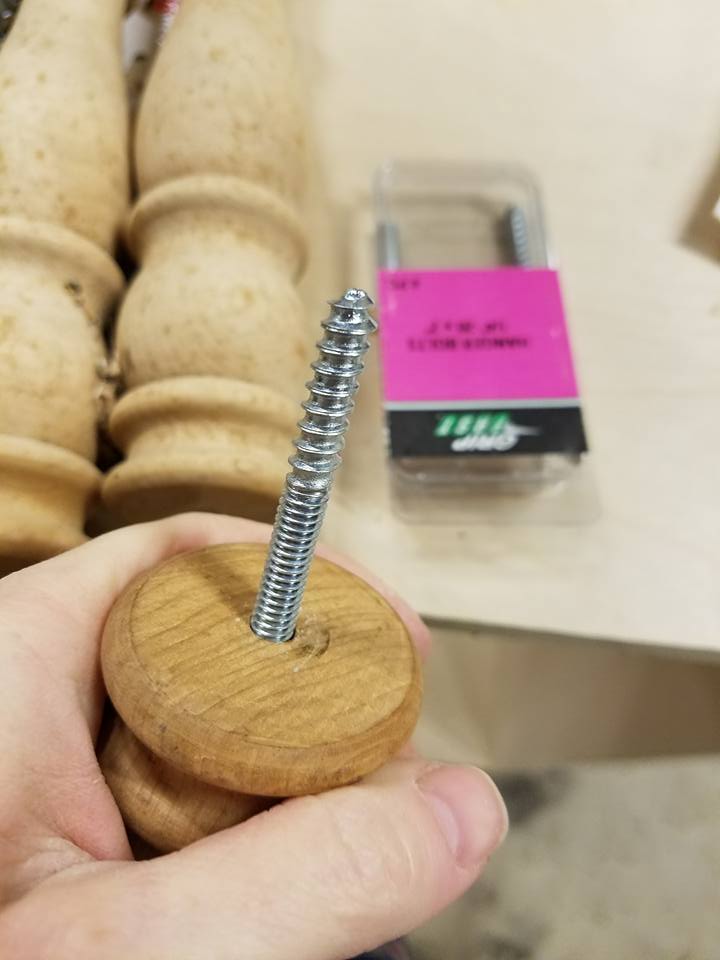
- After the blocks are dry screw in leg plates and drill through the center to attach the legs.
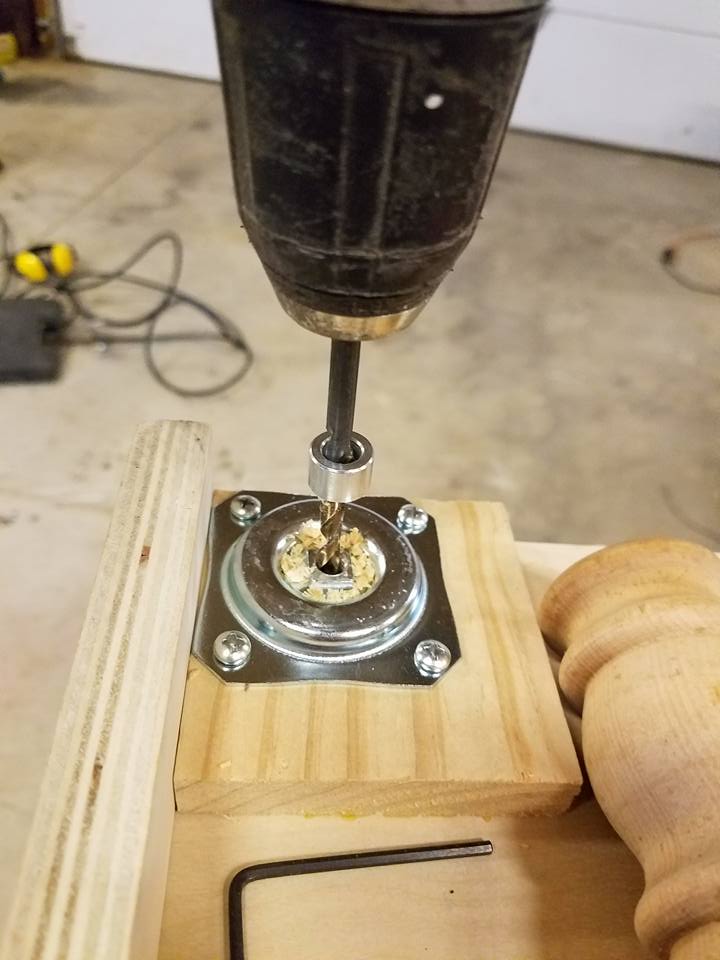
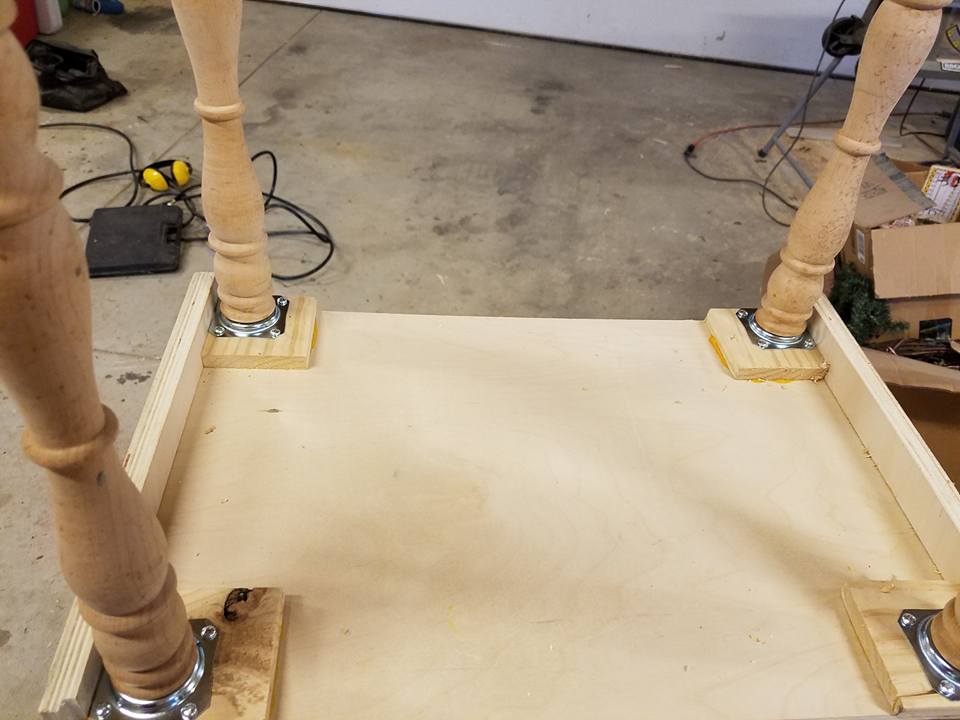
- Flip the cabinet right side up and nail back in with a brad nailer or finish nails.
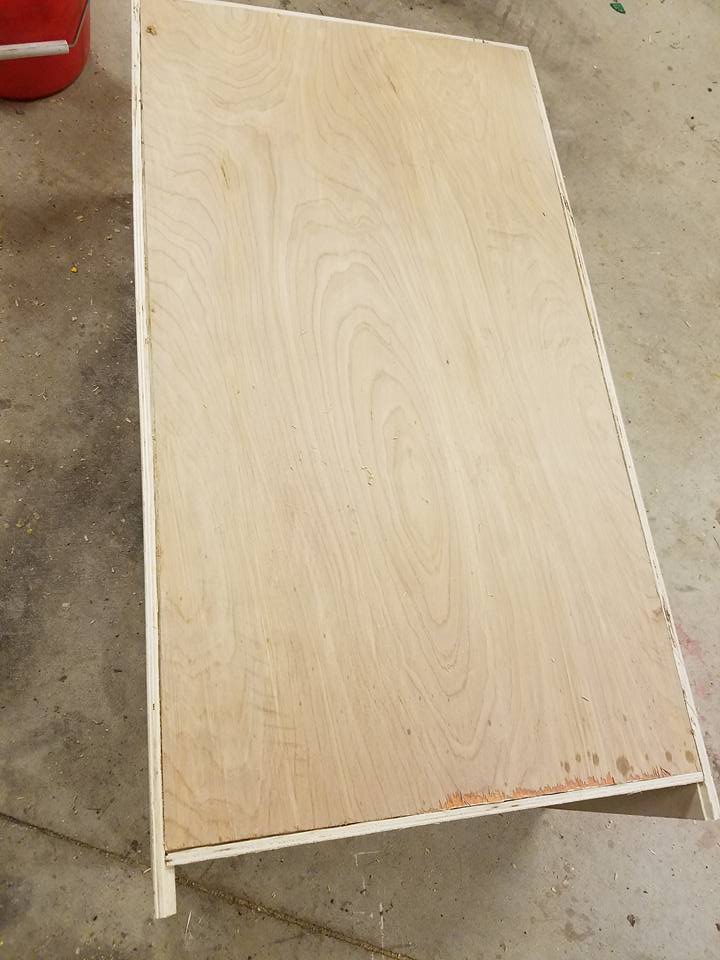
- To make the shelves. Measure the interior width of your cabinet. Cut your 1 x 10 x 4’s to that length. (You should have 4 pieces). Use a biscuit joiner to join the boards. See more here. (**this can also be done with a kreg jig but since the door is glass you will need to plug the holes.)
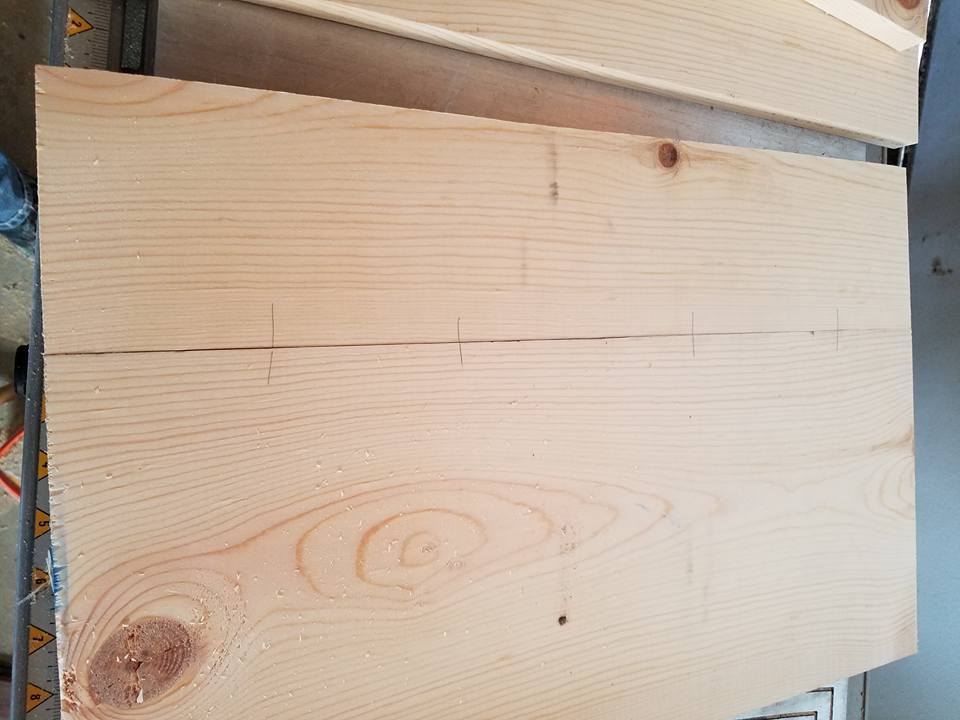
- Use 1 x 3 x 6’s to height for the sides. Glue, clamp, and nail with 1 1/2″ brads. Cut top and bottom rails from left over 1 x 3 x 6’s to length. Glue, clamp and nail. Be sure that your opening is perfectly square.
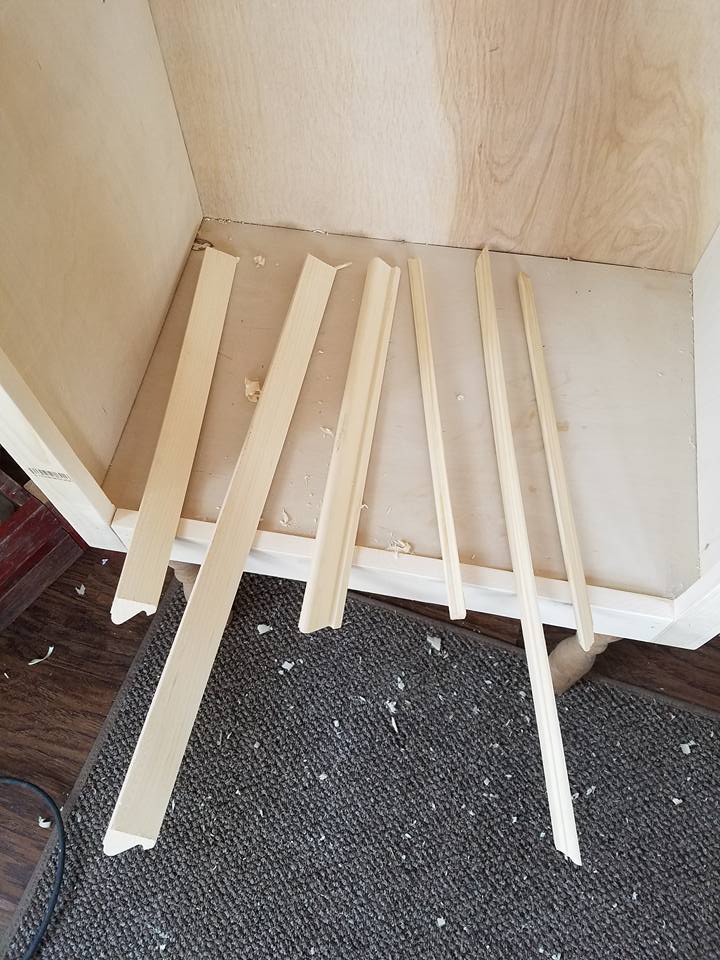
- Use your miter saw to cut your trim pieces for the top and bottom of your cabinet. Glue and nail with 1″ brads.
- To make the door, click here.
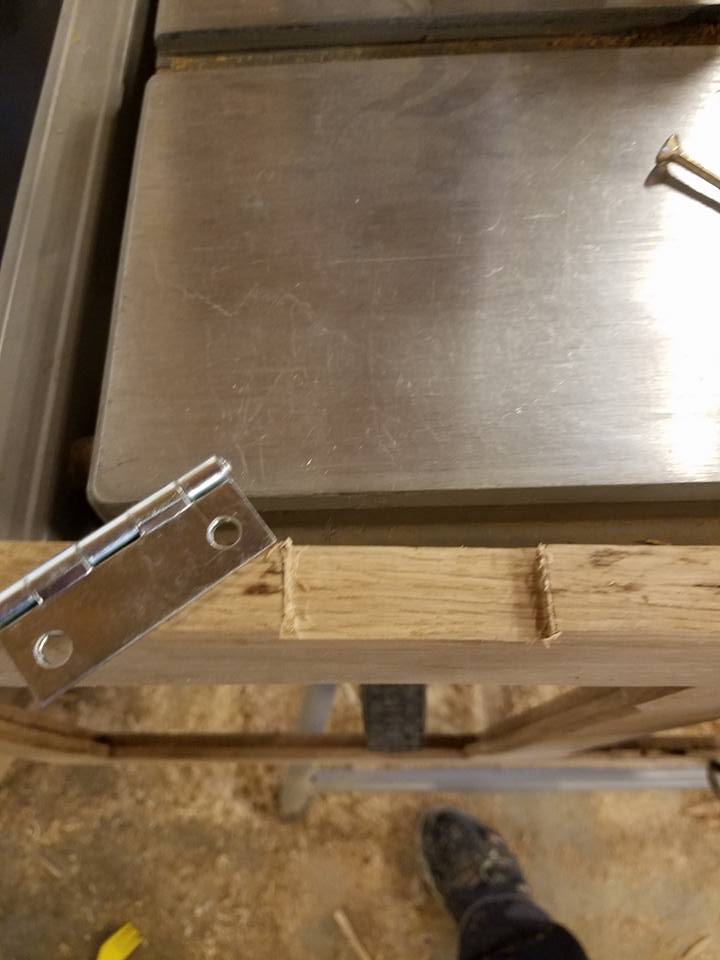
- Place hinges on the edge of the door and trace the top and bottom. Either chisel out the area for the hinge or use a plunge router to create a recess in the wood for the hinge.
- Sand all pieces with 120 then 220 grit paper. Yes, this part is boring but it’s key to a nice smooth finish. Use a shop vac to sweep dust out of the cabinet and use a cloth dampened with mineral spirits to remove the remainder of the dust.
- Apply stain to door, glass bead, shelves, dowel pins, and cabinet interior. Paint the exterior of the cabinet and the legs. Allow paint to dry for a couple hours.
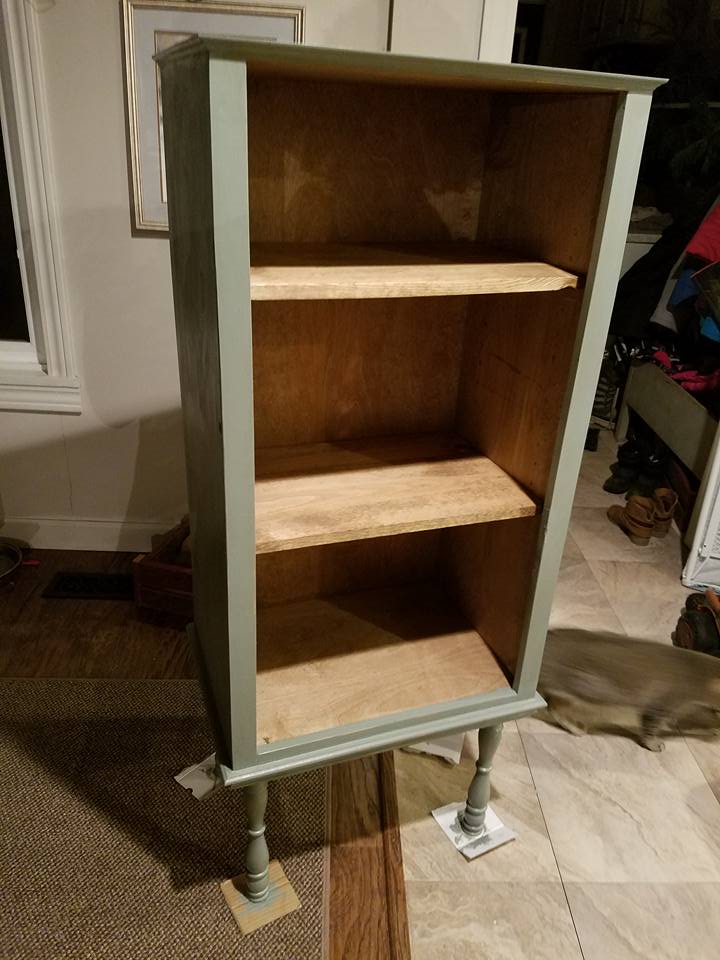
- Sand the painted areas to distress to your liking. Apply stain to the distressed areas. (See more on how I distressed this here.)
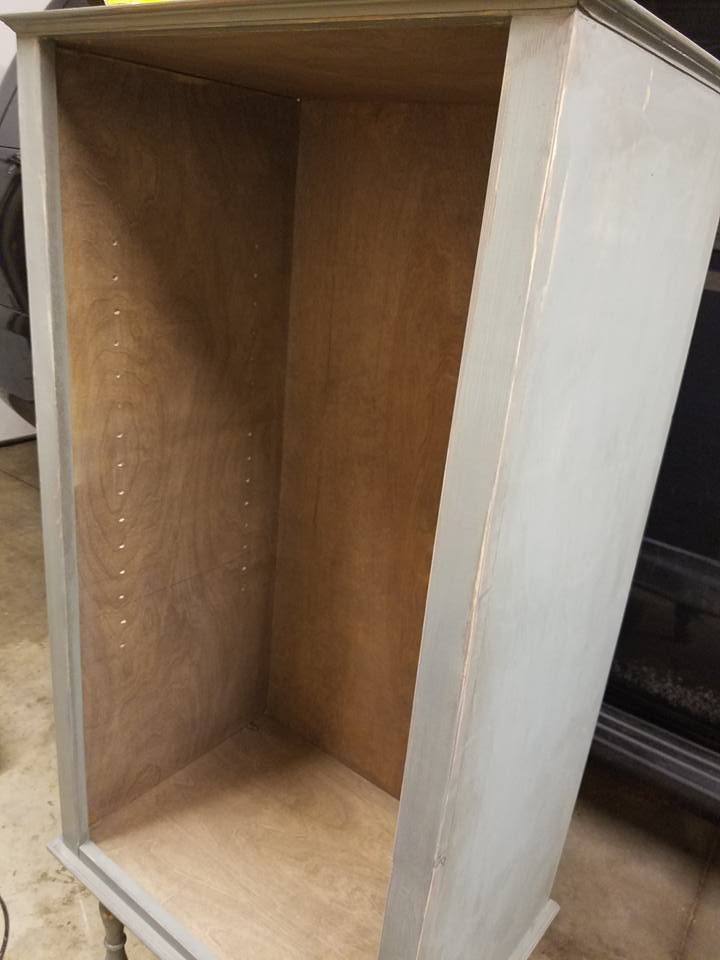
- Once stain has dried, sand again lightly with 220 grit paper to reclose the grain. Wipe again with cloth dampened with mineral spirits. Apply 2 coats of satin polyurethane sanding in between coats.
- Screw hinges onto door and door onto the cabinet. Attach the handle. Put dowel pins in and set shelving into place. Fill with goodies and enjoy!
If you enjoyed these jelly cabinet plans, check out more of my free woodworking plans here!
Pin me!


Pingback: Antique Style Cabinet Door - Lisa Laker Interior Design
You are soooo creative! I love the cabinet and the dowel legs are too cute! The step-by-step tutorial with photos is great for those of us (me!) who have difficulty following directions. 🙂 I’m going to try this!
I wish I had the talent to build my own cabinet!
This looks like a super fun project!
I love it!! We are moving soon and have all these plans to re-do almost all of our furniture plus build some new pieces! This turned out really great!
Oh I love that cabinet, it’s so pretty! Make me one? 😛
Interesting choice of colors. I would never use such.
But the result is surprisingly good.
Did you have a plan, or was it a randomly chosen paint?
Great cabinet, thanks for the post.
Wow! I am in love. I’ll definetly will safe this for later as I am planning on making a piece of furniture myself and I think this will help me lots. Thank you so much! Also, I am wondering why it’s called Jelly Cabinet?!
I think it’s just an antique furniture name given to cabinets used to store canned goods (specifically jelly). I love the style but am using mine for casserole and mixing bowls.